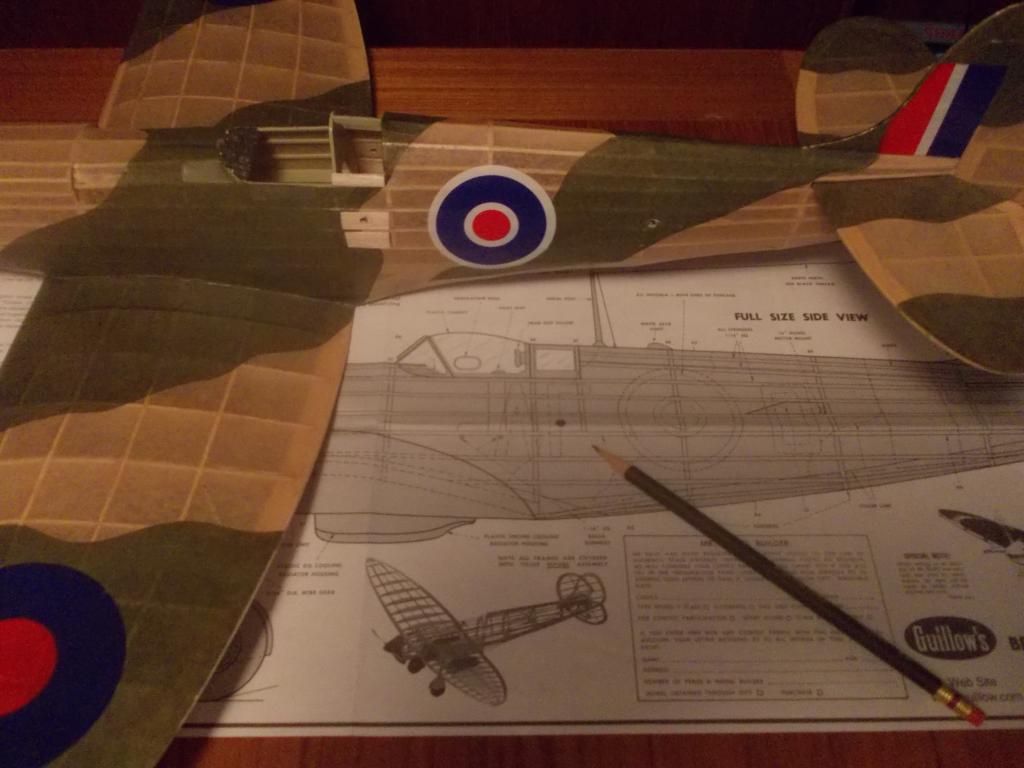
Repairs at the Supermarine Works (Spitfire!)

Ask other modelers for a little help / knowledge ?

Repairs at the Supermarine Works (Spitfire!)

Postby Mitch » Sat Nov 01, 2014 3:27 pm

Although this model has no real damage, it's flight time was the worst of my 400 series, 1st generations (built as per Guillow plans) Although I have another Spitfire kit, I plan to make improvements on my 1st Generation and then go on to another fresh build for WESTFAC V.

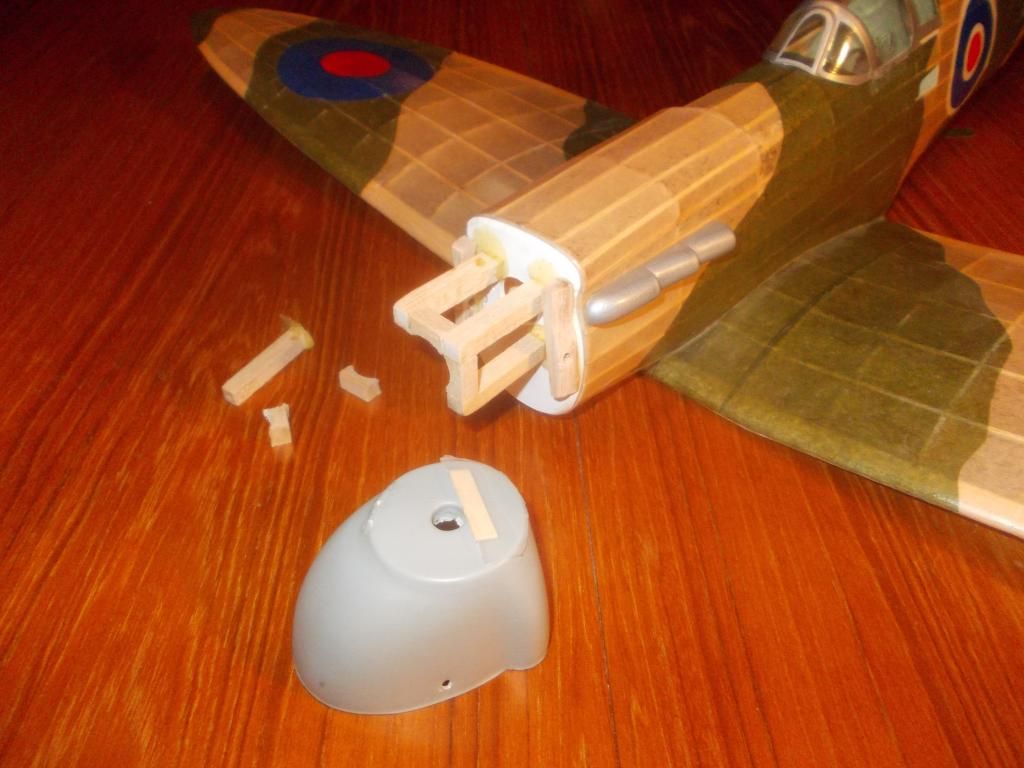
Here are the main problems:
Image
My early attempt at thrust adjustment consited of taping a piece of wood under the thrust button. And removing and attaching the cowl is very tedious under field conditions. I started to remove my old support system and will contruct new.

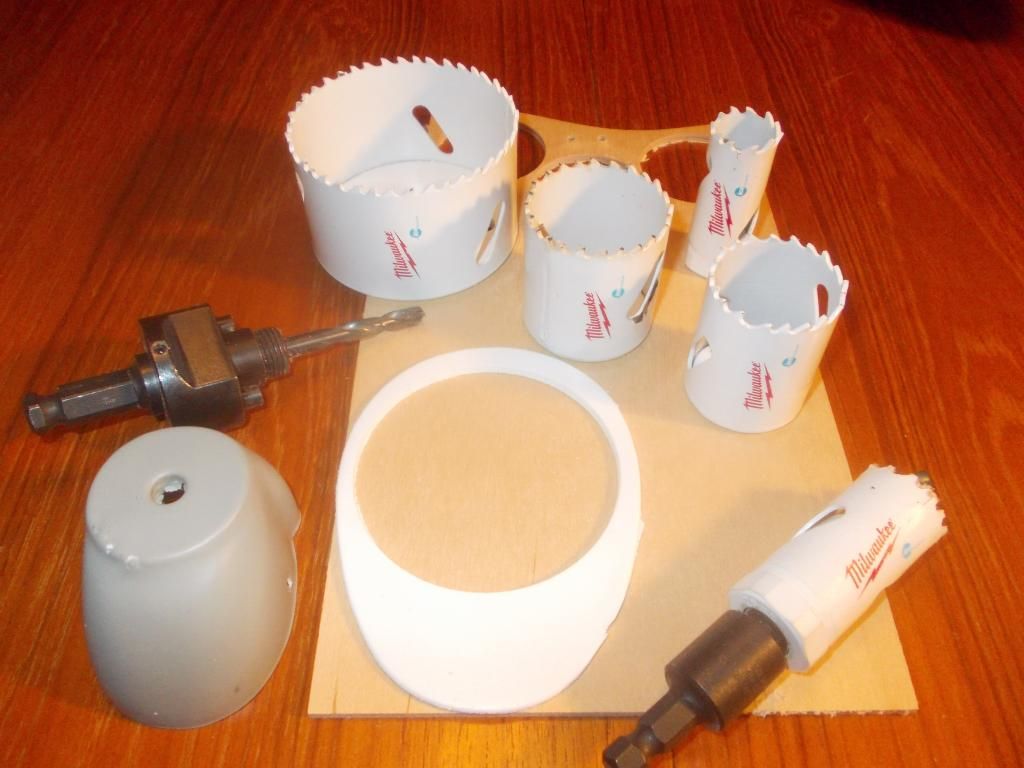
I had to purchase 1 more hole saw as the front end of the Spitfire is even smaller than the Messerschmitt.
Image
You can see the disadvantage I am at. The large firewall is for the 1000 series Thunderbolt!

I also plan to move the rear peg forward 5 inches!
Image
In future builds, this will allow me to lighten the rear of the airplane MUCH more!

This current model weighs 80 grams, but the cowl and ballast are 40 grams... a total of 120 w/o prop and rubber. I will attempt in the future to have the AUW of the NEW Spitfire to be no more than 80 grams!

Mitch

PS: But now I am off to dance class...the ladies will be waiting... I will continue work on the Spitfire after...
Mitch
 
Posts: 1347
Joined: Mon Aug 22, 2011 9:16 pm
Location: Kent, WA

Re: Repairs at the Supermarine Works (Spitfire!)

Postby Mitch » Sat Nov 01, 2014 6:52 pm

Okay... the Engineering department has a problem to solve.

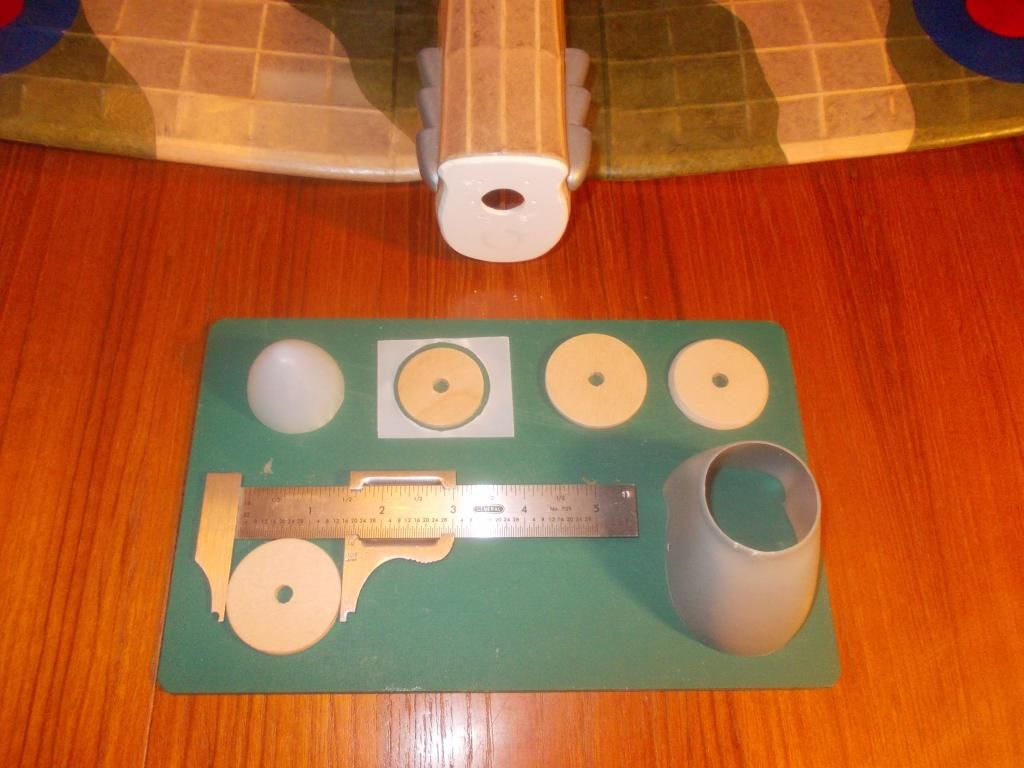
The next size down on the standard whole saw is too small. So I will go with the same size as for the Me-109. The back up rings almost fit inside the cowling. On the first one I sanded off the edge so it will fit inside the cowling. (top right in picture). The one that will be glued to it will be okay as is. (Next to the top right)
Image

The next plywood disc (shown inside the plastic), will not be used. It is too small.

The ring on the bottom of the picture (being measured) needs to be trimmed down about 1/16 of an inch.

So here is my problem. I want it to be even all around. I will think about this for a bit. If I had some sort of chuck to mount it in my drill press I could spin the disk and sand it down, or make some sort of jig and keep the proper distance and spin it against my disk sander.

It is not critical that that disc be perfect, as it will be a part of the plane and fixed. I would like to overcome the problem I have to make ANY size disc I want and to have it perfect to the center of the hole.

I will think on this, and continue this project on Monday. I am open to any suggestions on how to make a perfect disc of ANY size.

Thank you, Mitch
Mitch
 
Posts: 1347
Joined: Mon Aug 22, 2011 9:16 pm
Location: Kent, WA

Re: Repairs at the Supermarine Works (Spitfire!)

Postby Wildpig » Sat Nov 01, 2014 7:36 pm

Hi Mitch,
If I understand the problem correctly, couldn't you put a long screw through the plywood doughnut and secure it with a fiber locknut? You probably would have to use large washers, sometimes called fender washers to give better clamping friction.Then chuck the exposed end of the screw in a drill and twirl away against a piece of sandpaper.

40 grams of ballast. :shock: Ouch!
Wildpig
 
Posts: 529
Joined: Thu Jan 26, 2012 9:41 am

Re: Repairs at the Supermarine Works (Spitfire!)

Postby Mitch » Sun Nov 02, 2014 1:26 pm

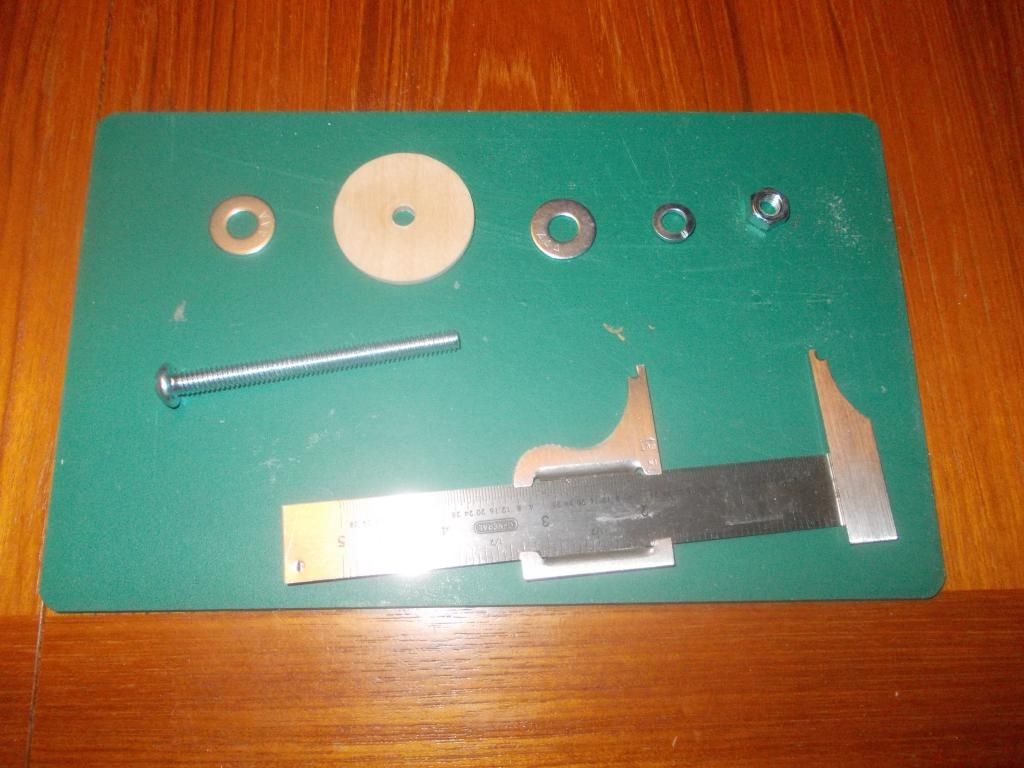
Thanks Pig... That's the best idea I came to also. However the fender washers hole are a bit small so I just went with 1/4 washers.
Image

As you say I wanted to spread out the pressure as to not have my work slip. I also added a lock washer and tightened it all up.
Image
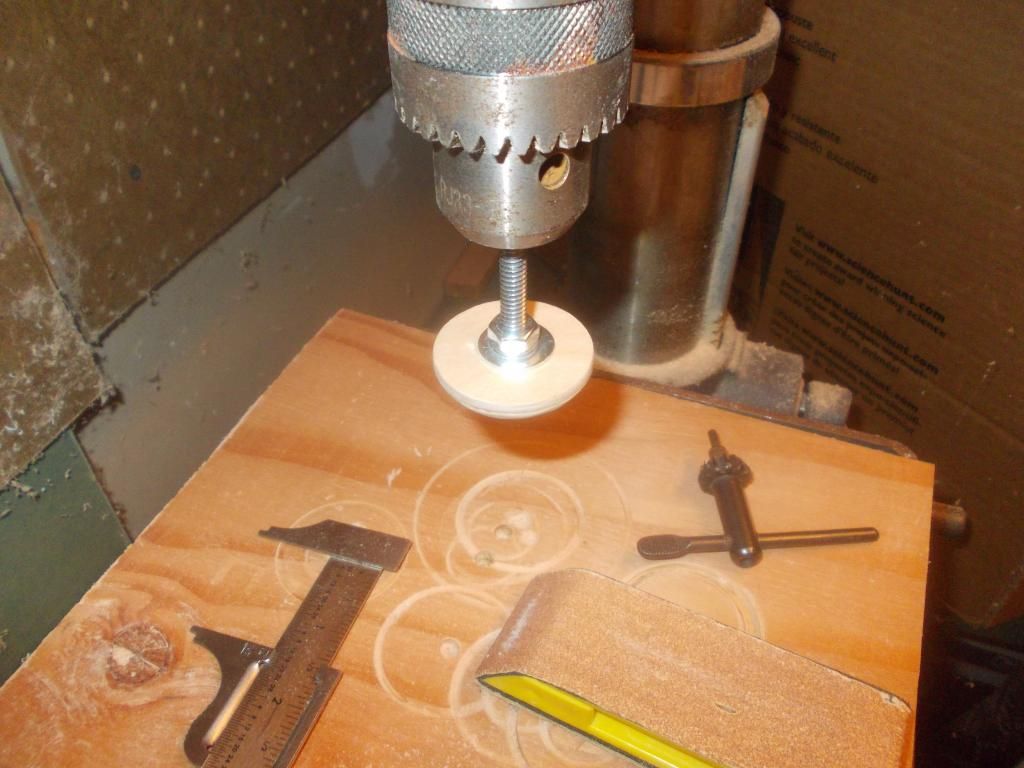
This process worked fine when I used my sanding block.

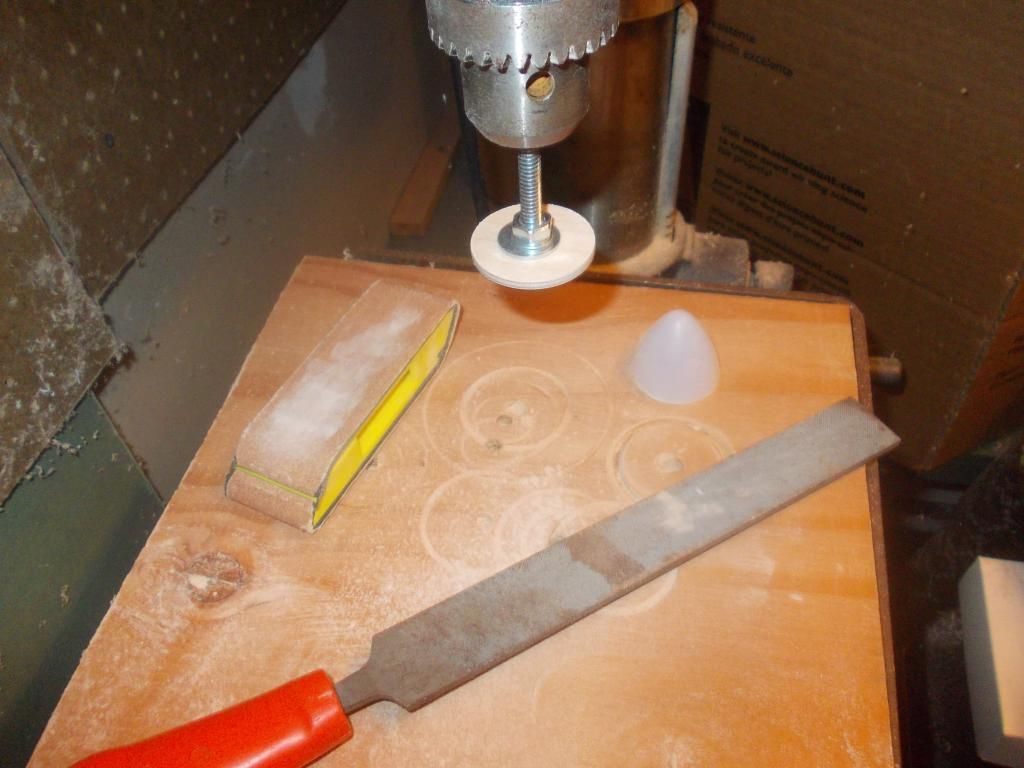
On my second piece I wanted to remove more material, and used a rasp. (The rasp has two side and I used both)
Image
When I used the rasp at fisrt and applied a bit too much pressure the back up nut came loose. I re-tightened everything and applied less pressure and everything worked fine.

So I am pleased with the end results.
Image

I did not like the position of the rear peg. It eneded up too high. So I will move it down. The rear peg will be between B6 and B7 and right on top of A5.
Image
This position will have the center of mass of the rubber directly over the CG of the plane. In my next generation Spitfire I will be able to really lighten up the rear half of the plane and tail and use much less ballast to balance this plane!

I need to re stock my wood supply to complete the nose block so that will be on Monday.

Stay tuned... Mitch
Mitch
 
Posts: 1347
Joined: Mon Aug 22, 2011 9:16 pm
Location: Kent, WA

Re: Repairs at the Supermarine Works (Spitfire!)

Postby Wildpig » Sun Nov 02, 2014 7:04 pm

Good show, ol' boy. :)

Obviously a nut and lock washer worked. I would still recommend a fiber locknut, it is much less likely to loosen.

You mentioned the motor peg was too high. Wouldn't you want it kind of high up the fuselage to keep the prop shaft pointed toward the peg? Assuming that you have a fair amount of downthrust. Just asking, you have much more flight time with these models than I do.
Wildpig
 
Posts: 529
Joined: Thu Jan 26, 2012 9:41 am

Re: Repairs at the Supermarine Works (Spitfire!)

Postby Mitch » Sun Nov 02, 2014 9:05 pm

Is that fiber lock nut those with the white plastic inside? I think those are only supposed to be used once.

This worked well as I needed to use the set up several times today, and this type of lock washer can be used over and over.

At first I kept the peg on the same line it was before. But since it moved closer by almost half the distance it was noticeably higher in the fuselage and the area around the peg was more of my concern. There was no room for the knots of the rubber up there. Most of everything I do is an experiment and I do not mind you asking me questions why I do something.

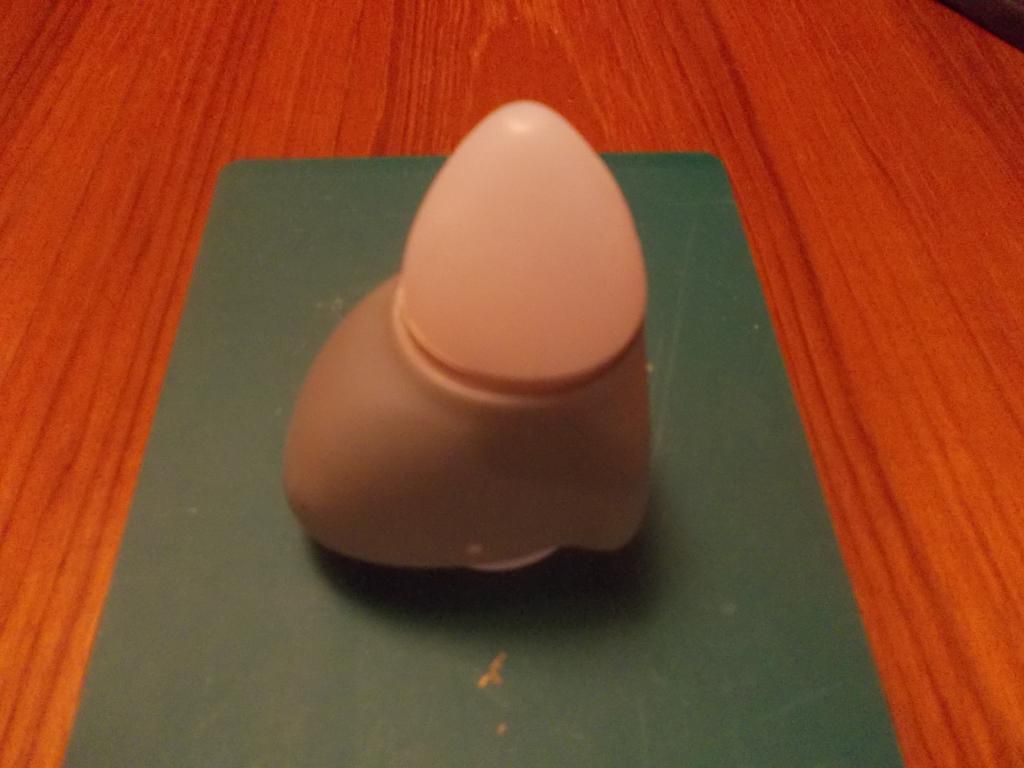
I also sanded down the front disc so the spinner fits over it nicely. More pictures on that later.

The next step for the Spit is to build up the front end with balsa and I need to get more tomorrow.
Mitch
 
Posts: 1347
Joined: Mon Aug 22, 2011 9:16 pm
Location: Kent, WA

Re: Repairs at the Supermarine Works (Spitfire!)

Postby Wildpig » Sun Nov 02, 2014 9:12 pm

Mitch wrote:Is that fiber lock nut those with the white plastic inside? I think those are only supposed to be used once.


Technically, yes, only once. But they can be reused several times before they start losing their grip.

Mitch wrote:This worked well as I needed to use the set up several times today, and this type of lock washer can be used over and over.


That's what counts.
Wildpig
 
Posts: 529
Joined: Thu Jan 26, 2012 9:41 am

Re: Repairs at the Supermarine Works (Spitfire!)

Postby Mitch » Sun Nov 02, 2014 9:24 pm

Right... That's what I thought. For REAL use, only once. Got it. But I have a 3 inch bolt (to get a good seat in the chuck of the drill press) and once I loosen the nut, I can just spin it off the 3 inch bolt easily.

Thanks, Mitch :D
Mitch
 
Posts: 1347
Joined: Mon Aug 22, 2011 9:16 pm
Location: Kent, WA


Return to General Building Questions

Who is online

Users browsing this forum: No registered users and 7 guests