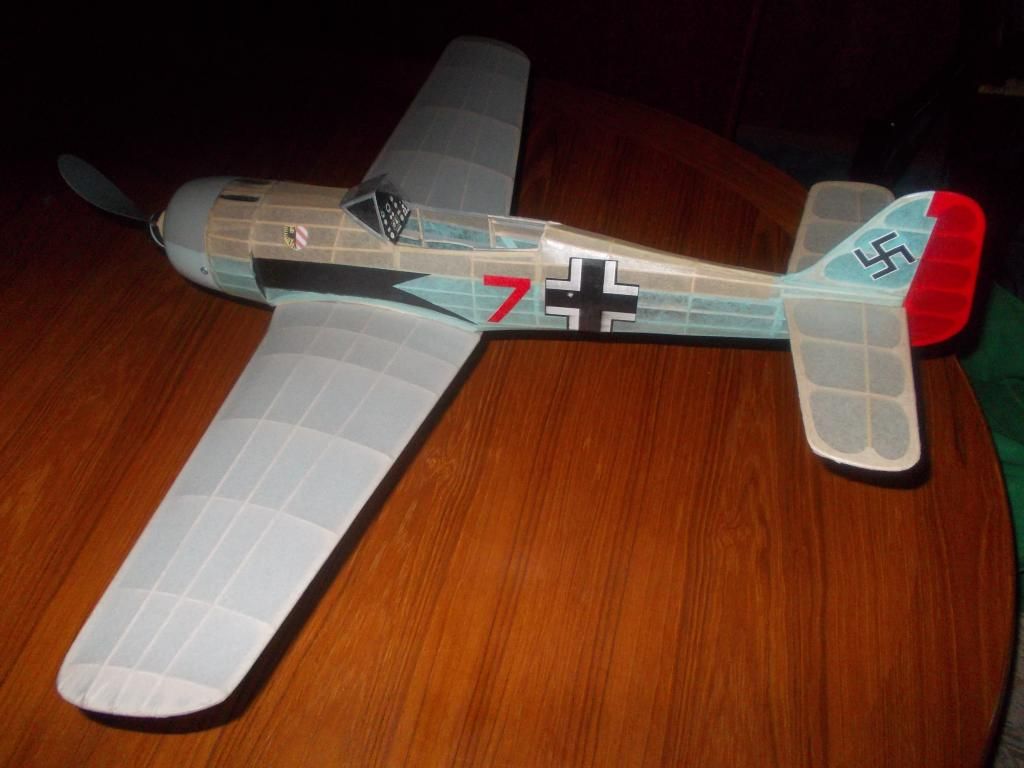
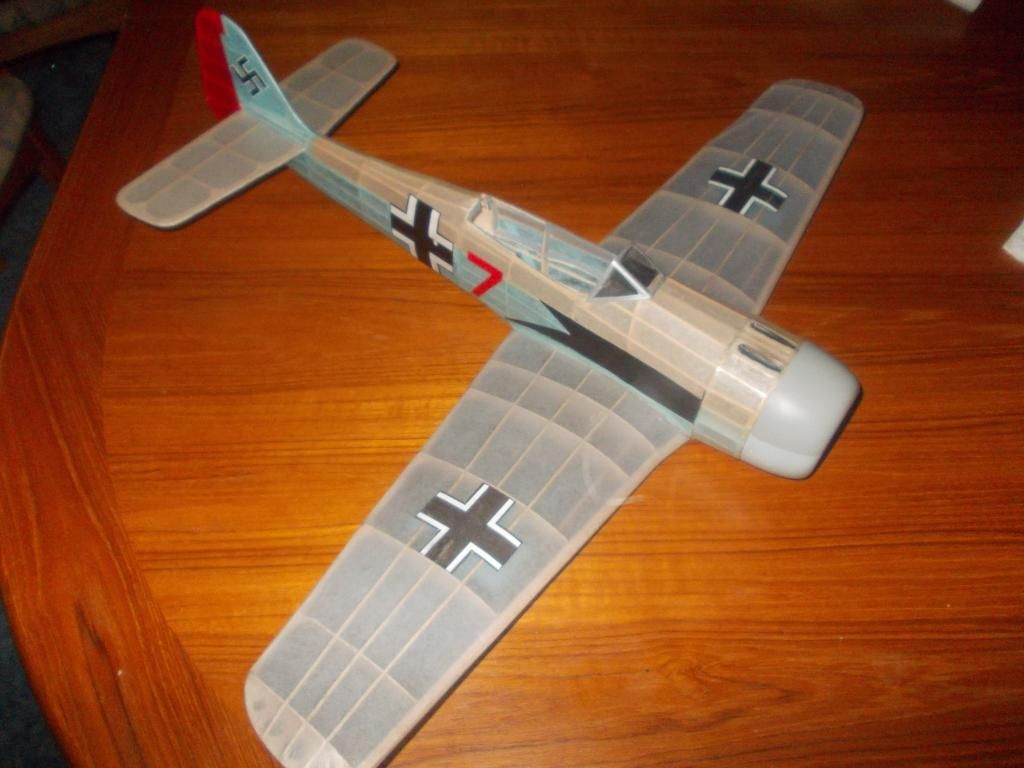
The Butcher Bird... the FW 190

Ask other modelers for a little help / knowledge ?

Re: The Butcher Bird... the FW 190

Postby Mitch » Mon Jun 17, 2013 5:45 pm

Thank You...

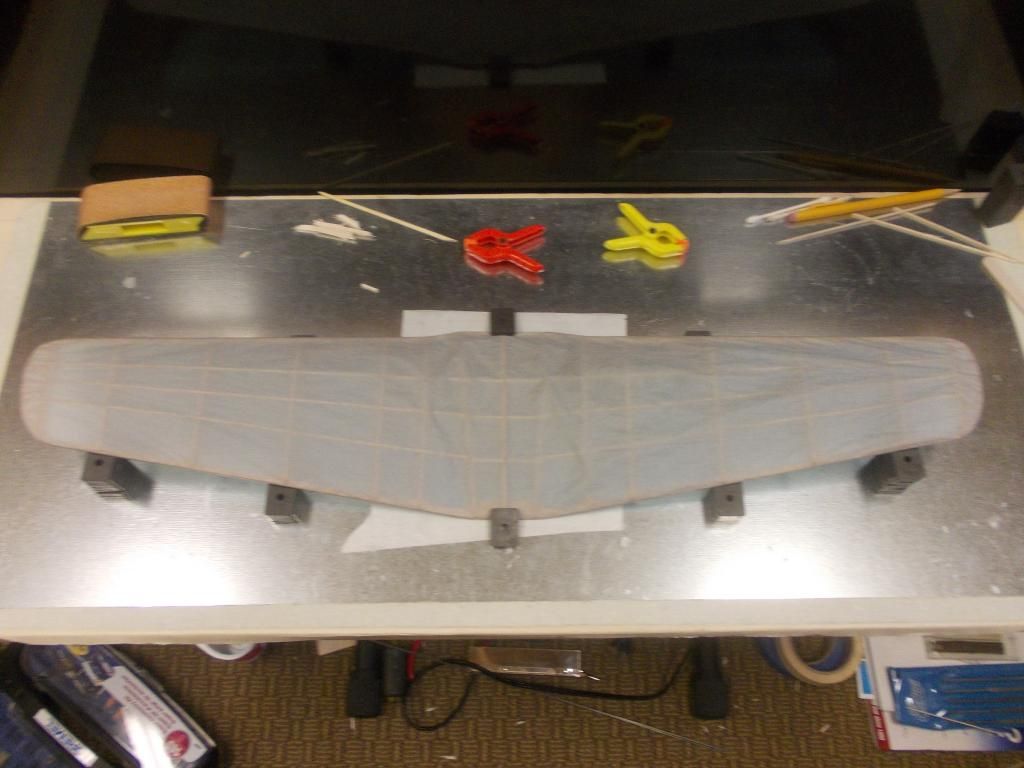
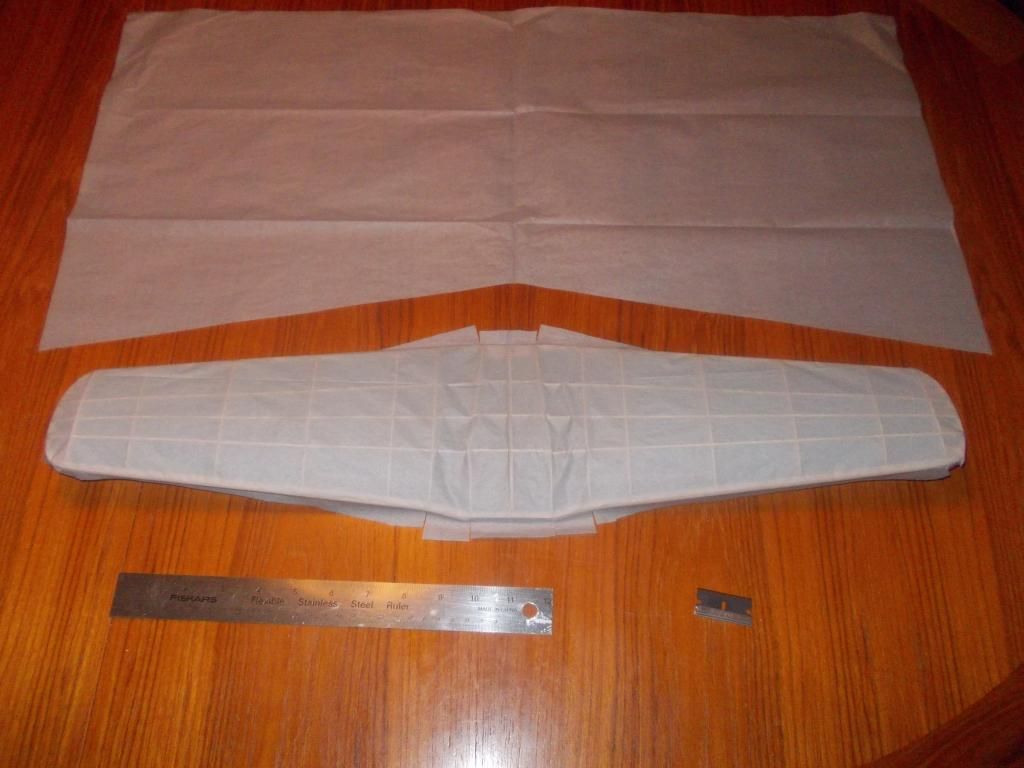
With the bottom trimmed, I decided to cover the top with ONE piece of paper. I usually lay on separate sheets at the change in dihedral and at the wing tips. But with using 1/32 ribs the paper is difficult to "hold on" at those breaks. I cut the paper at those areas to release the stress. I hope I do not regret my short cut... This is a test airplane now and I will build a new FW 190 as an A7 model and incorporate all that I learn. The A7 is 6 inches longer, so 1/16 scale it will be 3/8 inch longer in the nose, with big bumps over the mg's. I hope to get a FW for a contender in the next FAC contest... I always thought this plane has good potential to be a good flyer.
Image
I will test the glue joint in a while then trim the top color with light sanding also. This should create a nice color line right at the turn in the LE.

Once I am sure the paper is glued on properly AND the glue is set and dried, I will brace the wing and spray it lightly with a water mist. Usually I soak the paper, but this wing is so delicate I do not want to set in warps if the paper shrinks too much...

Mitch
Mitch
 
Posts: 1347
Joined: Mon Aug 22, 2011 9:16 pm
Location: Kent, WA

Re: The Butcher Bird... the FW 190

Postby Mitch » Mon Jun 17, 2013 9:14 pm

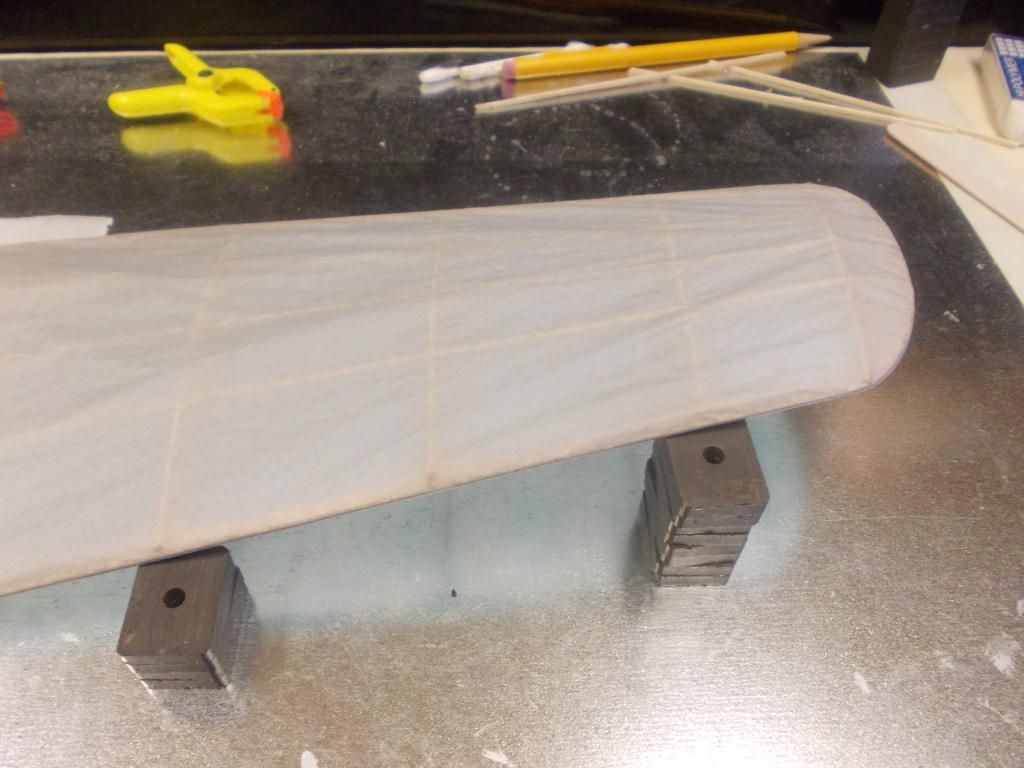
Well here is my wing getting set:
Image
I wet this down a new way... at least for me. Usually I just spray the wing with water. But this time I spayed the water in the air, and when the big drops fell away and just a mist was left I passed the wing though the mist.

I did this a few times until the paper was damp.
Image
Then I placed it on the board with the pre positioned magnets... I'll check back in 30 minutes or so...

Mitch
Mitch
 
Posts: 1347
Joined: Mon Aug 22, 2011 9:16 pm
Location: Kent, WA

Re: The Butcher Bird... the FW 190

Postby Mitch » Tue Jun 18, 2013 9:08 am

Well, one light misting was not enough. I got the paper wet twice more, but I think it was a controlled shrinkage. This morning I touched a wet finger to a few spots on the wing that had some wrinkles in it. I think that's the best I can do.

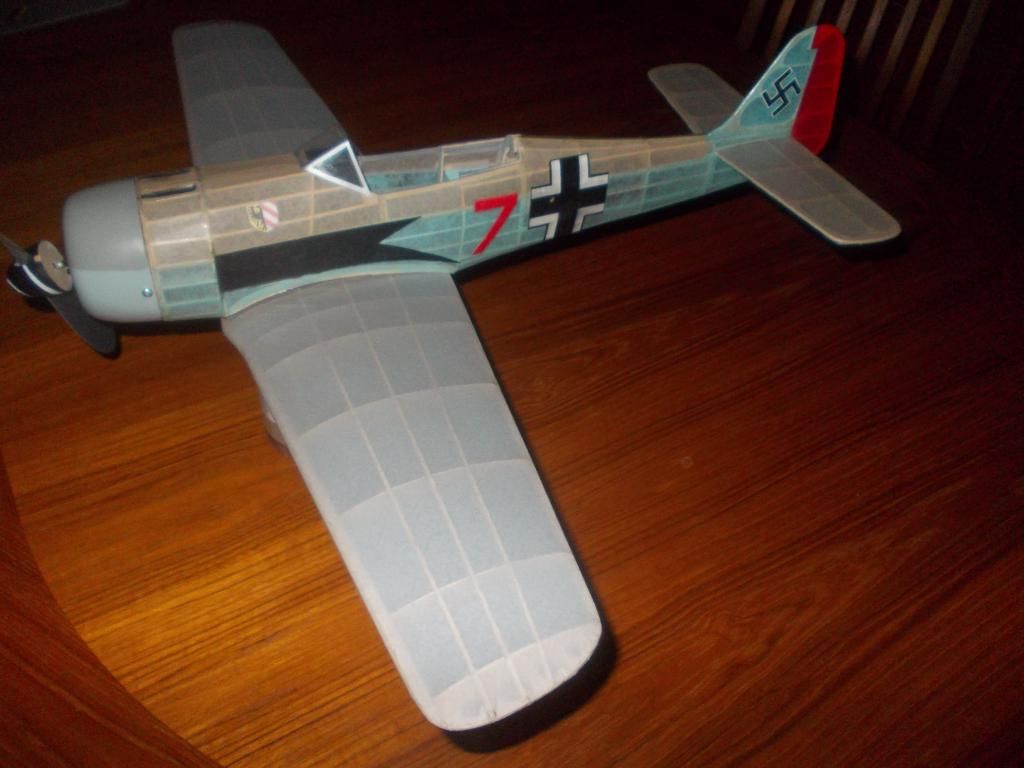
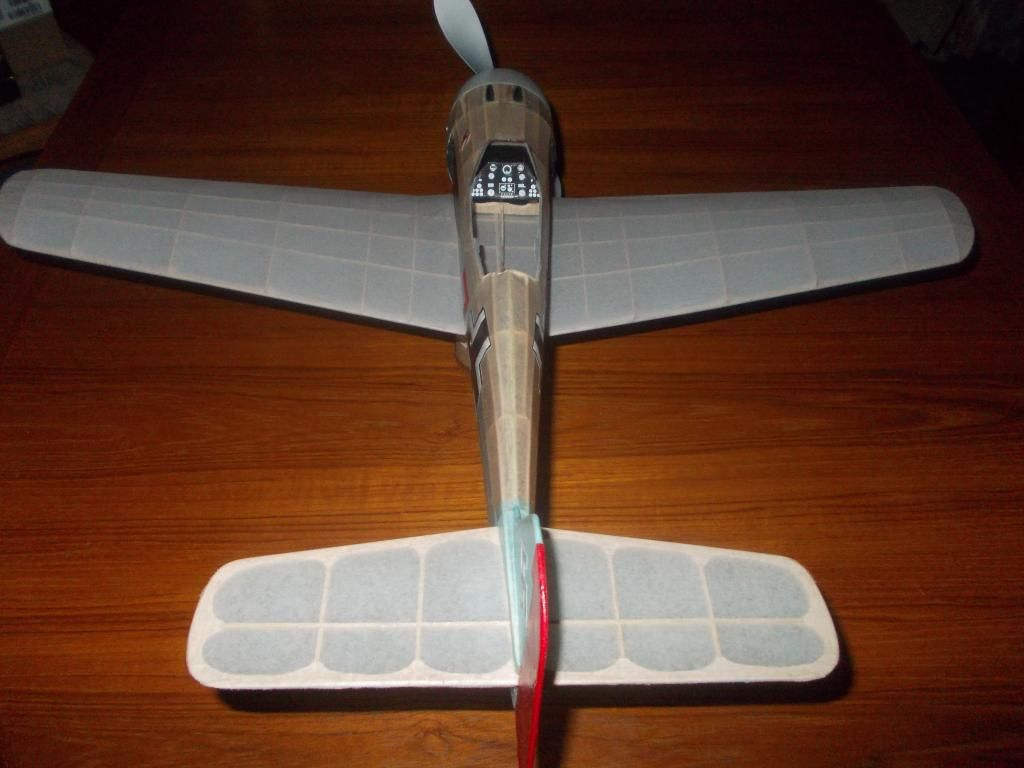
The wing weighs in at 17 g, but still needs 2 coats of dope. The entire model is at 84 g but that's w/o the rubber. When the wing is installed I will recheck the balance.
Image
Image
Image
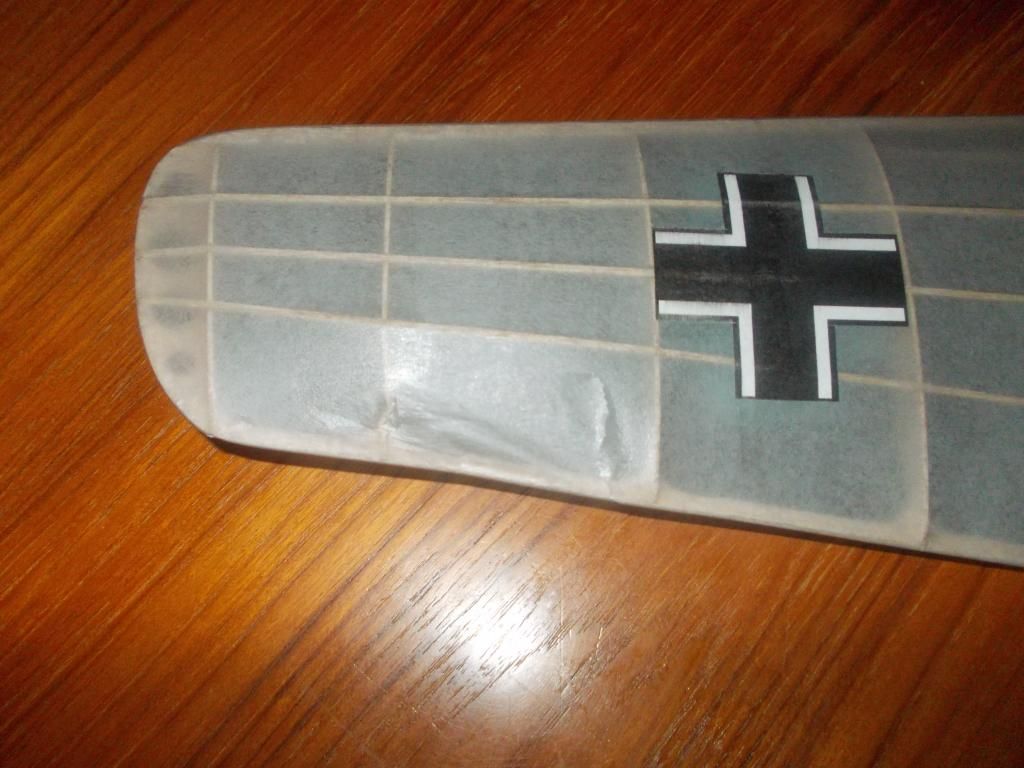
I plan to make the Crosses out of tissue rather than decals as before or bond paper copies as on my Me-109. I do not know how well the white outline of the cross will cover the colors... we'll see. The crosses on the side and tail of this model are photo copies on bond paper.

The wing has more dihedral than the plans show and I could go for just a bit more. I will do some test flights and decide how to proceed with the next build.

Mitch
Mitch
 
Posts: 1347
Joined: Mon Aug 22, 2011 9:16 pm
Location: Kent, WA

Re: The Butcher Bird... the FW 190

Postby Mitch » Fri Jun 21, 2013 7:30 pm

Well, I tried to make crosses from tissue (second attempt) but its not a easy as I thought. So I used photo copies on bond paper.
Image
A coat of dope, then crosses, glued the new wing on... One more coat of dope and then...CRUNCH...
Image
My new "Light Weight" wing is not as strong as the Guillow wing... Oh well, as I said this is a test plane and lessons learned will go into my NEW model!

I have to learn to handle the model with careful hands. :(

I will test fly as is at see how she goes... New weight is now at 70 g, but that's without prop and rubber... Getting better! :D

Mitch
Mitch
 
Posts: 1347
Joined: Mon Aug 22, 2011 9:16 pm
Location: Kent, WA

Re: The Butcher Bird... the FW 190

Postby Bill Gaylord » Sat Oct 04, 2014 2:25 pm

Just wondering if you ran into these issues Mitch when you built the laser cut 190, since I'm on one now? They're weren't major problems, but wouldn't have worked out well if I didn't correct them:
The formers in the cocpit area have a small section near the top that is glued together, but can be cut out later, after running stringers. I had to cut them apart before stringing, as it caused a huge dip in the fuselage sides, when these formers were glued together. It appeared that the tops were sized as if they were to join at a keel just like the bottom does, when there obviously is no top fuse keel in the cocpit area.

I can't remember which one, but I had to notch one of the fuse formers for it to fit properly and create a straight fuse side profile also. That one appeared to be a former that was supposed to be notched for the bottom fuse keel but was simply missed, if I remember correctly.
Bill Gaylord
 
Posts: 904
Joined: Sun Nov 09, 2008 1:29 pm
Location: Grove City PA

Re: The Butcher Bird... the FW 190

Postby Mitch » Sat Oct 04, 2014 6:07 pm

Hey Bill... It's just been so long since I built that FW, I do not remember. I do not remember having any issues, and I am looking at my model now and the fuselage seems okay... It's not been that long, but I've built several models since then... Just looked in my FW box, but it is just a parts box, no new kit. So I can not tell you more. Mitch
Mitch
 
Posts: 1347
Joined: Mon Aug 22, 2011 9:16 pm
Location: Kent, WA

Re: The Butcher Bird... the FW 190

Postby Bill Gaylord » Sat Oct 04, 2014 6:40 pm

Thanks. I looked at it again at it was the center cocpit former that caused the issue. Simply not gluing the top joint, which is cut out later anyway, solved the problem. With it glued together it was really pulling in the side keels. Not a big deal though of course, with all the mods going into this one. :D
Bill Gaylord
 
Posts: 904
Joined: Sun Nov 09, 2008 1:29 pm
Location: Grove City PA

Previous

Return to General Building Questions

Who is online

Users browsing this forum: Bing [Bot] and 10 guests