900 Series Mustang

Ask other modelers for a little help / knowledge ?

Postby ADW 123 » Tue Apr 19, 2011 8:18 am

after two coats of dope-

bottom-

Image

the top

Image


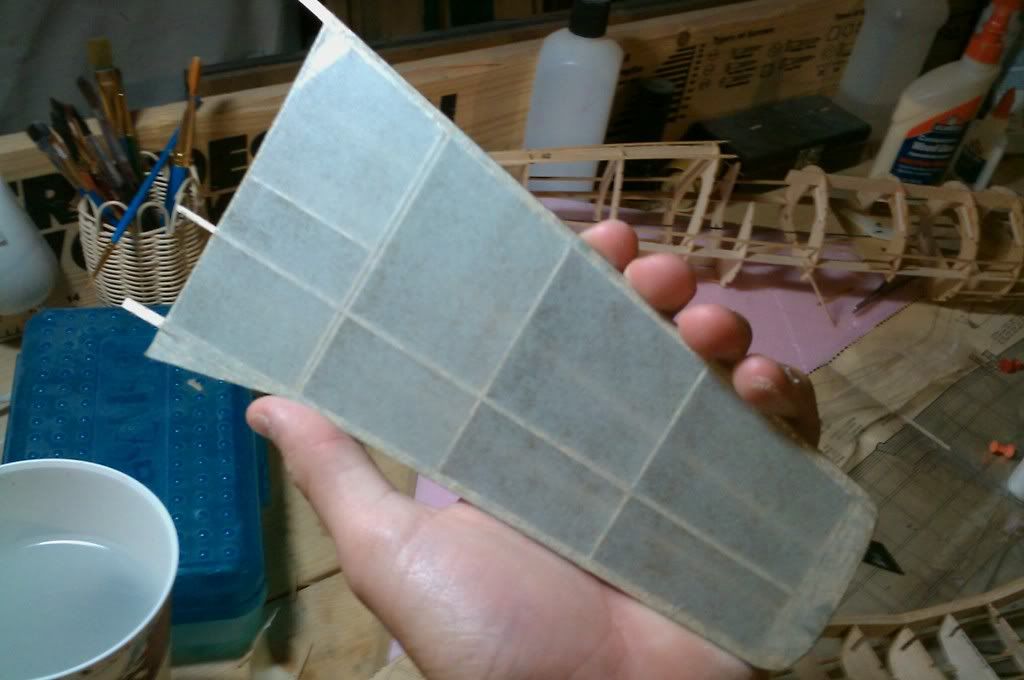
hope to get some paint on this tonight.
ADW 123
 
Posts: 1158
Joined: Mon Feb 22, 2010 5:22 pm
Location: Cincinnati, Ohio

Postby Supercubber95 » Tue Apr 19, 2011 2:02 pm

If you go check out this link http://pipercessnahangar.shutterfly.com/pictures/15 again I added more pics. Haven't flown since I figured out I could give her three times the winds I was giving her so I don't know how long she flies yet. Looks awesome!
Supercubber95
 
Posts: 218
Joined: Wed Apr 21, 2010 2:13 pm
Location: Belle Fourche, South Dakota

Postby ADW 123 » Tue Apr 19, 2011 2:44 pm

thanks suppercubber. yours looks very nice as well. the 1/16 stringers you added to the tail feathers too keep them flat is interesting.

you can see the obvious stres wrinkles at the LE. that was the half of the wing that just wasnt covering right. im not sure why. i tryed re sanding more and all but no luck. ive gotten better with this new method for coverng and must say it works very nicely, providing you do NOT use too much glue, otherwise local shrinkage occurs.

cant wait to fly her. i think my washout setup will be suficient in preventing the wing from dipping in. maybe ill build another and add a drag tab under the left wing and mess with that a little. im sure it makes life easier considering you wouldnt add more weight to the tail.
ADW 123
 
Posts: 1158
Joined: Mon Feb 22, 2010 5:22 pm
Location: Cincinnati, Ohio

Postby Supercubber95 » Tue Apr 19, 2011 3:51 pm

Thanks :D I got wrinkles on one wing, not the othr. I had an aweful time with the tail surfaces being flat, so thats what I finally did. It worked I guess. Have any tips on that?
Supercubber95
 
Posts: 218
Joined: Wed Apr 21, 2010 2:13 pm
Location: Belle Fourche, South Dakota

Postby ADW 123 » Tue Apr 19, 2011 3:56 pm

right here sir. im not sure if you used a jig. i just use gypse foam. it is more chemical resistant than styrofoam, and tougher. i just stick the pins in (the ones with the round heads) and use them to hold the part down. this works pretty well for me. i do the same to the wing. (check out my arrow build for more pics of the wing in the jig if you'd like.) you only need the jig when you are shrinking and dopeing. keep in mind i use balsa shims to hold the parts off the mat so the bottom can dry neatly. i use bannana oil because it doesnt seem to really want to stick to balsa.


Image
ADW 123
 
Posts: 1158
Joined: Mon Feb 22, 2010 5:22 pm
Location: Cincinnati, Ohio

Postby Supercubber95 » Tue Apr 19, 2011 5:42 pm

I pin 'em down the same way... When I build the frame, tissue it and shrink it. It SOMEHOW manages to get warped. By the way, what tissue did you use on that purple tail pic? I use Wal-mart gift bag tissue :oops: 'cuz it comes in cool colors and don't cost much. I used some other kind once, don't know what it was called bu I loved it. Went on perfect, no wrinkles... It was real tough, like fabric almost. Real light too.
Supercubber95
 
Posts: 218
Joined: Wed Apr 21, 2010 2:13 pm
Location: Belle Fourche, South Dakota

Postby ADW 123 » Tue Apr 19, 2011 5:48 pm

that tissue is easy built tissue

http://www.easybuiltmodels.com/ebl.htm

great stuff. i avoid those kind of cheaper tissues just because of quality.

maybe you arent pinning them down well enuff? the other more likely thing is that the tissue you are useing shrinks too much, causing it to warp no matter how hard you pin it down. you could pre shrink it if that is the case.
ADW 123
 
Posts: 1158
Joined: Mon Feb 22, 2010 5:22 pm
Location: Cincinnati, Ohio

Postby Supercubber95 » Tue Apr 19, 2011 6:06 pm

Thats the stuff. Pre-shrink? How?
Supercubber95
 
Posts: 218
Joined: Wed Apr 21, 2010 2:13 pm
Location: Belle Fourche, South Dakota

Postby ADW 123 » Tue Apr 19, 2011 6:47 pm

a lot of people use picture frames. im unsure of the exact details (ive never tried it myself, i havent a need for it yet) but they temp. attach the tissue to the outside of the frame and then they gently spray with water. then they take it off and use it. i know this is esp. important for jap tissue.


so we have the wing with 1 coat of paint. it isnt totally dry yet. i like to let it dry for 5 hours at least before i start getting worked up about wrinkles. it takes a long time (longer than plain old evaporation usually takes) to comply go back tight. that is why you must be patient and wait until it is totally dry before adding another coat of paint.

Image
ADW 123
 
Posts: 1158
Joined: Mon Feb 22, 2010 5:22 pm
Location: Cincinnati, Ohio

Postby ADW 123 » Thu Apr 21, 2011 11:14 pm

cant believe that the decals turned up like that. might rip them off and get new ones. then again, this thing might crash before then, so i will wait until test flights. finally learned the hard way that it is best to wet where the decal is being placed before it is attached.

Image
ADW 123
 
Posts: 1158
Joined: Mon Feb 22, 2010 5:22 pm
Location: Cincinnati, Ohio

Postby Supercubber95 » Fri Apr 22, 2011 8:42 am

Picture is kinda fuzzy, but it looks great! I glue my decals on! Never have got the hang of the stick-on ones.
Supercubber95
 
Posts: 218
Joined: Wed Apr 21, 2010 2:13 pm
Location: Belle Fourche, South Dakota

Postby ADW 123 » Fri Apr 22, 2011 8:57 am

yes, sorry about that. i managed to loose the spinner. i had it painted and i airburshed it on a drop mat next to my desk. unforchunatly, i wasnt allowed dwn there for a day, and the workers picked up the drop mat and moved it elswhere without noticing the parts on it.

Image

hopefully she flys better than she looks. i know i could have done better on the decals.
ADW 123
 
Posts: 1158
Joined: Mon Feb 22, 2010 5:22 pm
Location: Cincinnati, Ohio

Postby ADW 123 » Mon Apr 25, 2011 2:01 pm

thanks steve. i actually did not have any issues at all where i applied tissue wet. the areas where i applied dry were actually worse than wet. i applied some gaussets, but i have learned more and more where good spots for gaussets on these. great practice. im moveing into my new model room, so production is slow. plus a 45 minute spanish oral presentation and various school assignments slow me down quite a bit, but they must be done first.
ADW 123
 
Posts: 1158
Joined: Mon Feb 22, 2010 5:22 pm
Location: Cincinnati, Ohio

Postby Supercubber95 » Tue Apr 26, 2011 9:57 pm

hopefully she flys better than she looks. i know i could have done better on the decals
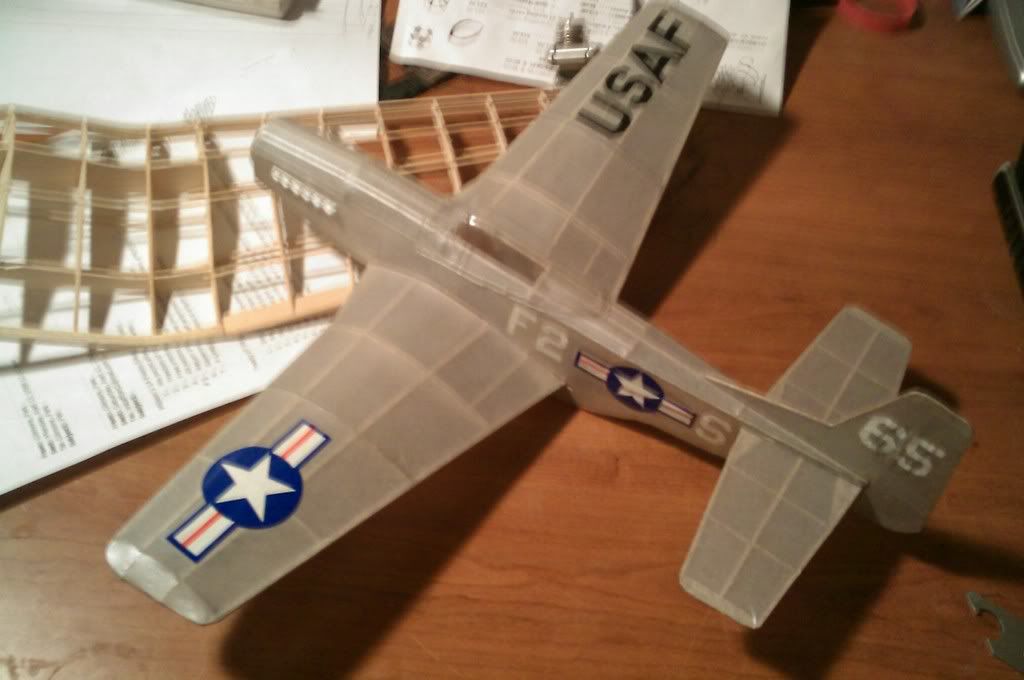
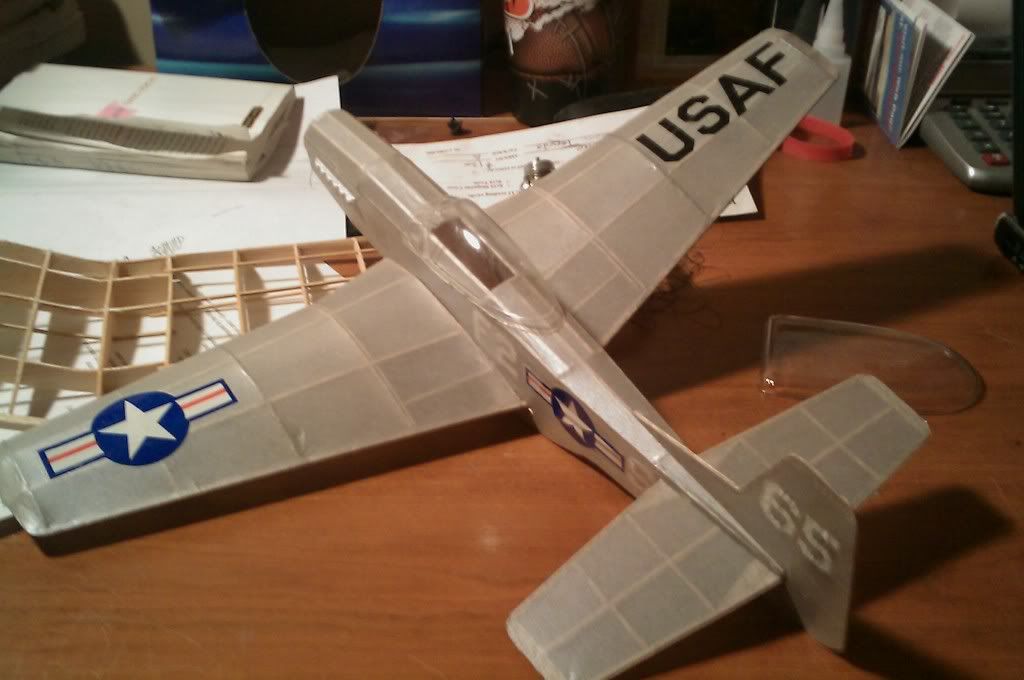
HA! HA! If she flies better than she looks, you'll never find her!
Supercubber95
 
Posts: 218
Joined: Wed Apr 21, 2010 2:13 pm
Location: Belle Fourche, South Dakota

Postby ADW 123 » Tue Apr 26, 2011 9:59 pm

LOL supercubber. im still waiting on a perfect flying day. now, the front has anti glare panel has been added with some black sharpie.
ADW 123
 
Posts: 1158
Joined: Mon Feb 22, 2010 5:22 pm
Location: Cincinnati, Ohio

PreviousNext

Return to General Building Questions

Who is online

Users browsing this forum: No registered users and 49 guests

cron