Some Comet/ now Guillows Builds?

Ask other modelers for a little help / knowledge ?

Some Comet/ now Guillows Builds?

Postby scigs30 » Wed Jun 30, 2010 11:25 pm

I have been switching between Guillows and Comet builds over the last couple of years. I have not posted any of my Comet builds here since they were technically not Guillows. After talking with some friends, they reminded me that Guillows did buy out Comet and there was some talk about Guillows releasing new Comet kits. These are simple builds, built straight from the box with no major modifications. Comet kits were very basic and affordable. The wood is decent quality and yes it is print wood. These would be pretty cheap kits for Guillows to reproduce if they wanted and if there was a market for them. Right now I am working on the Mustang and just finished the Spitfire. Also is a picture of my Comet WWII collection so far. P.S if anyone feels this is not the place for me to post Comet kits, let me know and I will no longer post my Comet kits here.
Image
Image
Image
Image
Image
Image
Image
Image
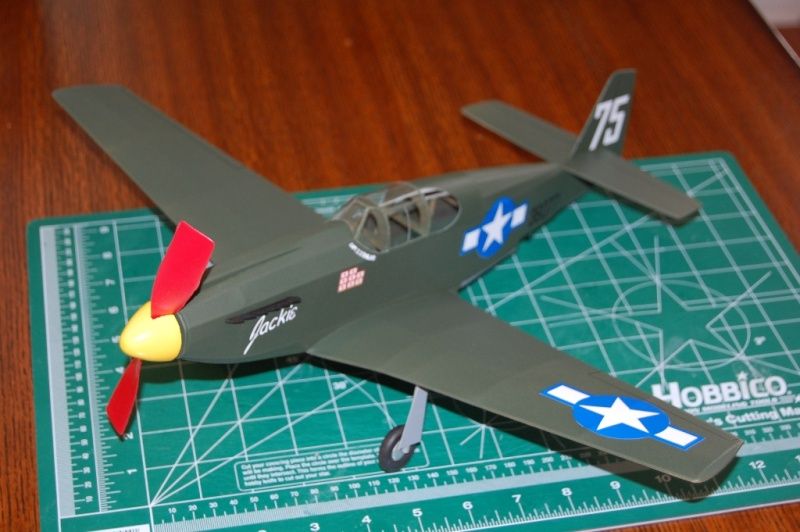
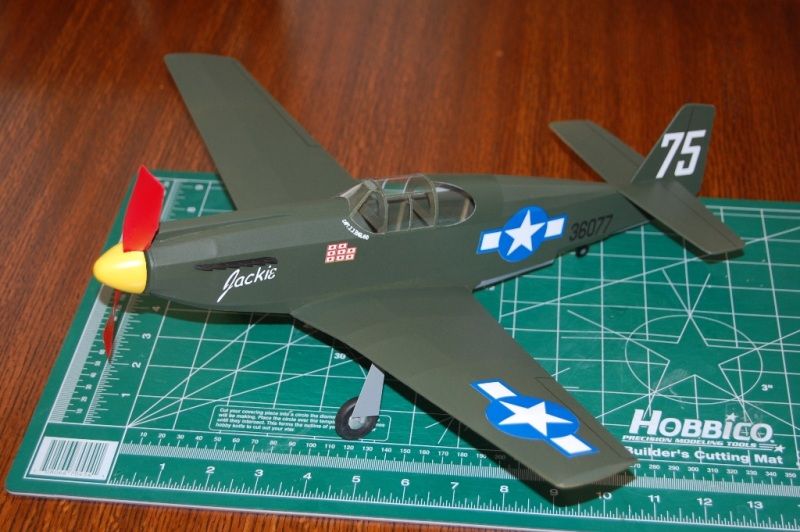
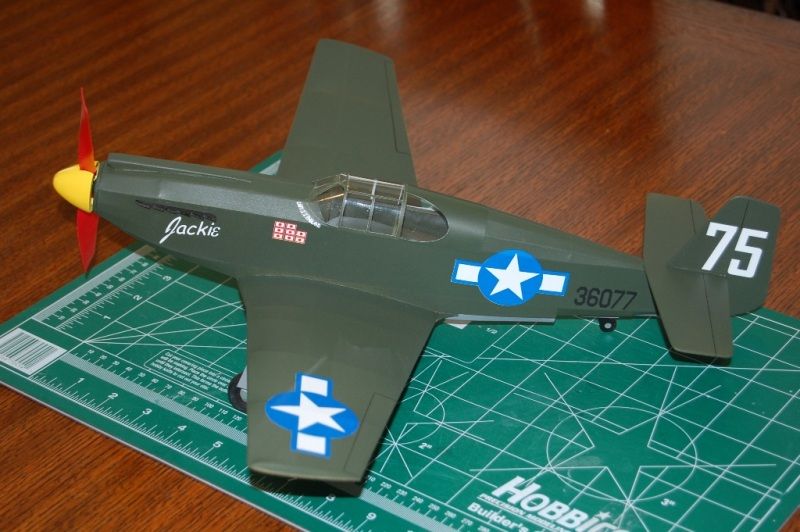
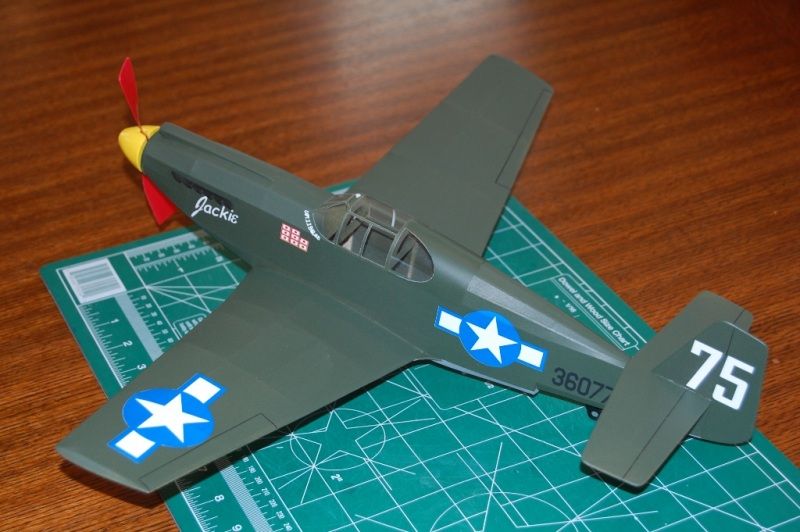
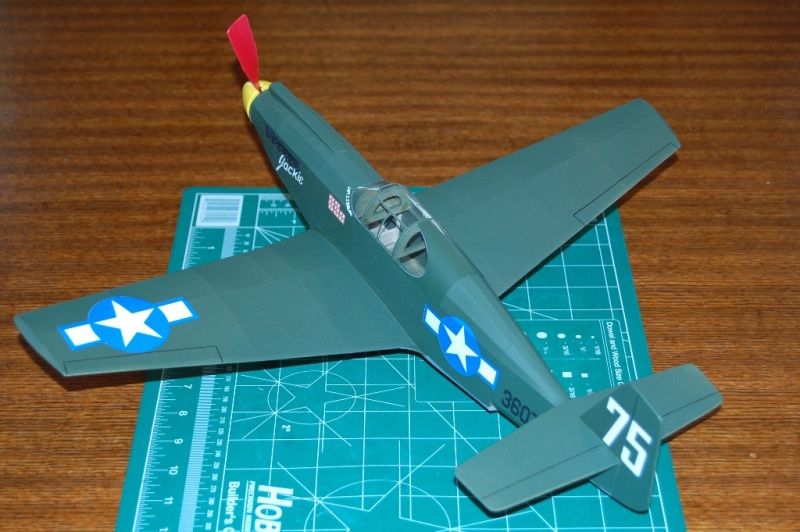
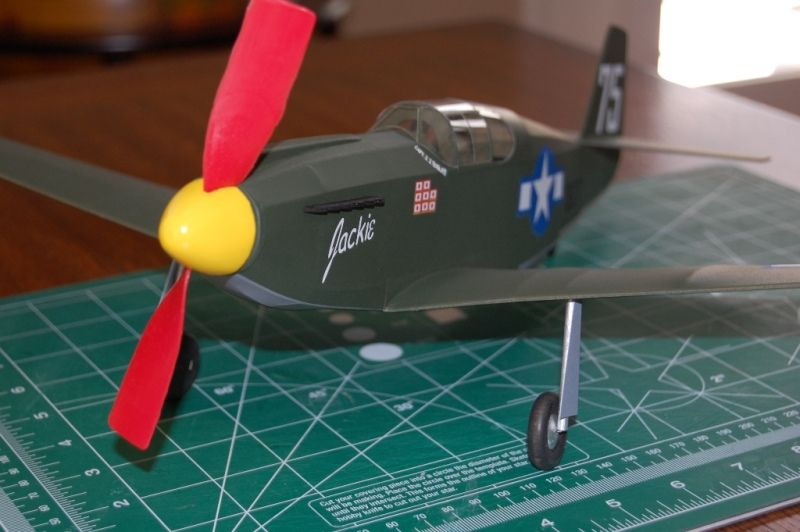
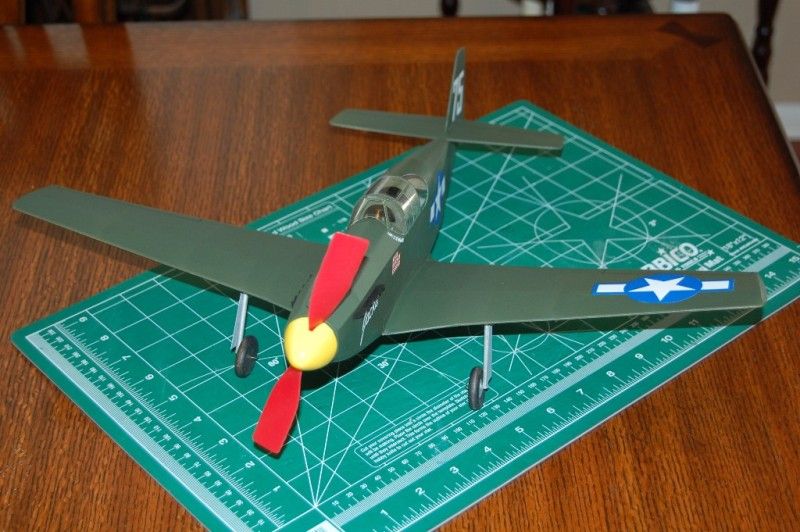
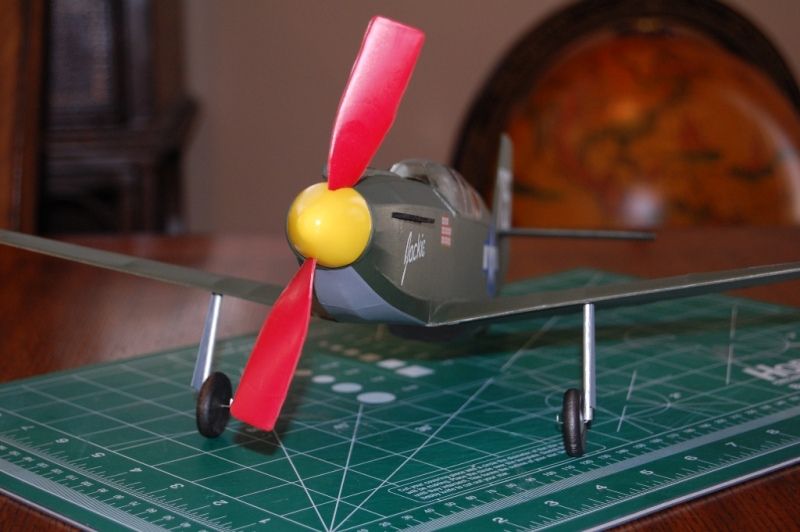
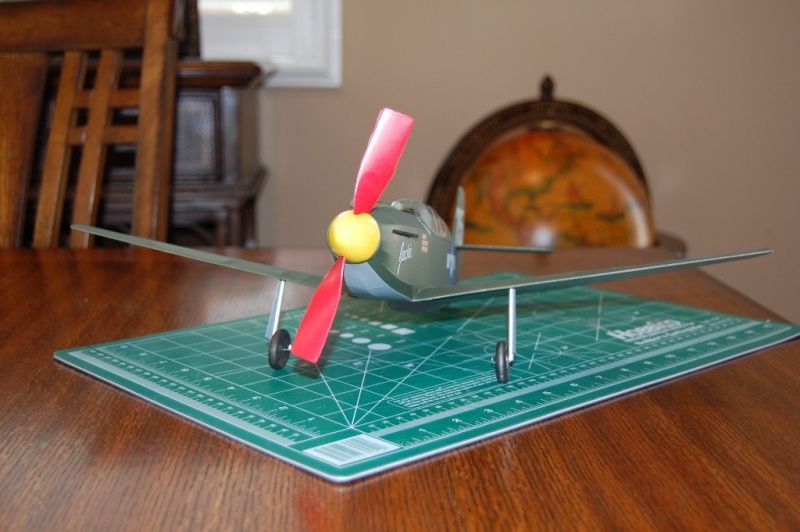
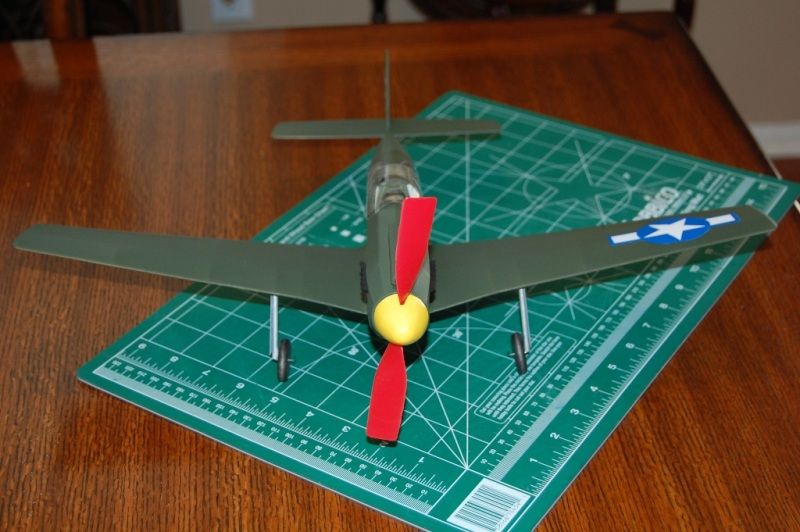
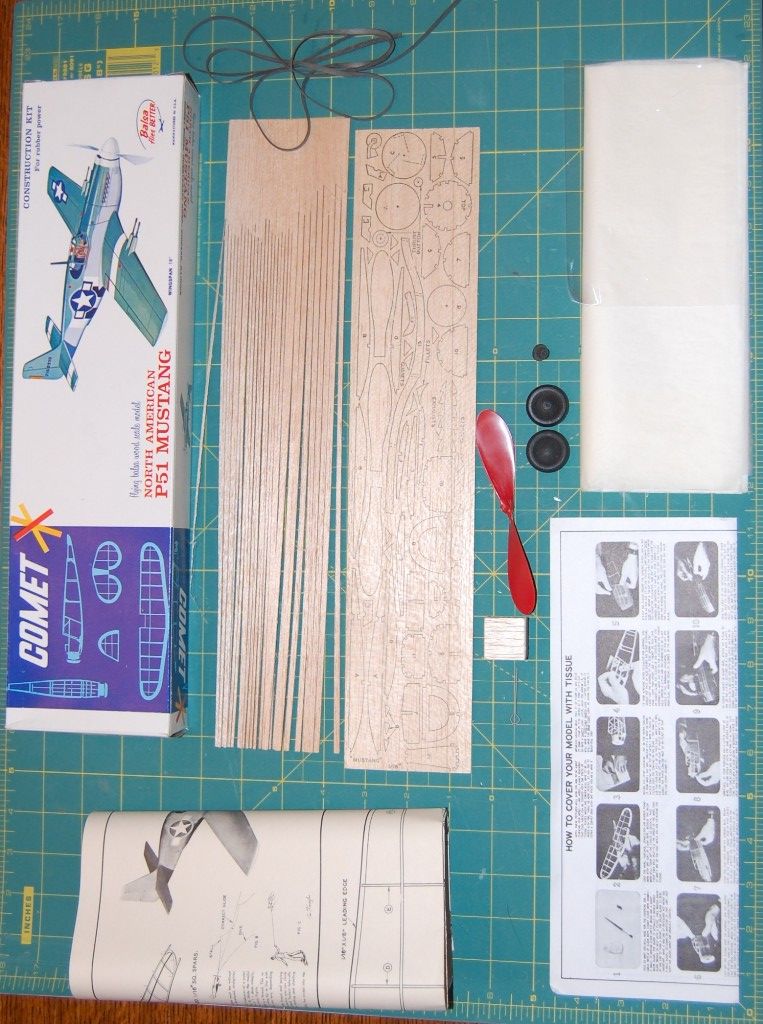
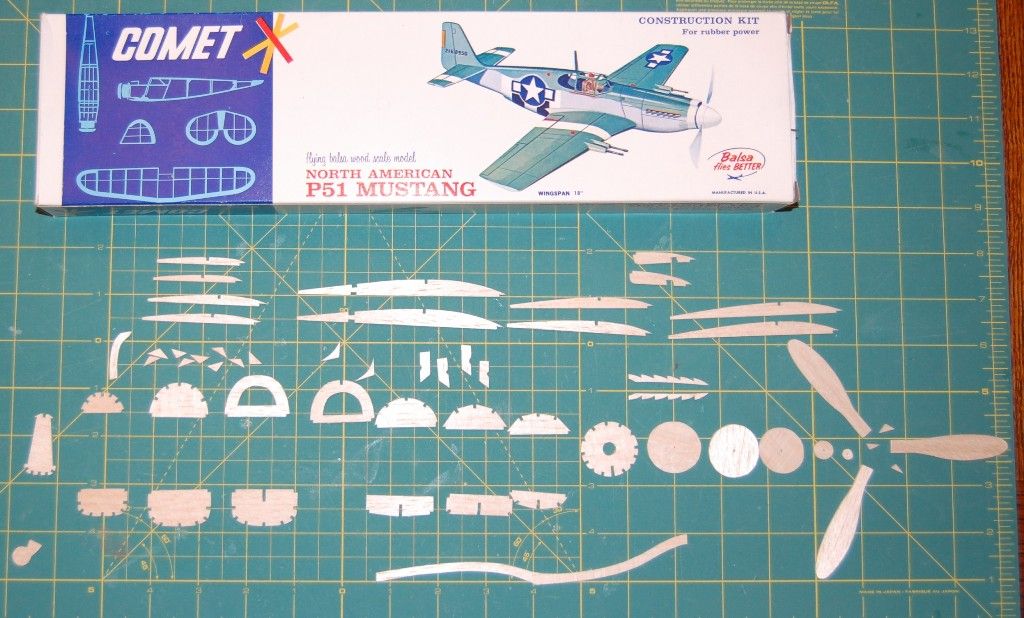
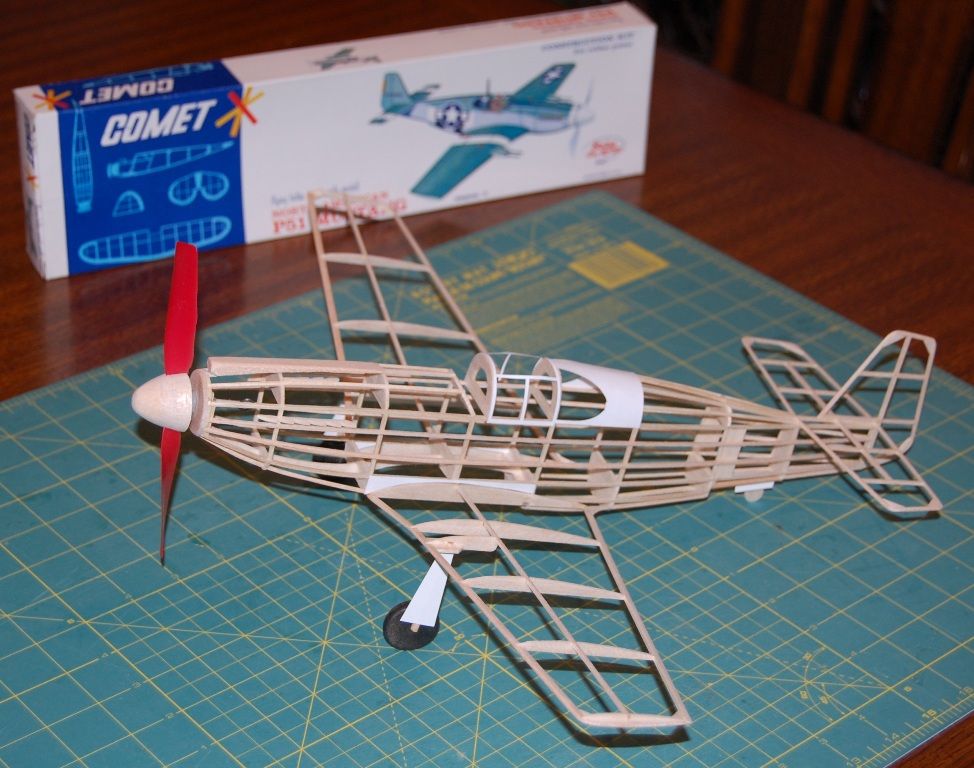
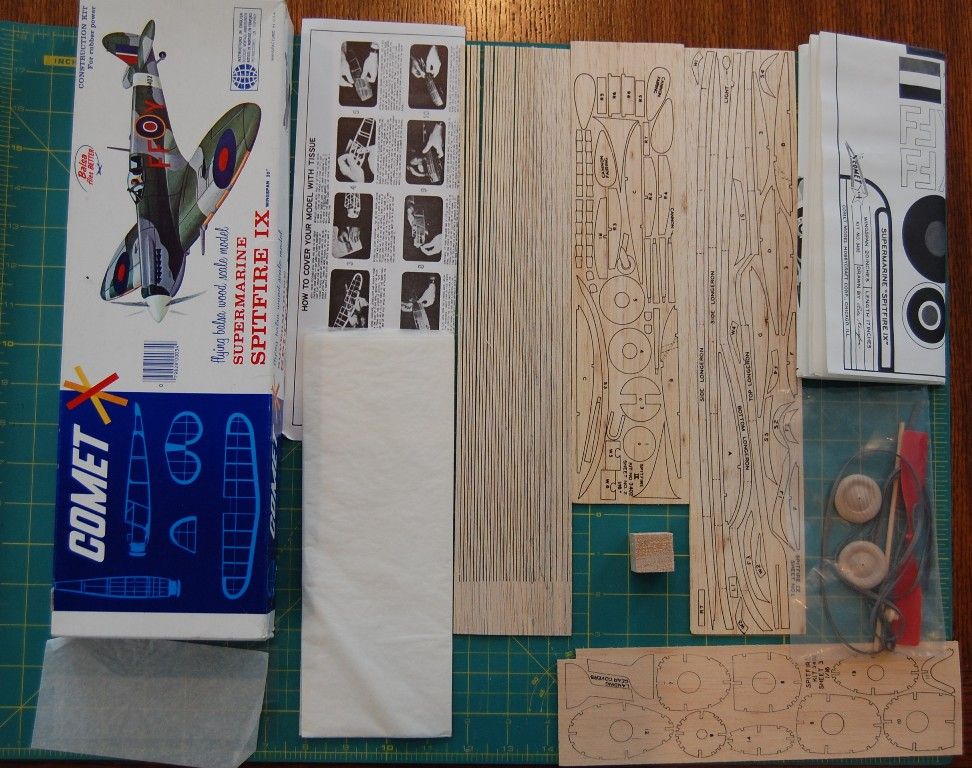
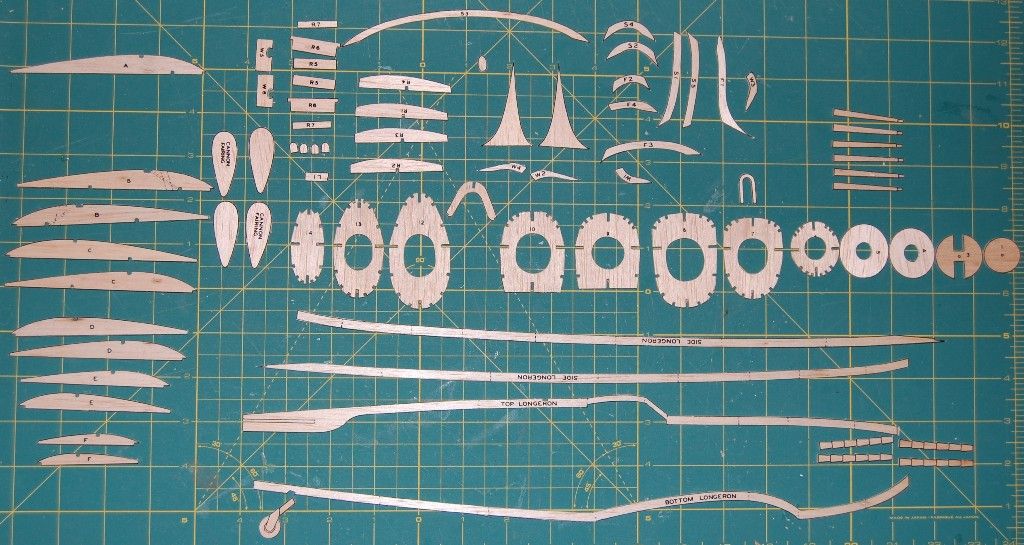
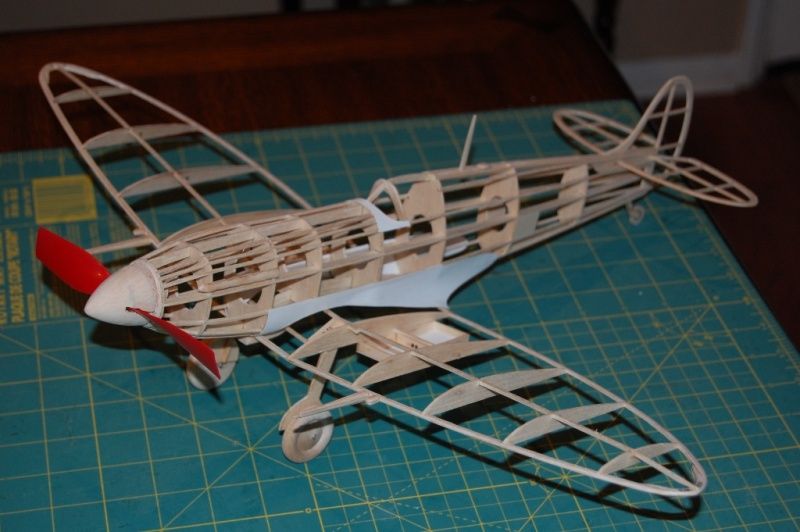
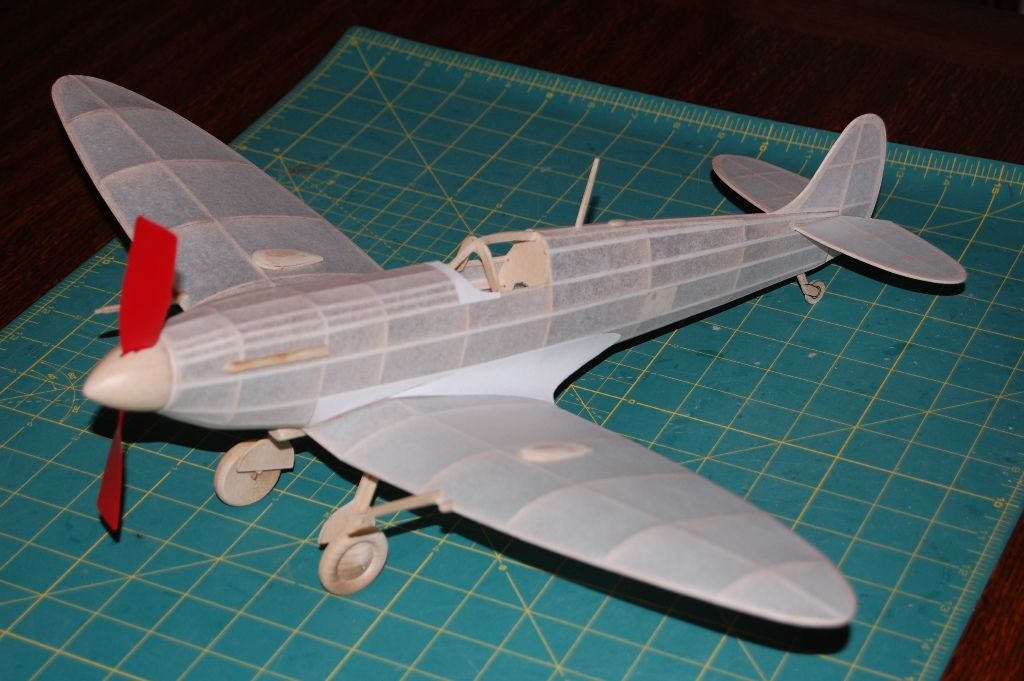
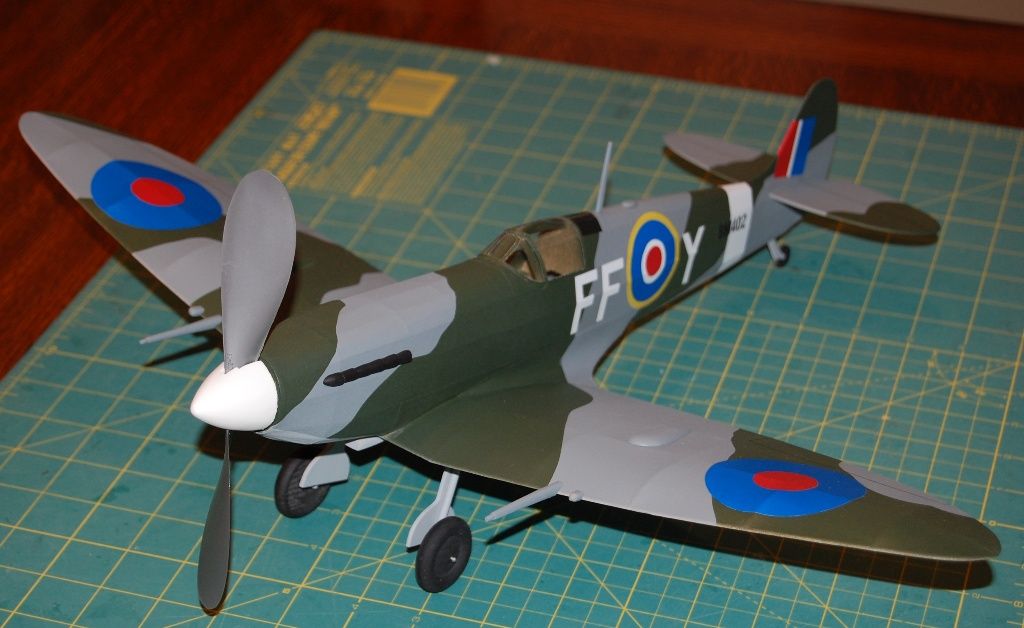
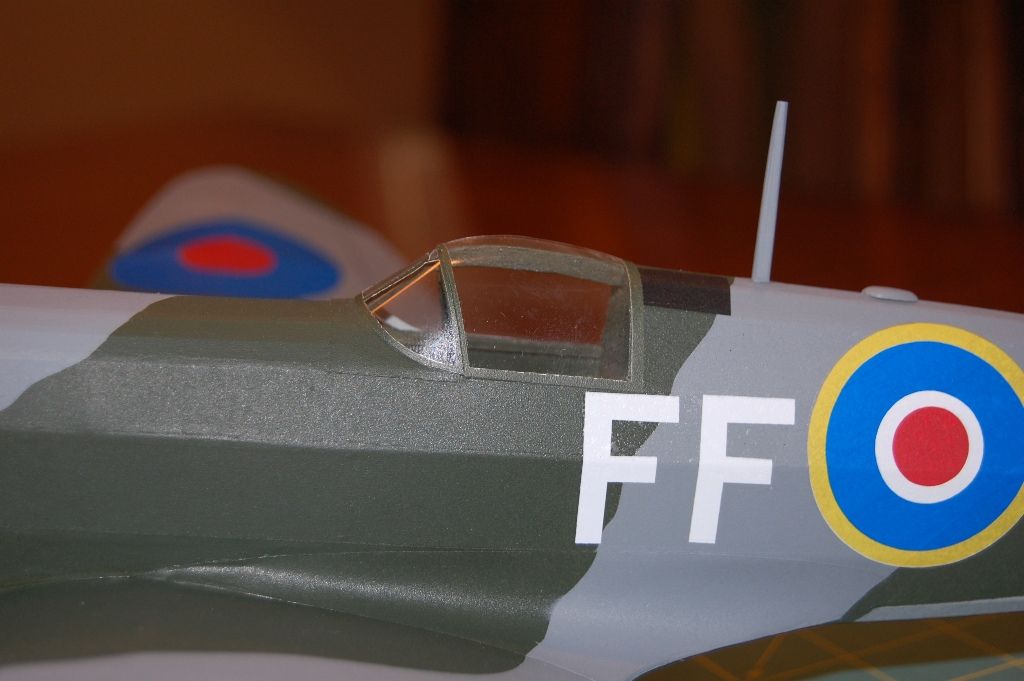
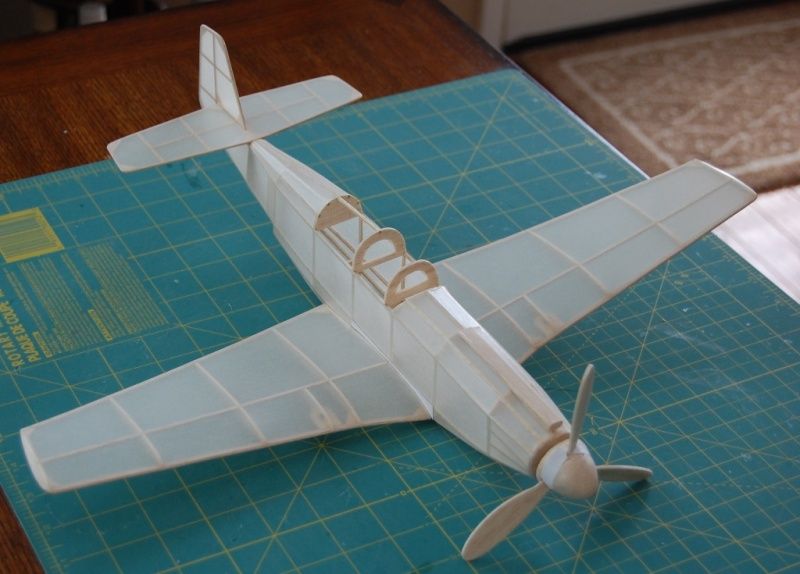
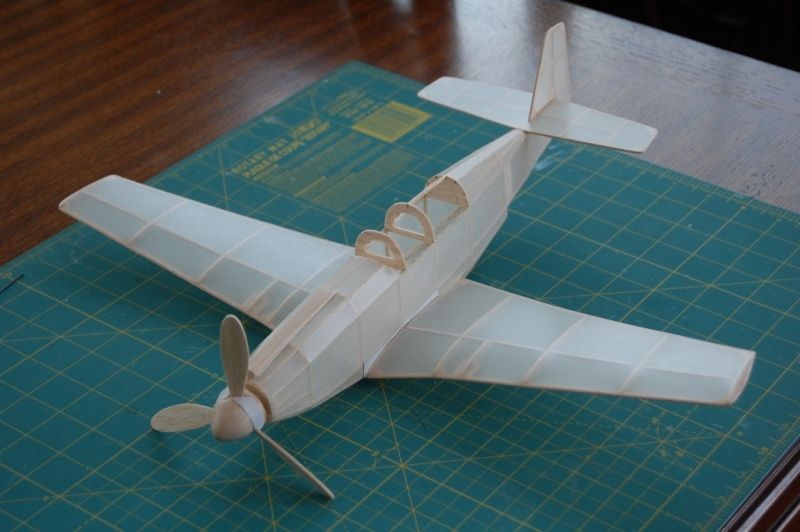
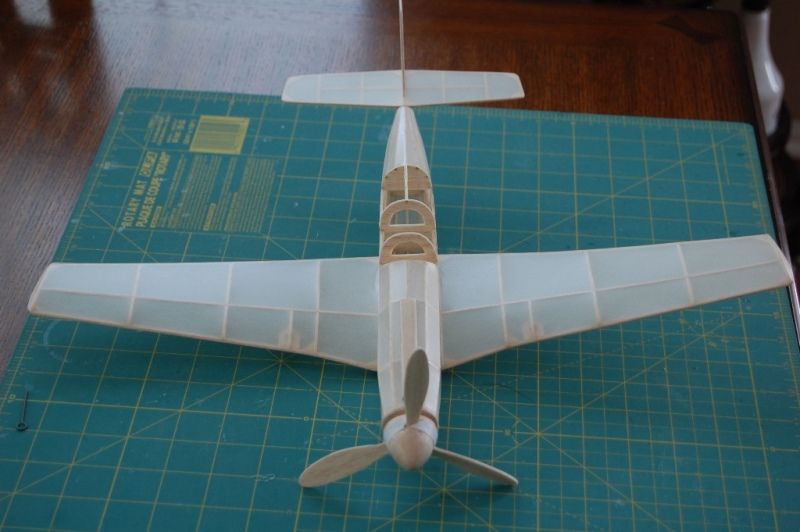
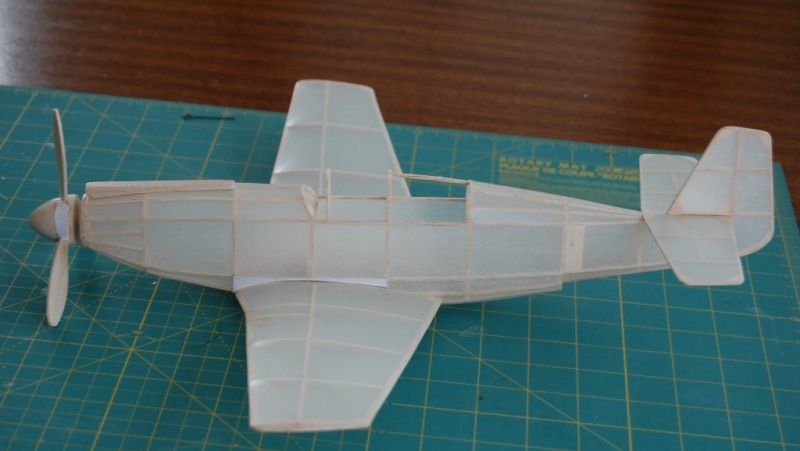
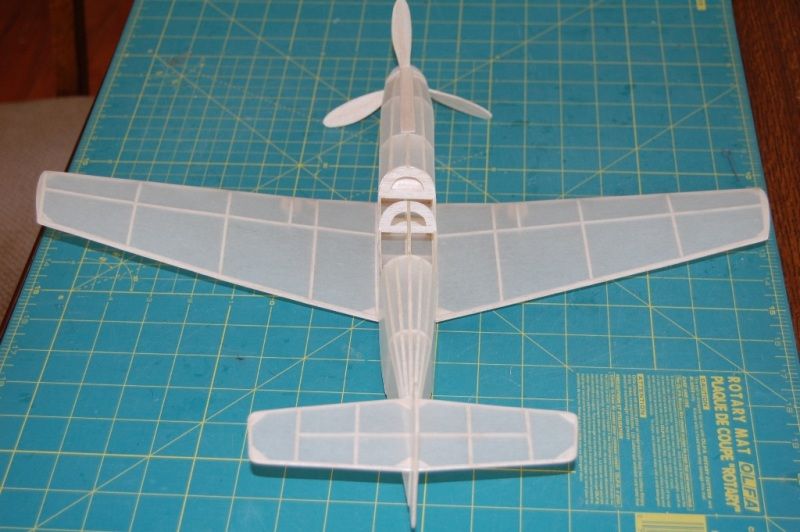
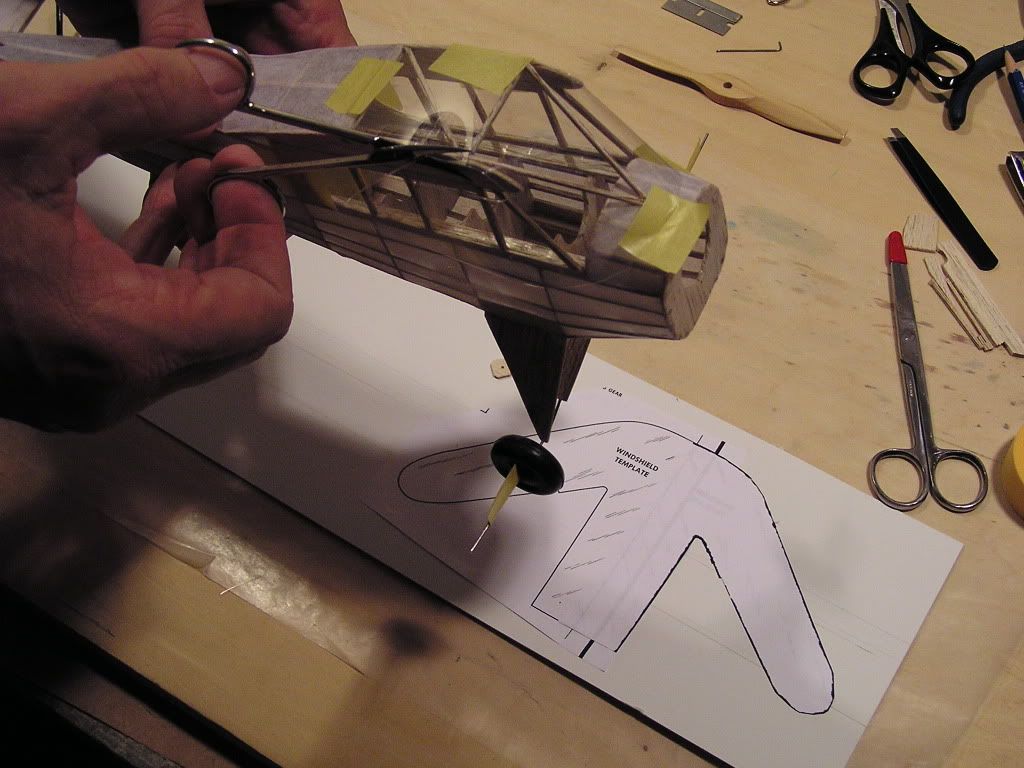
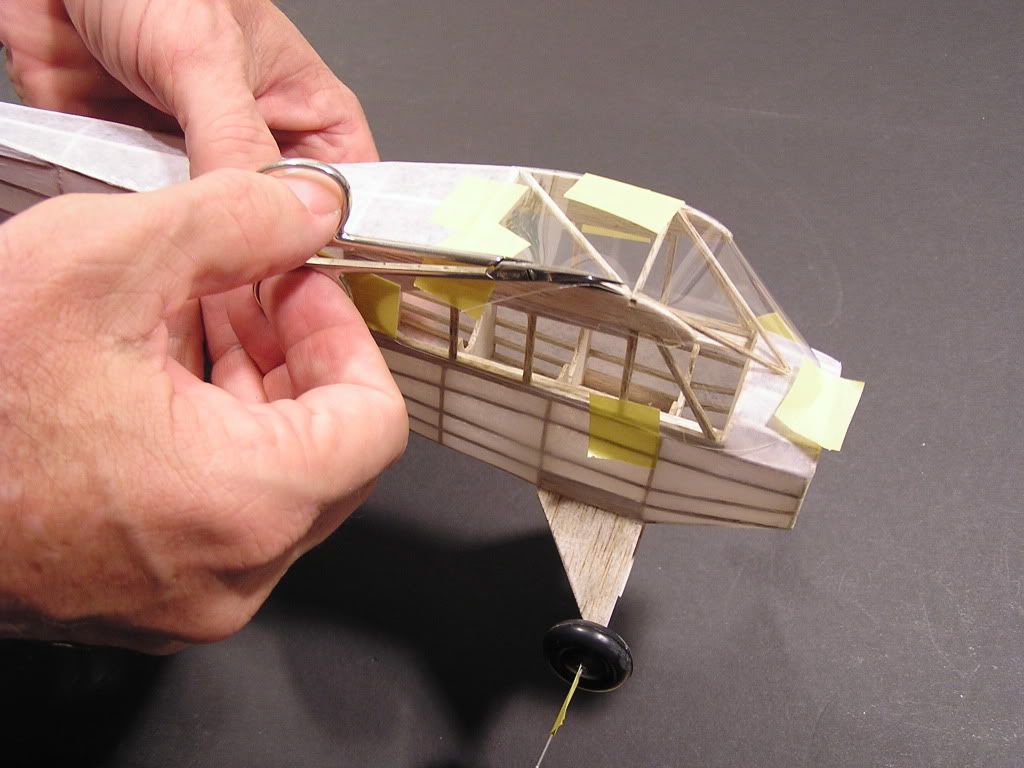
Comet kits did not comet with plastic canopies, but thats ok.
Image
Image
scigs30
 
Posts: 844
Joined: Mon Nov 06, 2006 11:31 am

Postby TJH » Thu Jul 01, 2010 6:53 am

It is nice to see the activity with the Comet kits, and as you mention, Guillow's did acquire Comet. I was lucky enough to find the first kit I built from Comet last year. I hope what you mentioned becomes true that there may be some new Comet kits released by Guillow.
TJH
 
Posts: 36
Joined: Wed Nov 26, 2008 2:43 pm
Location: USA

Postby scigs30 » Sun Jul 04, 2010 5:52 pm

I covered the wing and fuselage with Japanese tissue pre-shrunk on a picture frame. I applied the tissue with thinned down white glue and shrunk with light mists of water. Everything looked great after shrinking but 1 hour later, my wing developed small stress winkles at the root ribs. knowing I was going to use Japanese tissue, I added some gussets, but I should have laminated two 1/16 root ribs to prevent the stress wrinkles. At this point the stab and rudder have not been covered so I pre shrunk the tissue again on a small frame and then covered the tail surfaces. If I used Domestic tissue then I probably would not have had those issues, but man I sure like the look of white Japanese tissue. I like both types of tissue equally and really don't prefer one over the other. I did remove the side stringers since they did not look right under the tissue. 2 coats of dope have been applied and now she is off to the paint shop. The prop is built per the plans for display only, I won't try to fly her with the balsa prop, probably use a peck prop.
Image
Image
Image
Image
Image
Image
Image
Image
scigs30
 
Posts: 844
Joined: Mon Nov 06, 2006 11:31 am

Postby scigs30 » Mon Jul 05, 2010 11:21 am

Well, I woke up this am and noticed the stress wrinkles on the wing have increased, so I decided to remove the covering from the wings. Trust me this is pretty easy to do since I cover with diluted white glue. I first cut the tissue away then brush water over the attached tissue. I have to let this soak in through the 2 coats of dope, but when it reaches the glue, the tissue releases super easy. Now I am going to add a little brace at the root rib then pre shrink the tissue twice and re cover the wing.
scigs30
 
Posts: 844
Joined: Mon Nov 06, 2006 11:31 am

Postby scigs30 » Wed Jul 07, 2010 2:58 pm

So after soaking the tissue and peeling it right off, I gave everything a little sanding job and began covering again. I pre shrunk the tissue on an old picture frame X2. I then began covering the wing. I knew that there was a little shrink left so I had to put the tissue on pretty tight. I then shrink the tissue on the wing and everything came out nice and tight with no wrinkles or bowing of the light balsa structure. Now I am back on track.
Image
Image
The wing before I mist it with alcohol.
Image
I apply my washout while the wing is drying in the jig.
Image
Image
scigs30
 
Posts: 844
Joined: Mon Nov 06, 2006 11:31 am

Tissue Covering & Primer

Postby jack lee » Thu Jul 08, 2010 4:08 pm

I like the detail in your description; it is very helpful. You take such care in building your models. It's an inspiration. A while back in one of your posts you said that even though things don't always go exactly right you keep moving forward and don't quit. It's been wise advice for my first build.

The past two days I've used a spray primer that my local hobby shop recommended. They said they were not sure if it would shrink the covering. Instead, some of the covering has sagged even though I put on three coats of clear dope before the primer. Wrong primer, I guess.

There are some other beginner's flaws in my craftsmanship too, but after replacing 2 or 3 stringers, which were curved from over sanding, and after replacing some of the tissue covering and then priming, I just want to move forward. I'm getting anxious to finish this build, even with the flaws. I'll try to apply the lessons I've learned to the next model.

I wanted to upload some recent photos, but my link to Photobucket is stuck right now. I'll try later.

Thanks again for your updates.
jack lee
 
Posts: 44
Joined: Mon May 31, 2010 3:53 pm
Location: Sonoma County, CA

Postby jack lee » Thu Jul 08, 2010 6:05 pm

Before the primer, I practiced trimming the canopy with a piece of acetate using the technique you described. It works!


[IMG]http://i916.photobucket.com/albums/ad9/jackleeartist
P1010054.jpg[/IMG]

Image

Image

Primer photos:

Image


Image
jack lee
 
Posts: 44
Joined: Mon May 31, 2010 3:53 pm
Location: Sonoma County, CA

Postby scigs30 » Sat Jul 10, 2010 5:12 pm

What type of dope did you use? If Nitrate then you should be fine with Tamyia primers, but if Butyrate then there could be issues with compatibility.
scigs30
 
Posts: 844
Joined: Mon Nov 06, 2006 11:31 am

Postby scigs30 » Sat Jul 10, 2010 5:14 pm

I finished the Comet Mustang today and she is ready for flight. Final weight is 15 grams.
Image
Image
Image
Image
Image
Image
Image
Image
Image
Image
scigs30
 
Posts: 844
Joined: Mon Nov 06, 2006 11:31 am

Postby jack lee » Sat Jul 10, 2010 8:11 pm

Your Comet Mustang is very sleek and beautiful! Great craftsmanship.

On the Piper Cub I used sig nitrate clear dope thinned to 50%; three coats after applying the tissue, but not on the naked stringers, formers, etc. I like the clear dope very much and I'm wondering, on my next build, if I can go from clear dope strait to painting without using primer at all.
jack lee
 
Posts: 44
Joined: Mon May 31, 2010 3:53 pm
Location: Sonoma County, CA

Postby scigs30 » Sat Jul 10, 2010 9:05 pm

I build my models to fly, so I never prime them. I just brush on 2 coats of clear dope and begin painting.
scigs30
 
Posts: 844
Joined: Mon Nov 06, 2006 11:31 am

Postby jack lee » Sun Jul 11, 2010 6:27 pm

Thanks!
jack lee
 
Posts: 44
Joined: Mon May 31, 2010 3:53 pm
Location: Sonoma County, CA

Postby cliffm » Mon Jul 12, 2010 12:00 pm

As I look at the mustang I'm more toward leaning to the idea that Comet's mustang is more scaled to an A-36 rather than a true mustang. Notice the top air scoop for carburetor air and the small number of wing guns. I'm not trying to be petty,but there is a difference. The mustang isone of the models that would make a great addition to the Guillow's 2000 series. Oh, beautiful craftsmanship as usual, I always look forward to your posts.
cliffm
 
Posts: 370
Joined: Fri Feb 27, 2009 11:08 am
Location: fairdale N D

Postby scigs30 » Mon Jul 12, 2010 11:12 pm

I agree, I think it is more like the A36 Apache.
scigs30
 
Posts: 844
Joined: Mon Nov 06, 2006 11:31 am

Postby Arlo DiPasquale » Sun Jul 25, 2010 7:40 am

or it could be the "A" model mustang, which had an allison engine just like the a-36...
Arlo DiPasquale
 
Posts: 207
Joined: Tue Jun 10, 2008 9:22 am
Location: Minneapolis, MN

Next

Return to General Building Questions

Who is online

Users browsing this forum: No registered users and 96 guests