man I hate to keep asking questions ,but your builds look so neat, did you cut each piece of tissue exact size for each section, or over size and then trim?
Ronnie
500 Series P-40 Build
47 posts
• Page 2 of 4 • 1, 2, 3, 4
![]() by r wheatley » Wed Feb 10, 2010 4:23 pm
by r wheatley » Wed Feb 10, 2010 4:23 pm
- r wheatley
- Posts: 81
- Joined: Wed Dec 05, 2007 11:15 pm
- Location: alabama
![]() by scigs30 » Wed Feb 10, 2010 7:48 pm
by scigs30 » Wed Feb 10, 2010 7:48 pm
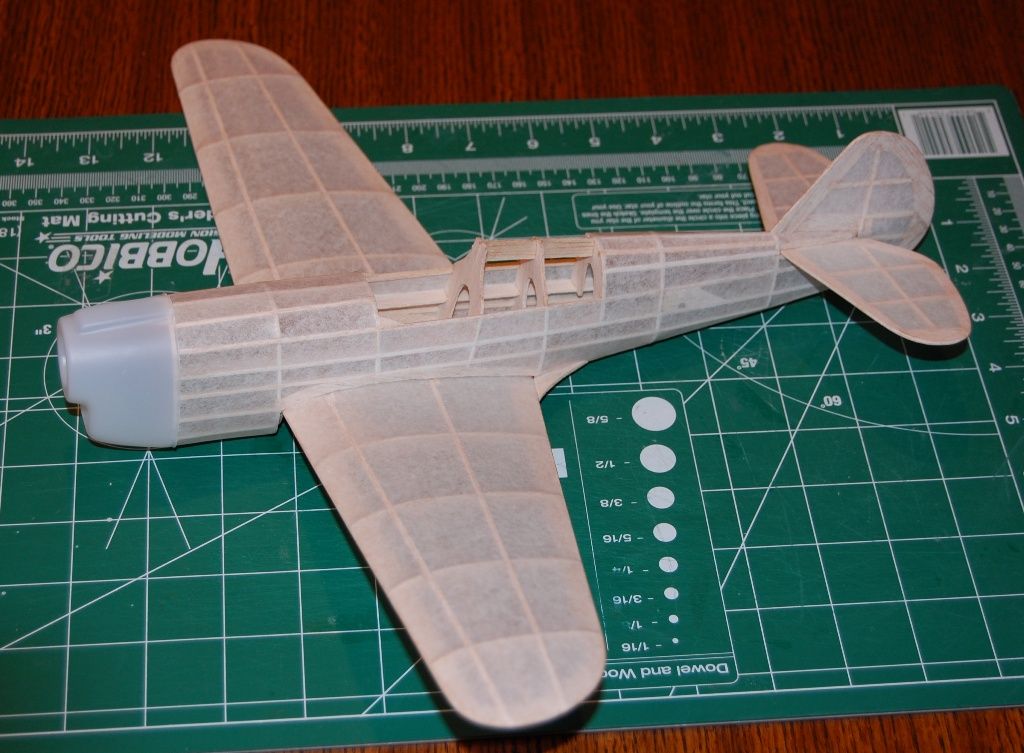
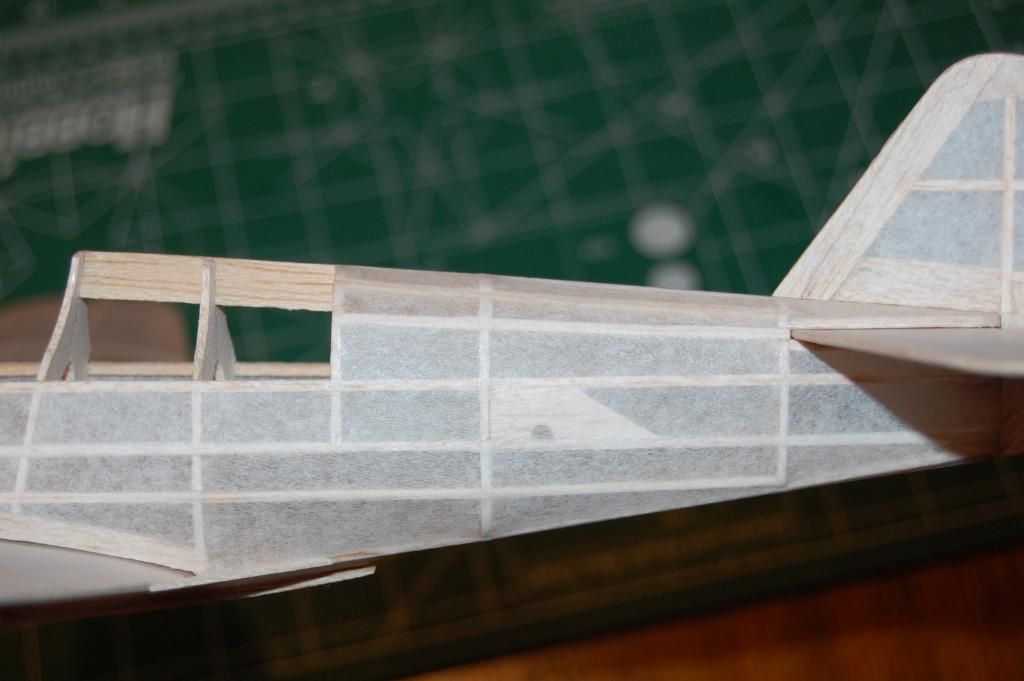
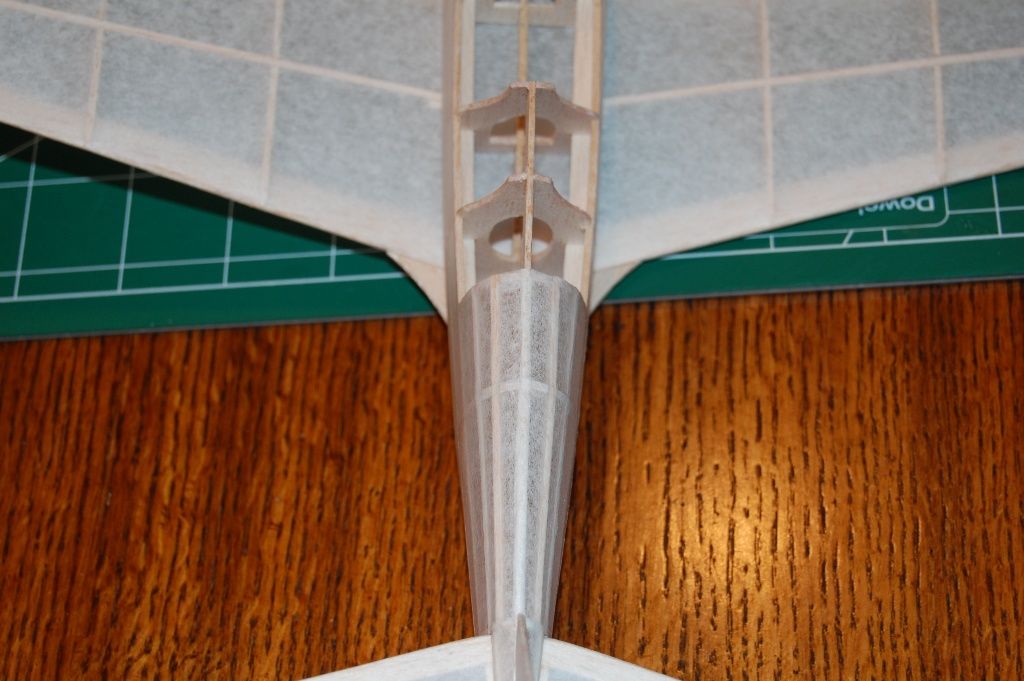
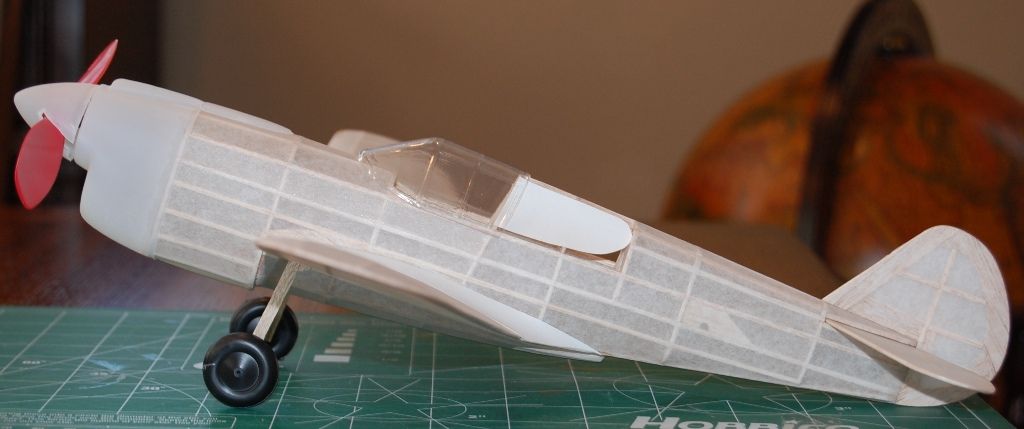
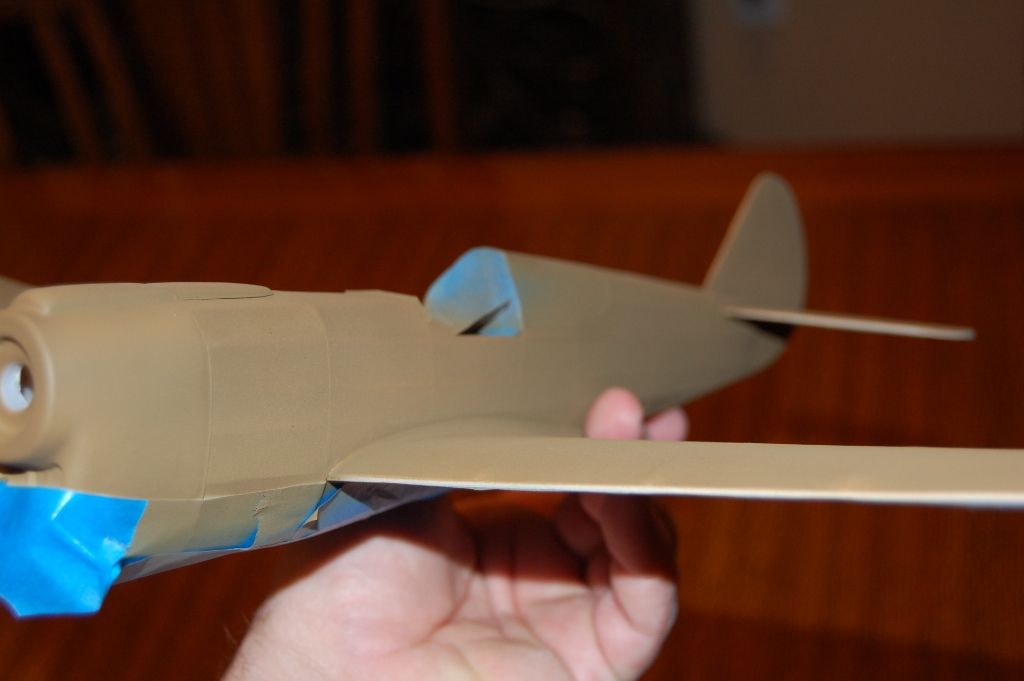
I would only trim one side. The in between formers was cut exact using the plans. Then the only over hand or extra I had was over the top keel or bottom keel. That was the only parts that needed trimming. Also I cut the tissue off behind the canopy and added a stringer and recovered. The sagging effect was really bothering me.
- scigs30
- Posts: 844
- Joined: Mon Nov 06, 2006 11:31 am
![]() by scigs30 » Fri Feb 12, 2010 12:13 am
by scigs30 » Fri Feb 12, 2010 12:13 am
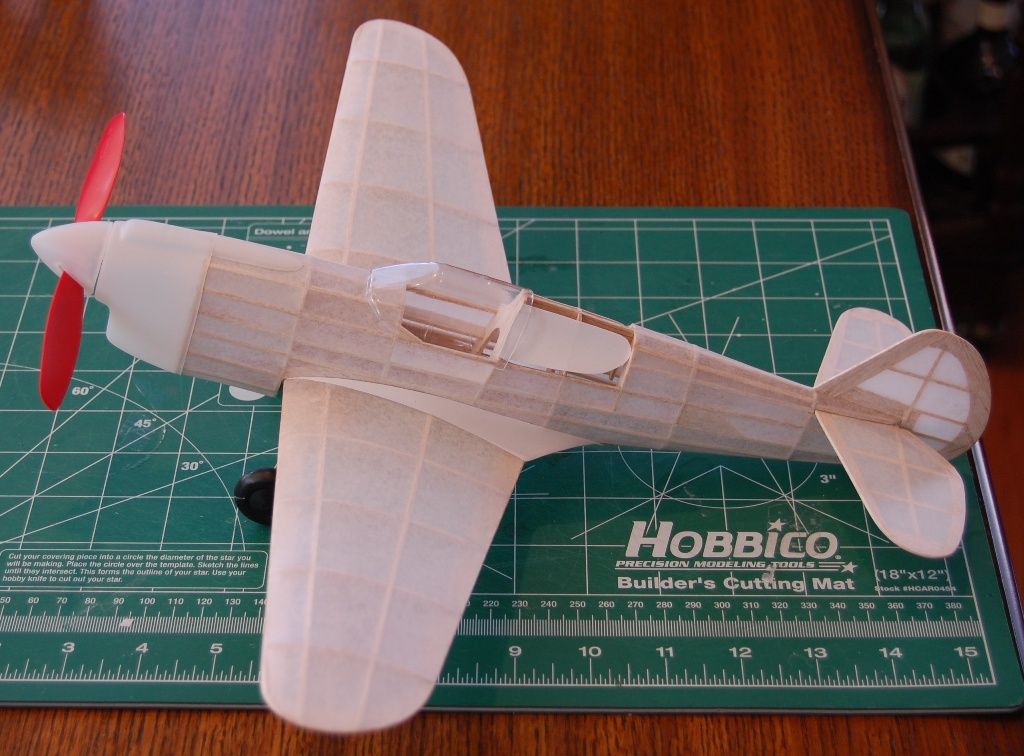
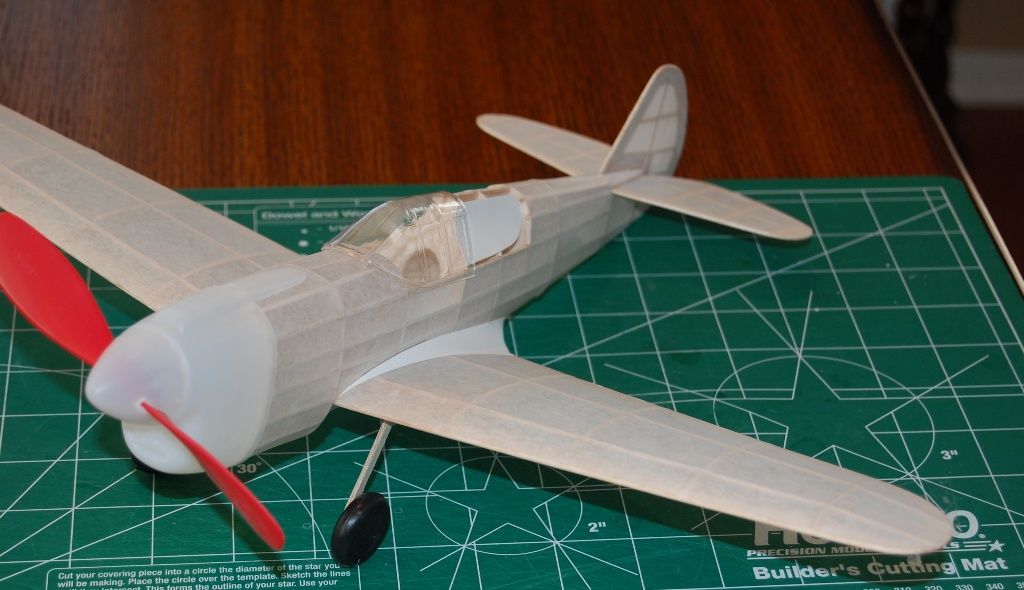
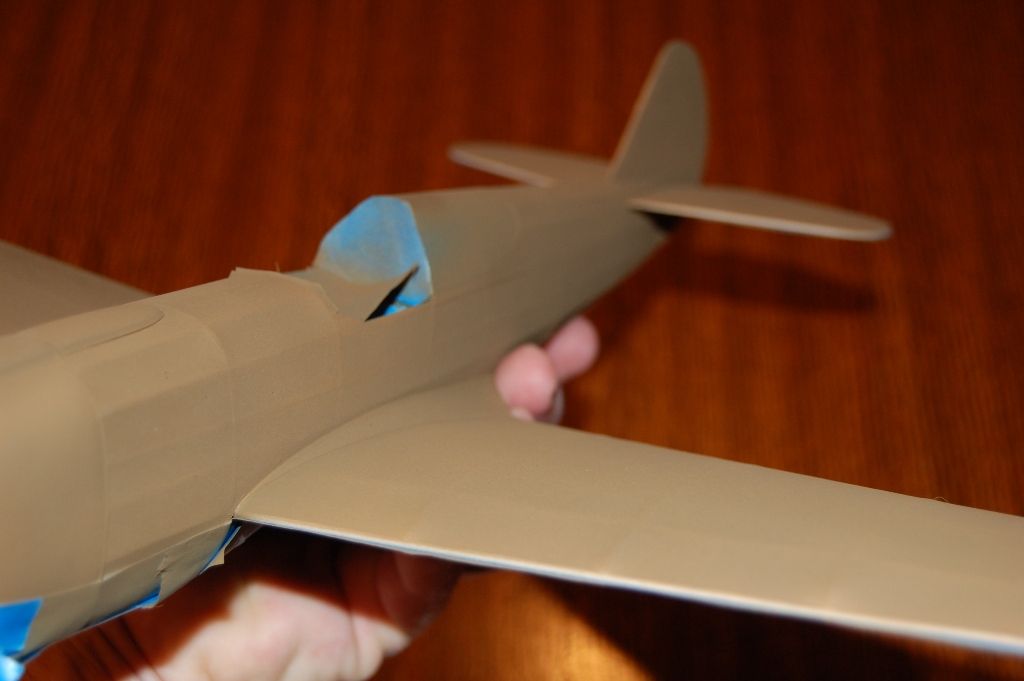
I have mostly everything covered. I normally do 2 coats of dope, but this time I did 3 to help with the acrylics. I will let you know how that goes. Esaki handles the acrylics just fine with 1 or 2 coats of dope. The top rear portion of the fuselage behind the cockpit was bothering me way too much. So I stripped the tissue and added a stringer so there is no tissue sag....Now I am happy. Once again I am pretty pleased with how the fuselage came out. I think I was 9 or 10 years old when I covered like this last. Definitely a good method for a beginner or if there is a complicated fuselage. Next I will finish the bottom belly and cover that. Then I will add the paper fillets and rear canopy. I bought my paints today and will begin airbrushing next week. This may take some time since I think I will mask this bird.
- scigs30
- Posts: 844
- Joined: Mon Nov 06, 2006 11:31 am

Covering Question?
![]() by Steve_in_NH » Mon Feb 15, 2010 9:18 pm
by Steve_in_NH » Mon Feb 15, 2010 9:18 pm
scigs30 wrote:With the fillets done, the bottome covered, I am ready for the paint shop tomorrow.
When you attach adjacent sections of tissue, do you overlap the pieces or cut them to mate exactly? Thanks for any help in advance. Really enjoyed the progress of this build.
- Steve_in_NH
- Posts: 3
- Joined: Wed Mar 04, 2009 6:39 pm
![]() by scigs30 » Mon Feb 15, 2010 11:22 pm
by scigs30 » Mon Feb 15, 2010 11:22 pm
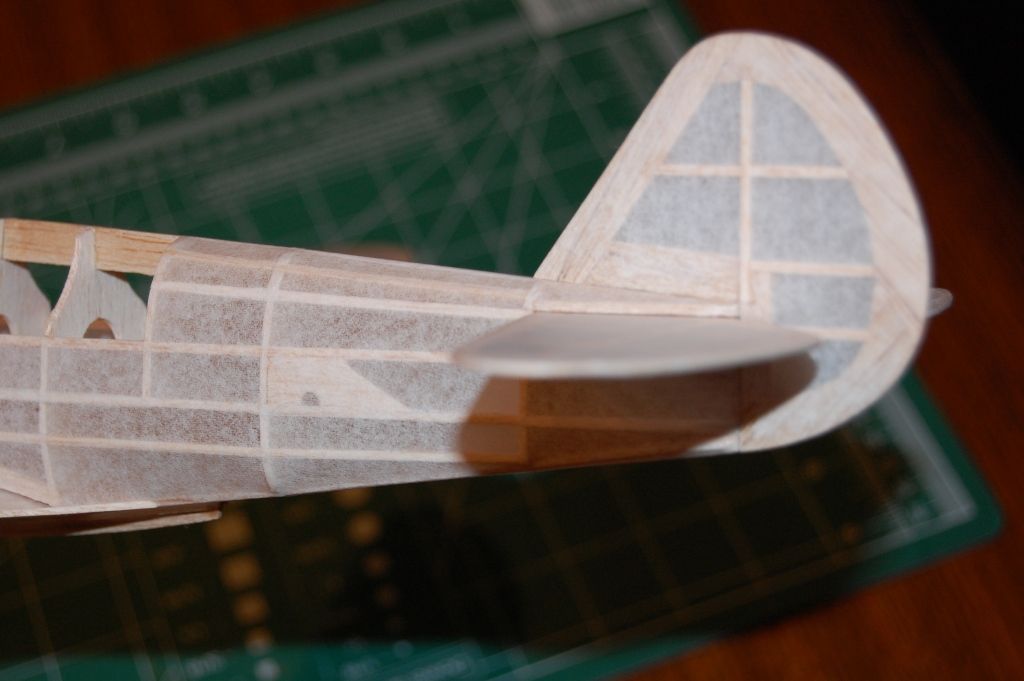
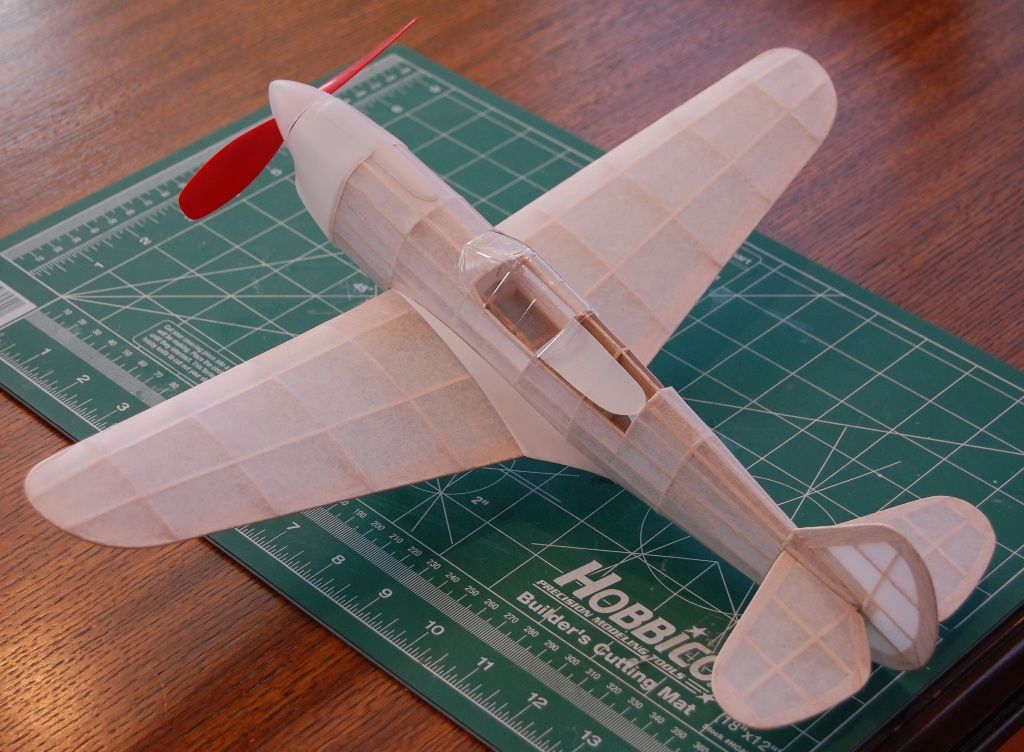
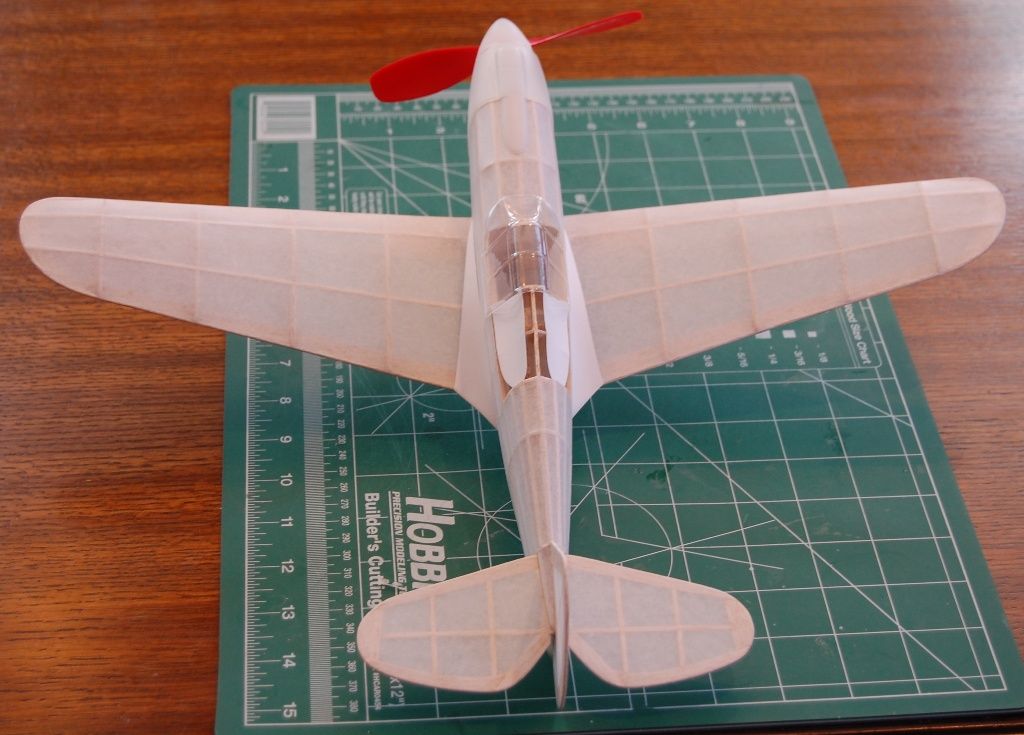
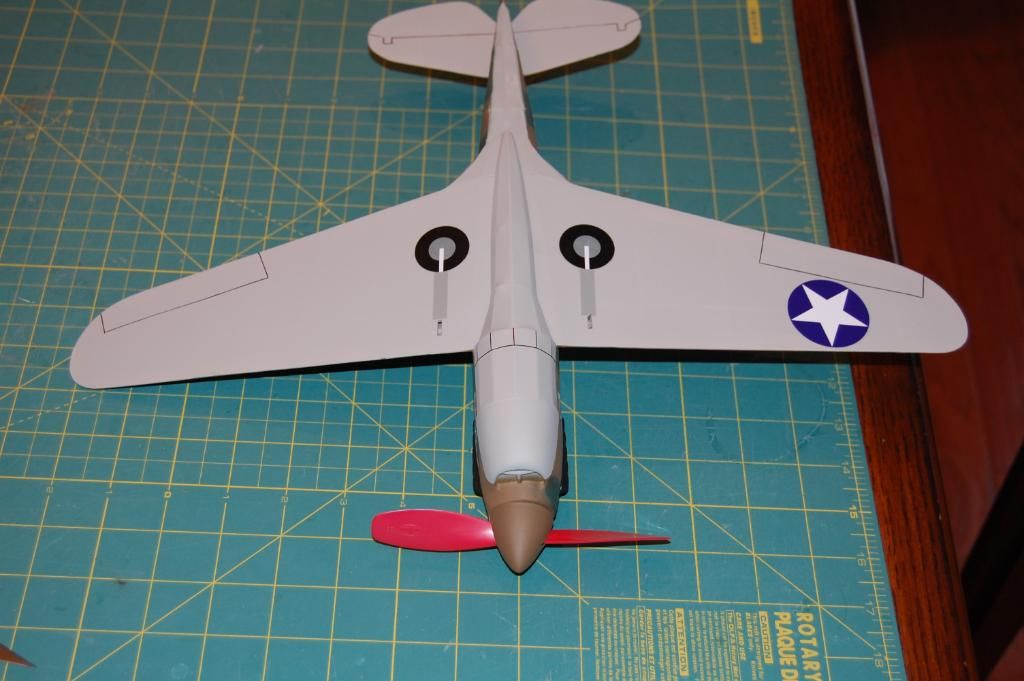
Steve, Obviously since I covered in many sections, there is a lot of overlapping. Still, I try to do a nice job, and each section overlaps by 1/16 of an inch. This is white tissue so that is why you don't see the overlaps. I Promise you that if it was colored tissue, you would see the overlaps.
- scigs30
- Posts: 844
- Joined: Mon Nov 06, 2006 11:31 am
![]() by r wheatley » Thu Feb 18, 2010 8:40 pm
by r wheatley » Thu Feb 18, 2010 8:40 pm
do you use the same acrylic paints that are used on plastic models, like model masters, and does the tissue sag again when you spray it?
plane looks great!
Ronnie
plane looks great!
Ronnie
- r wheatley
- Posts: 81
- Joined: Wed Dec 05, 2007 11:15 pm
- Location: alabama
![]() by scigs30 » Sat Feb 20, 2010 1:43 pm
by scigs30 » Sat Feb 20, 2010 1:43 pm
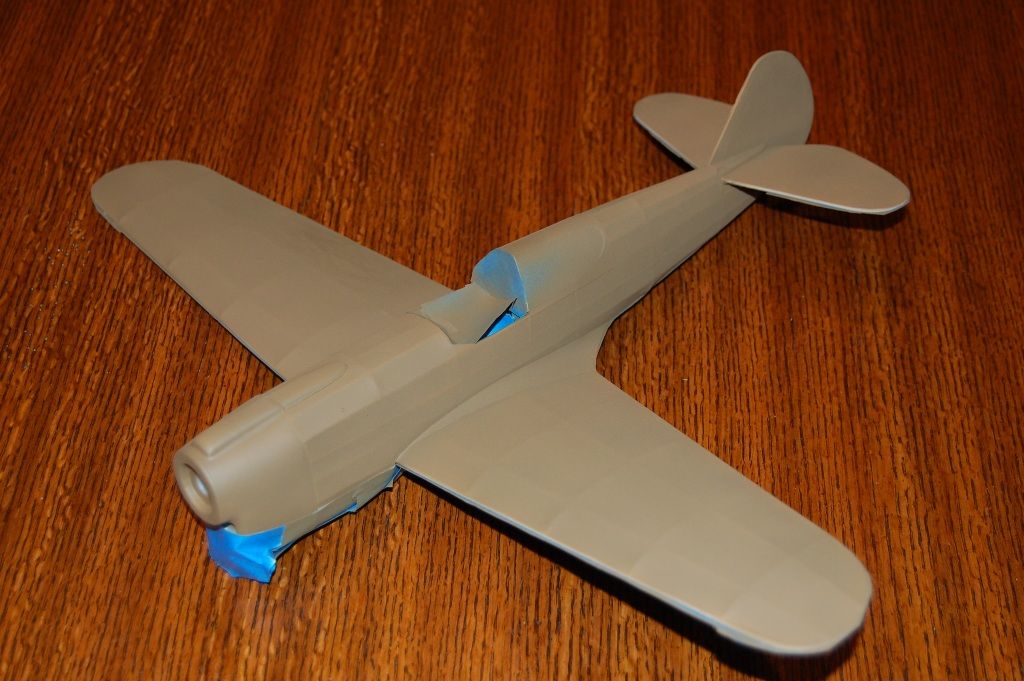
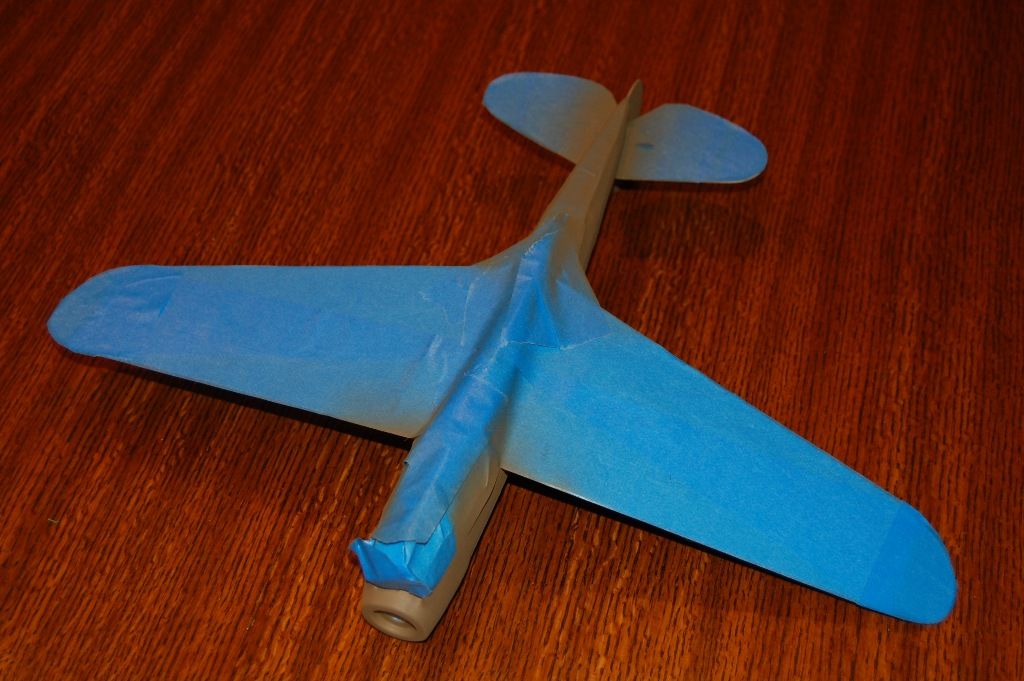
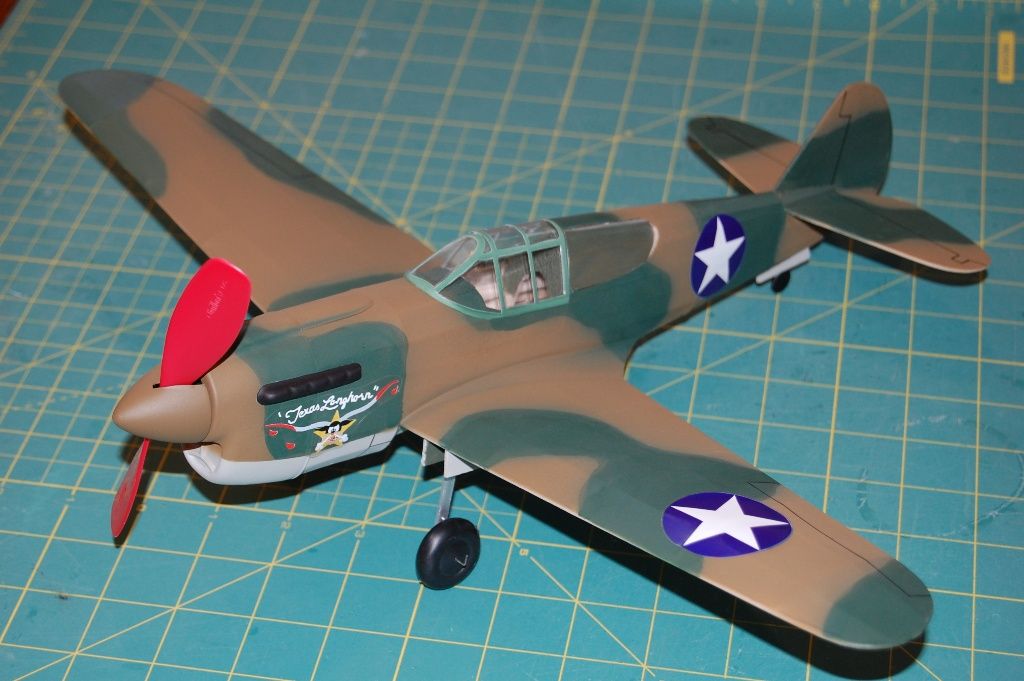
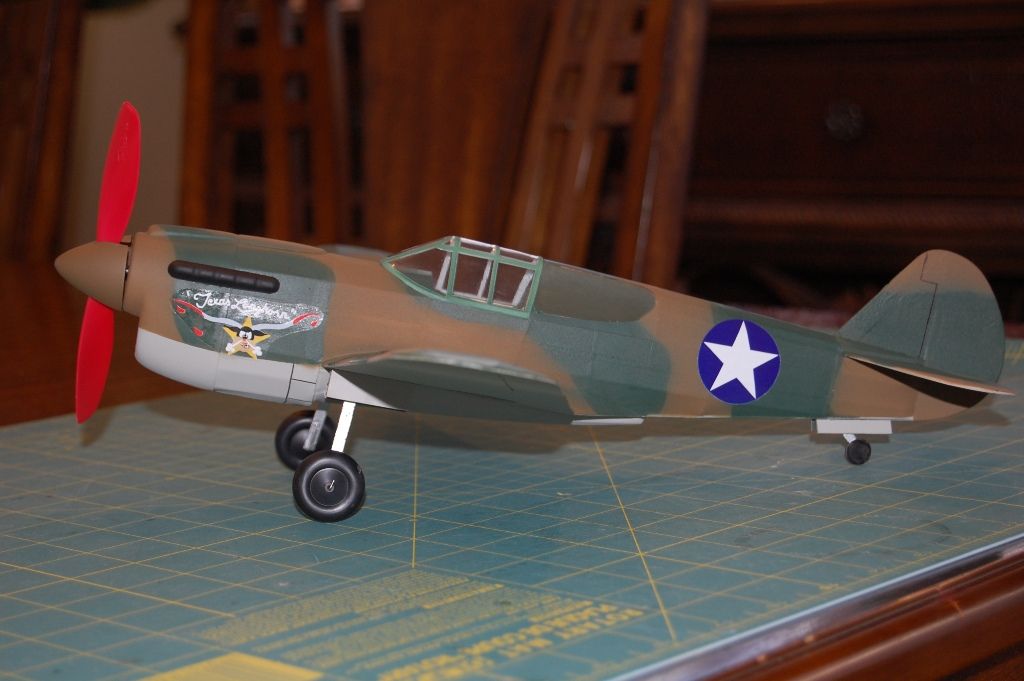
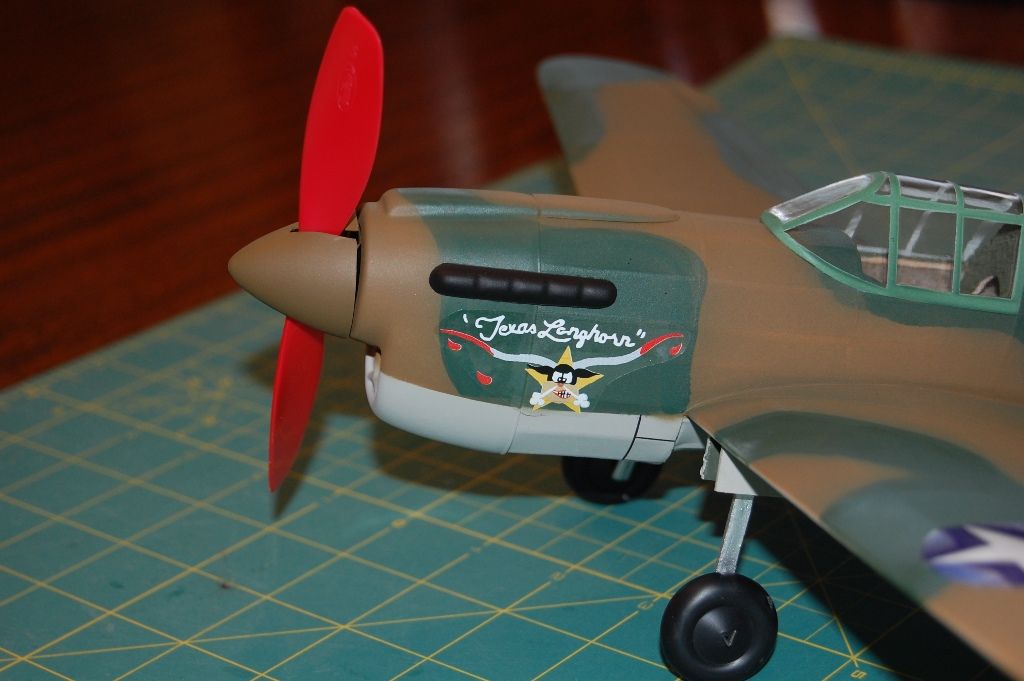
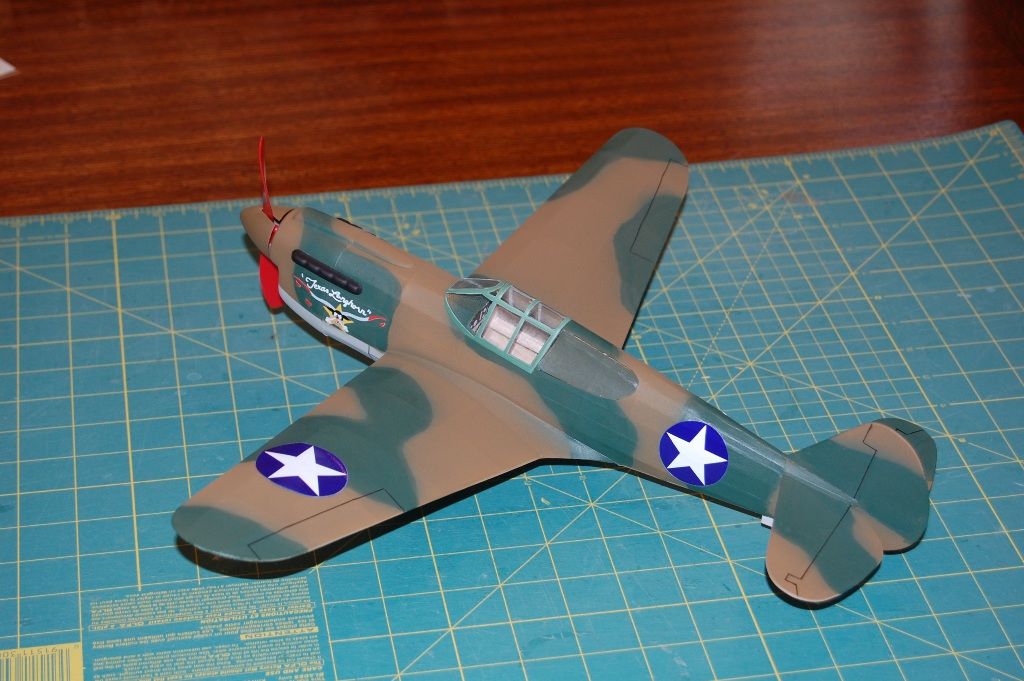
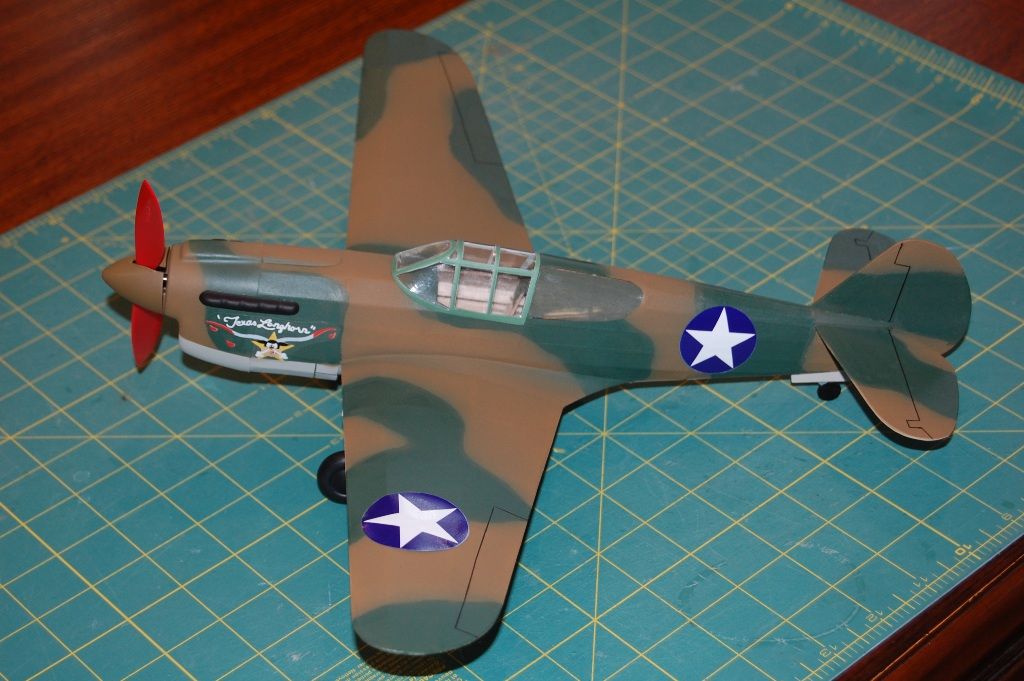
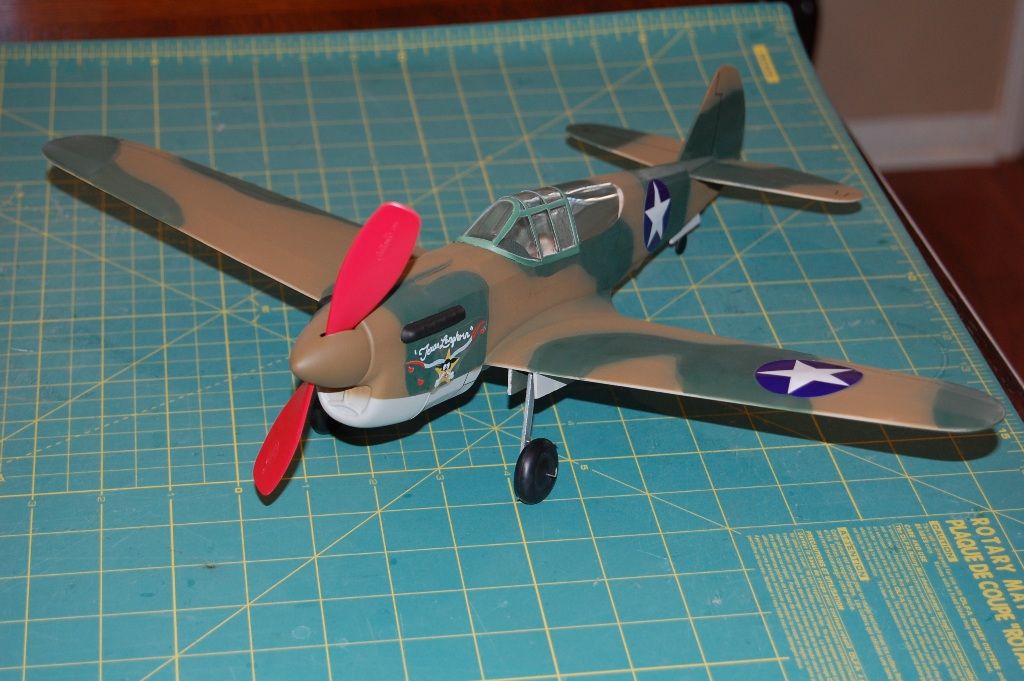
I finished the P-40, not too happy with my paint job. Probably the worst I have done in many years. The light grey and dark earth went on great. The Dark Euro green was a different story. I used a brand new airbrush and thinned the paint way too much so coverage was not too great. But I always finish what I start no matter how bad things go........Also the canopy was airbrushed with the same green used on the camo scheme, even though is looks like a lighter green. The reason is because the green was sprayed over the dark earth on the fuselage. The green for the canopy was sprayed over white primer, should have sprayed dark earth first then the green.......I am not happy with the paint job overall, so I decided not to fix it. I am sure someday I will build another. Final weight balanced is 26 grams,, should fly at 30 grams. I used the Longhorn P-40 decor.
- scigs30
- Posts: 844
- Joined: Mon Nov 06, 2006 11:31 am
![]() by H65 Driver » Wed Feb 24, 2010 10:59 am
by H65 Driver » Wed Feb 24, 2010 10:59 am
ADW, I recommend you search these forums for other builds by Scigs30. He has gone to great lengths on many occasions to describe his building and covering techniques. His Cessna 150 build, if I remember correctly, was especially informative.
- H65 Driver
- Posts: 52
- Joined: Tue Feb 10, 2009 3:52 pm
47 posts
• Page 2 of 4 • 1, 2, 3, 4
Return to General Building Questions
Who is online
Users browsing this forum: Bing [Bot] and 30 guests