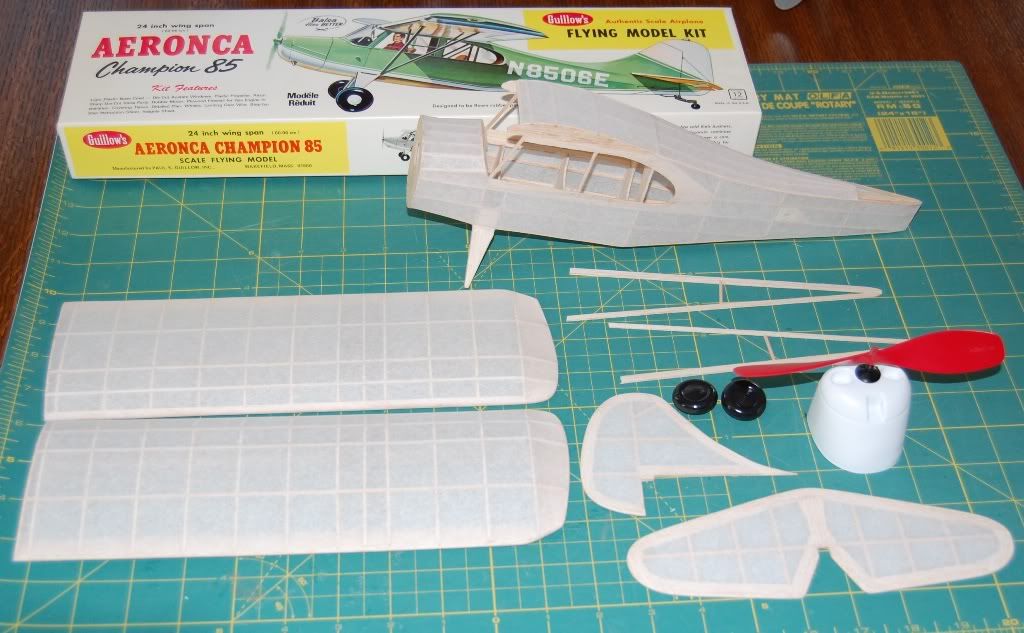
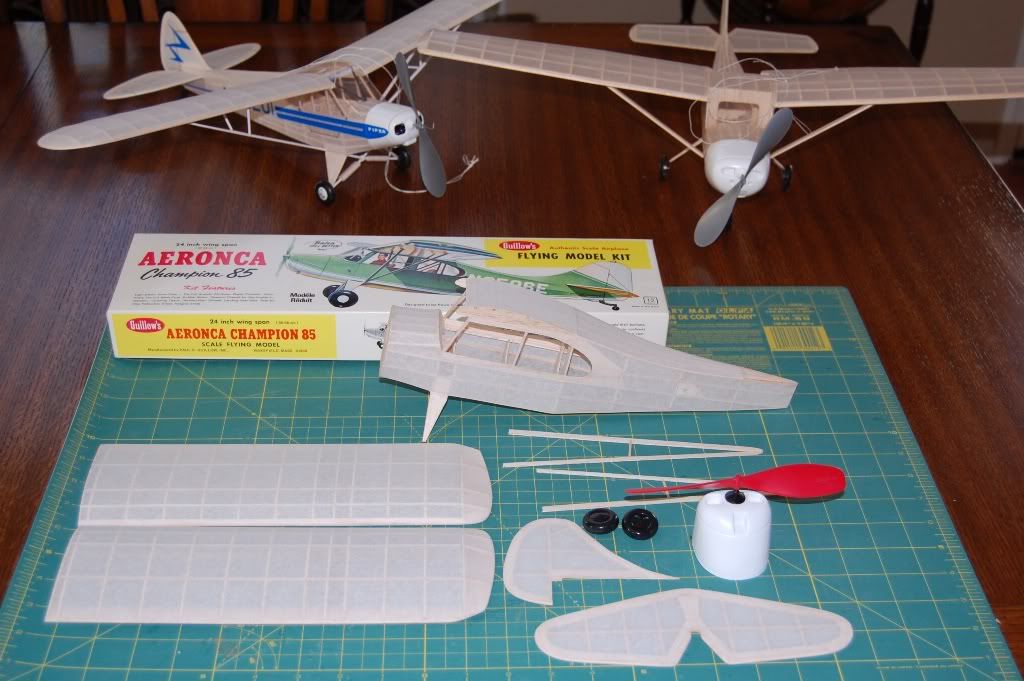
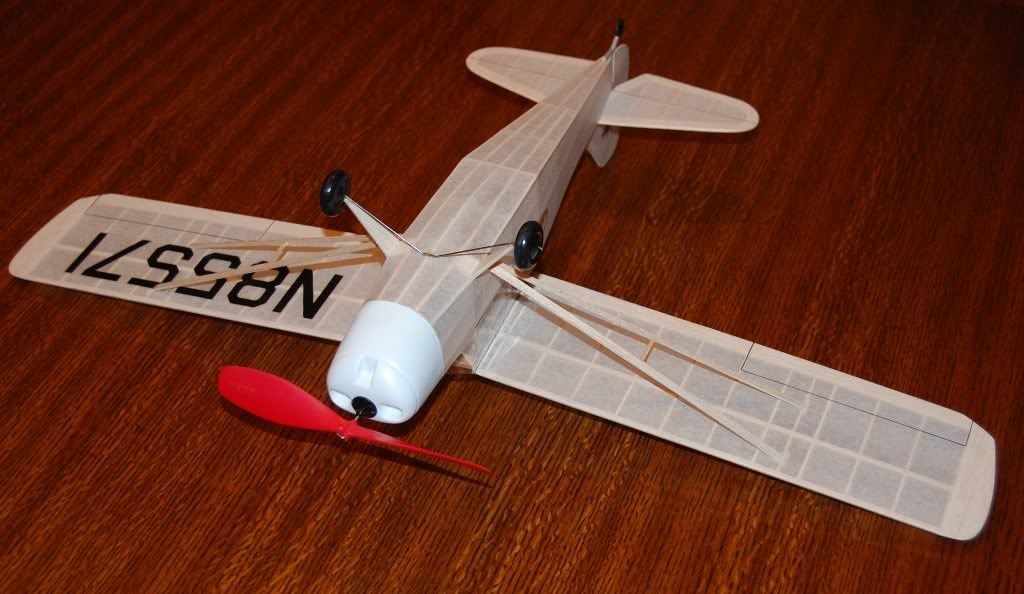
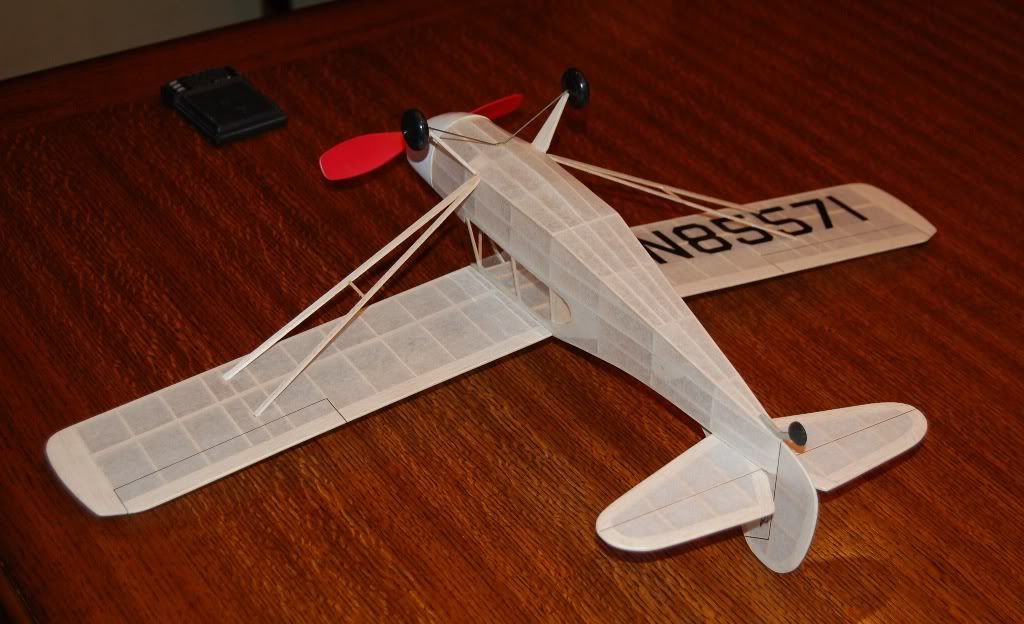
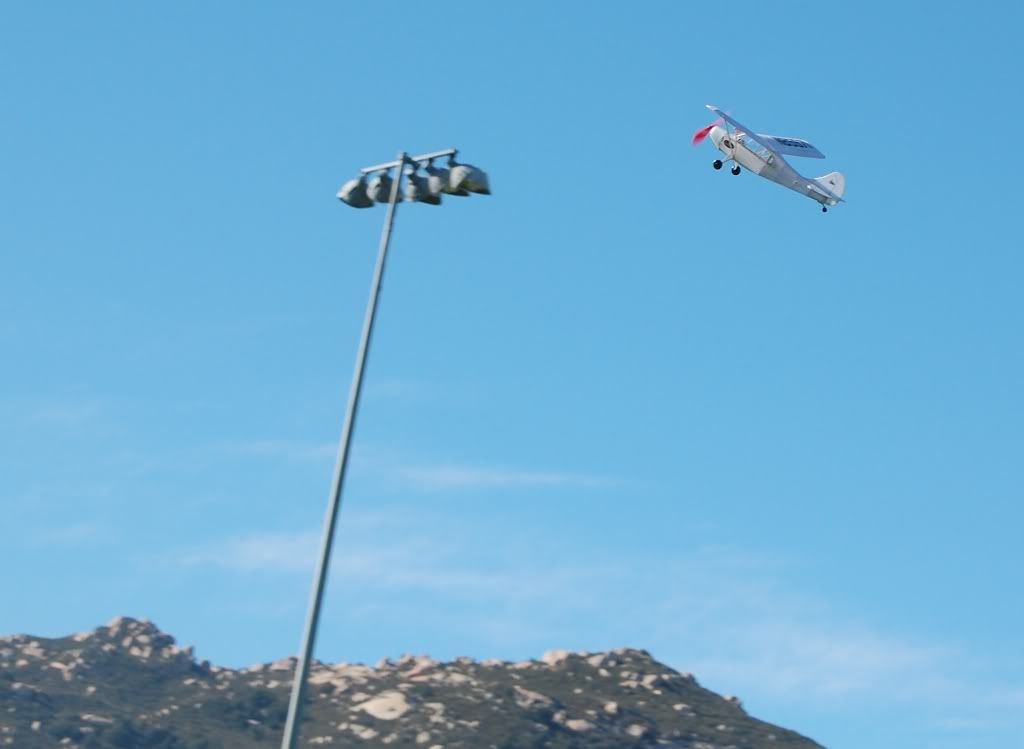
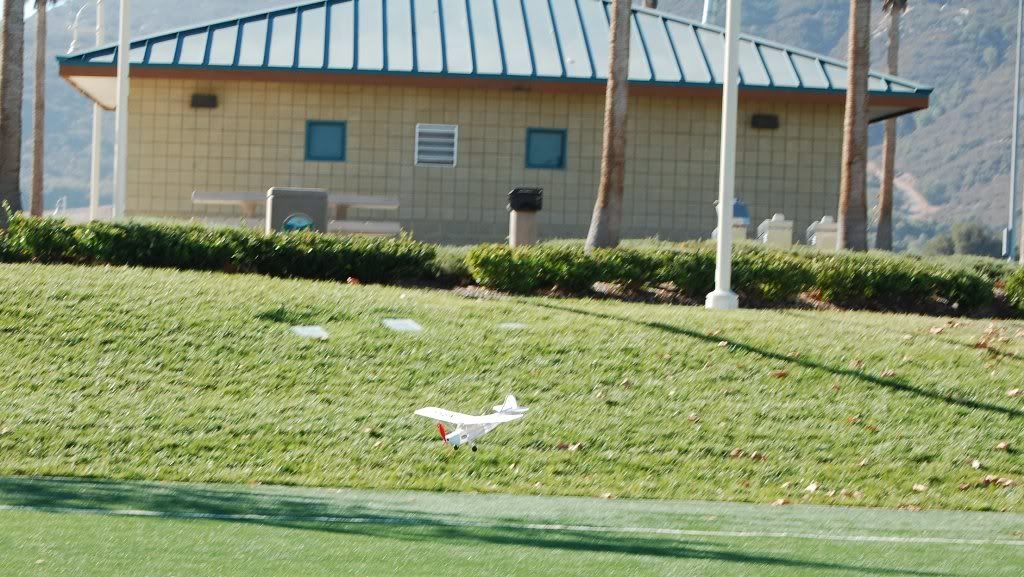
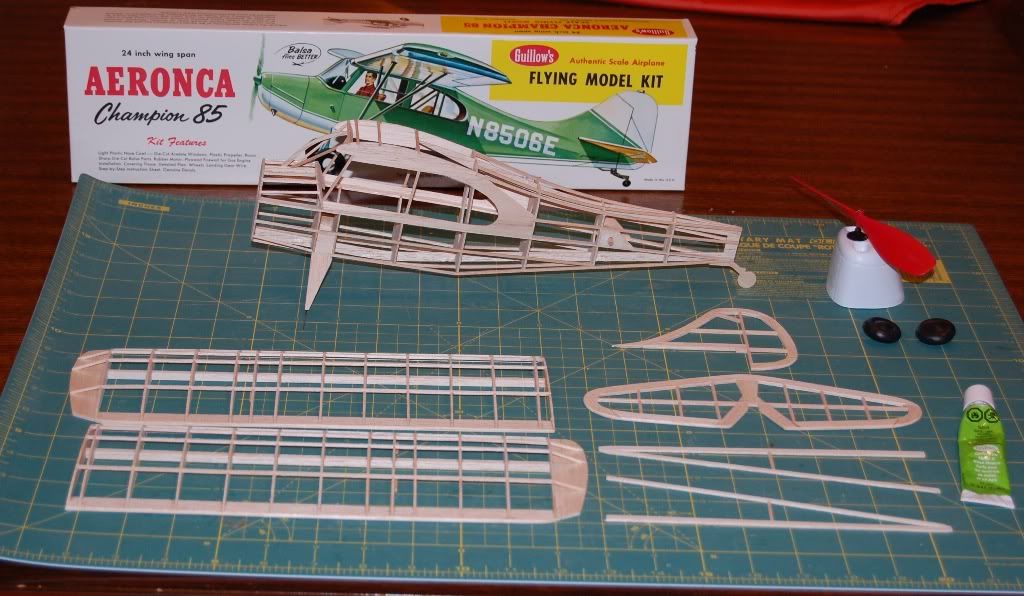
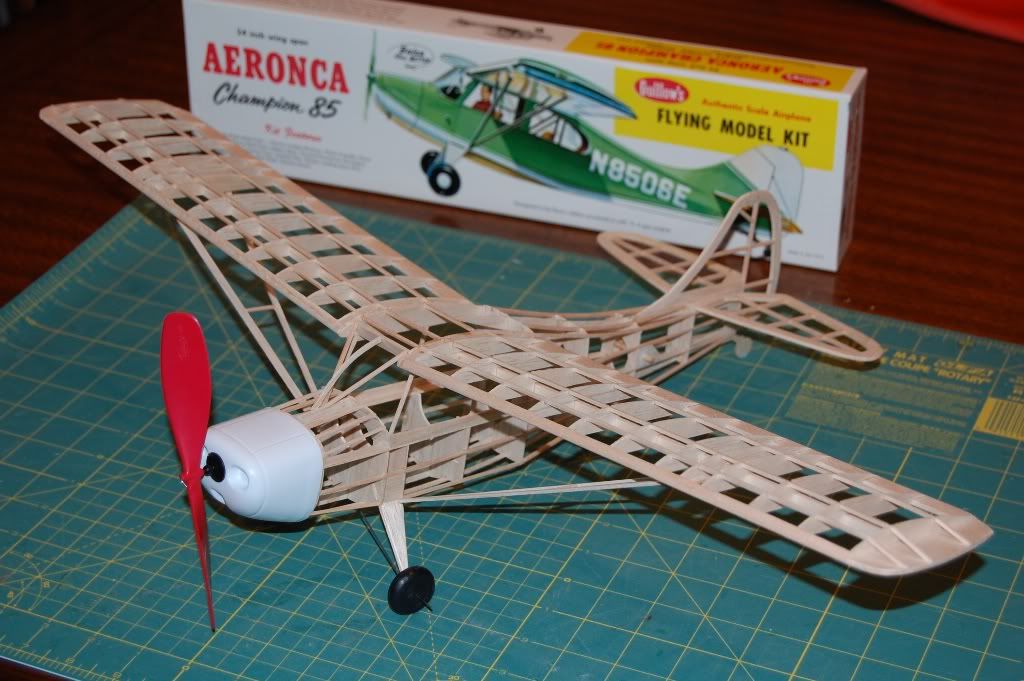
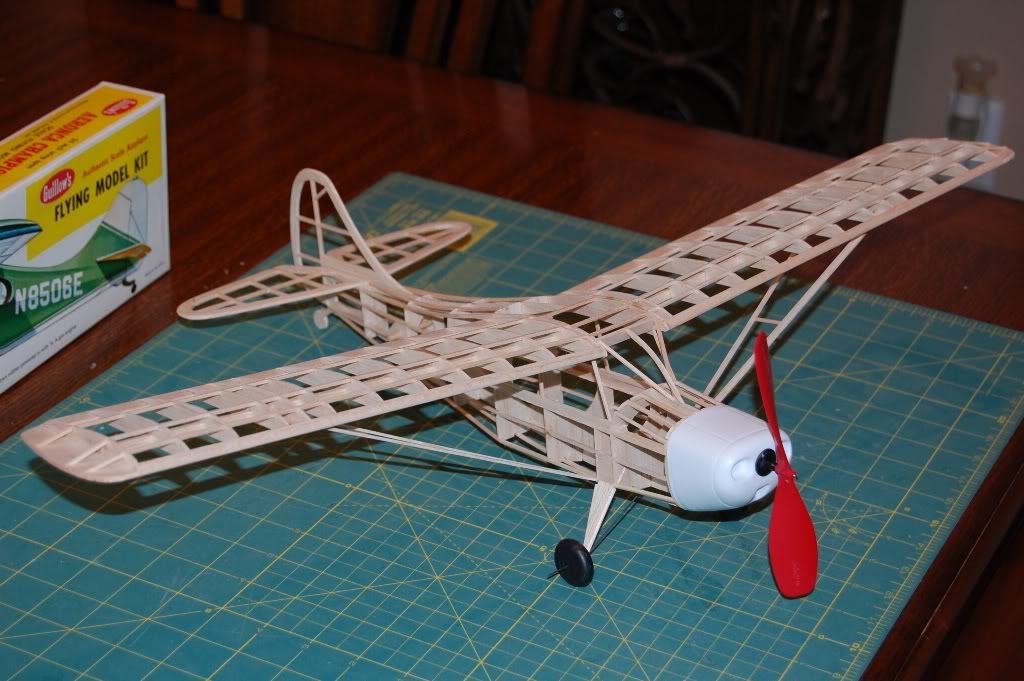
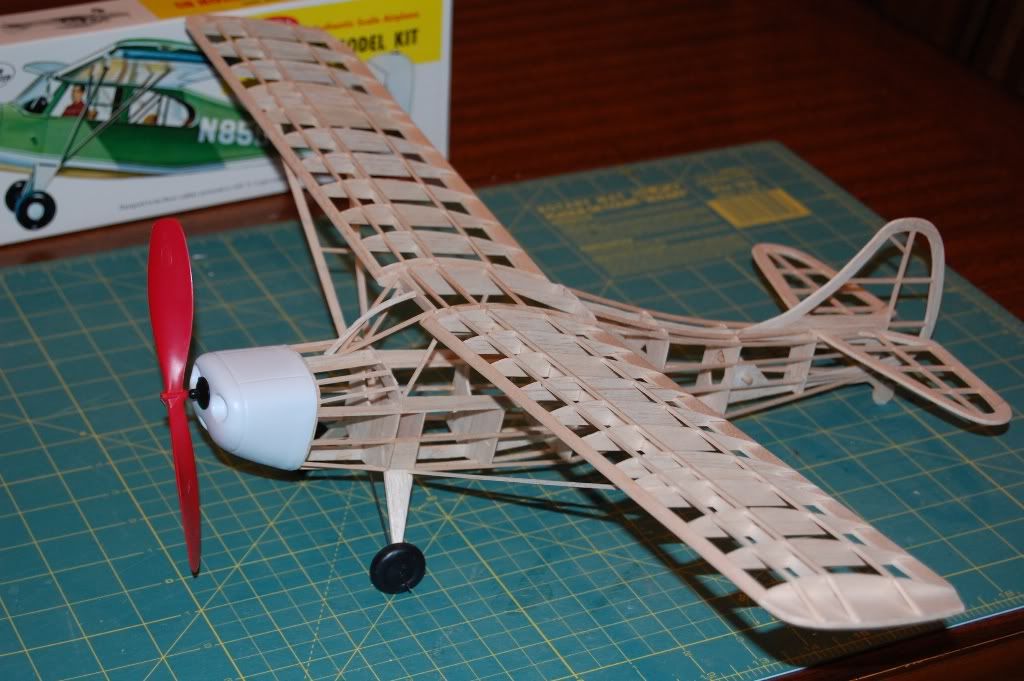
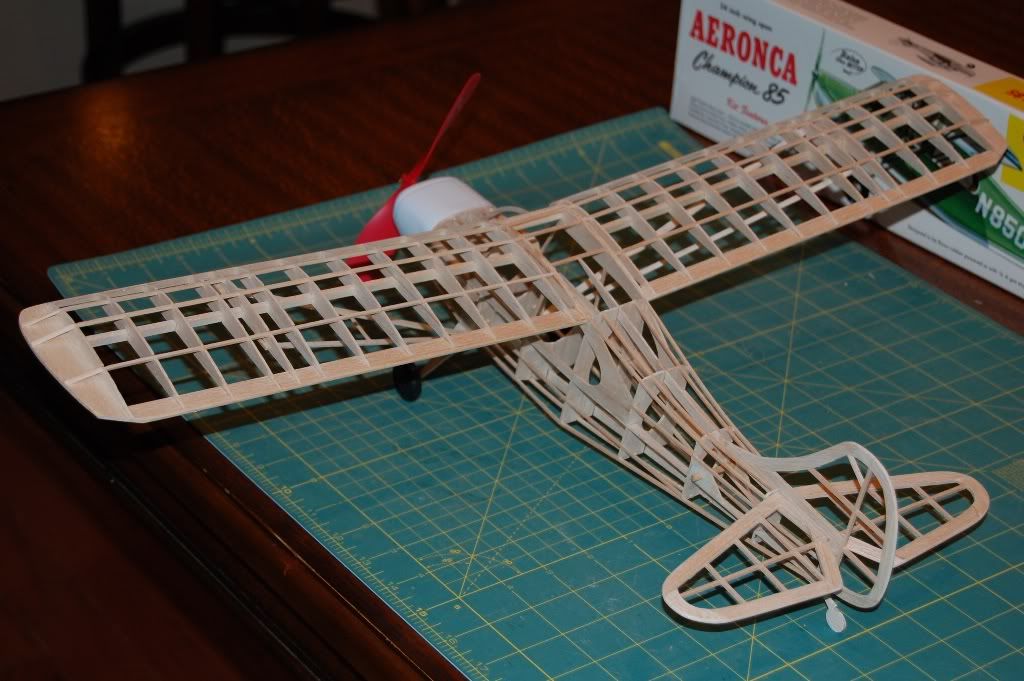
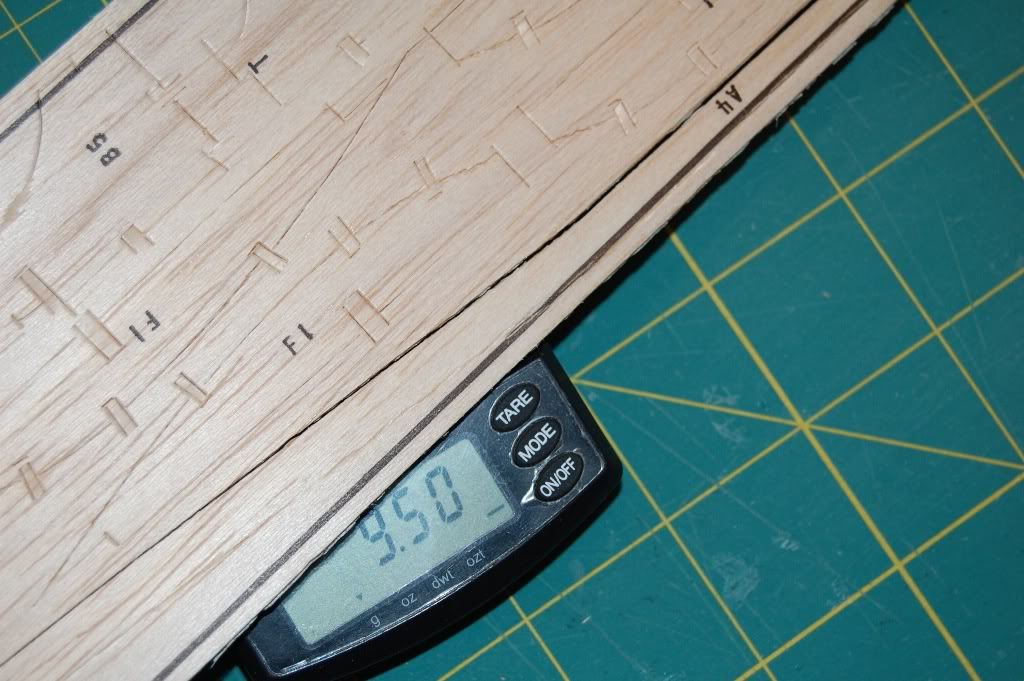
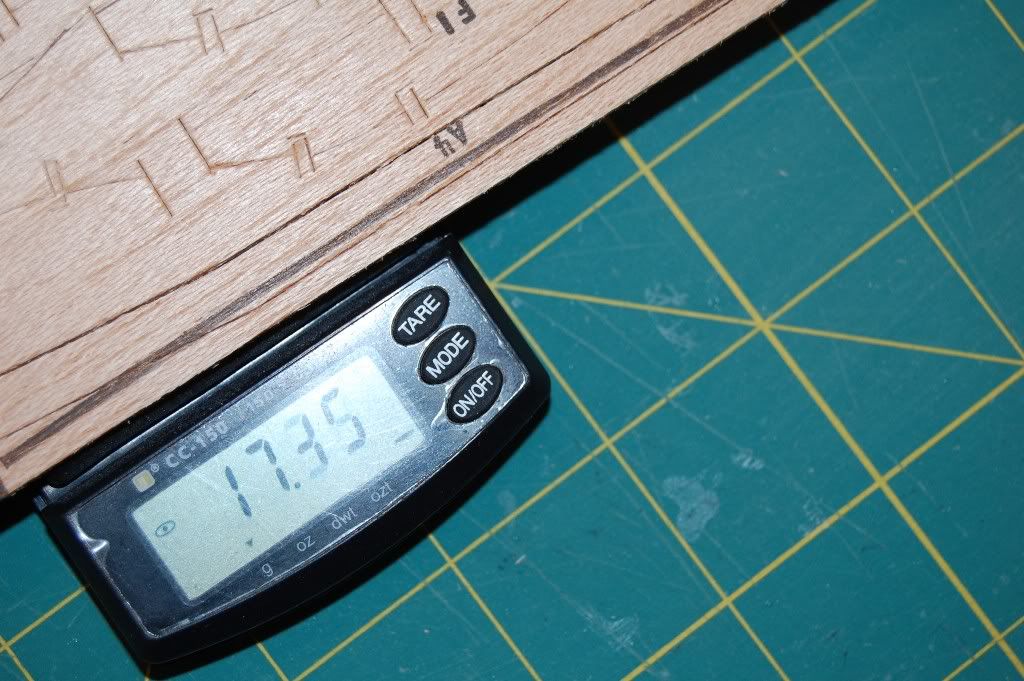
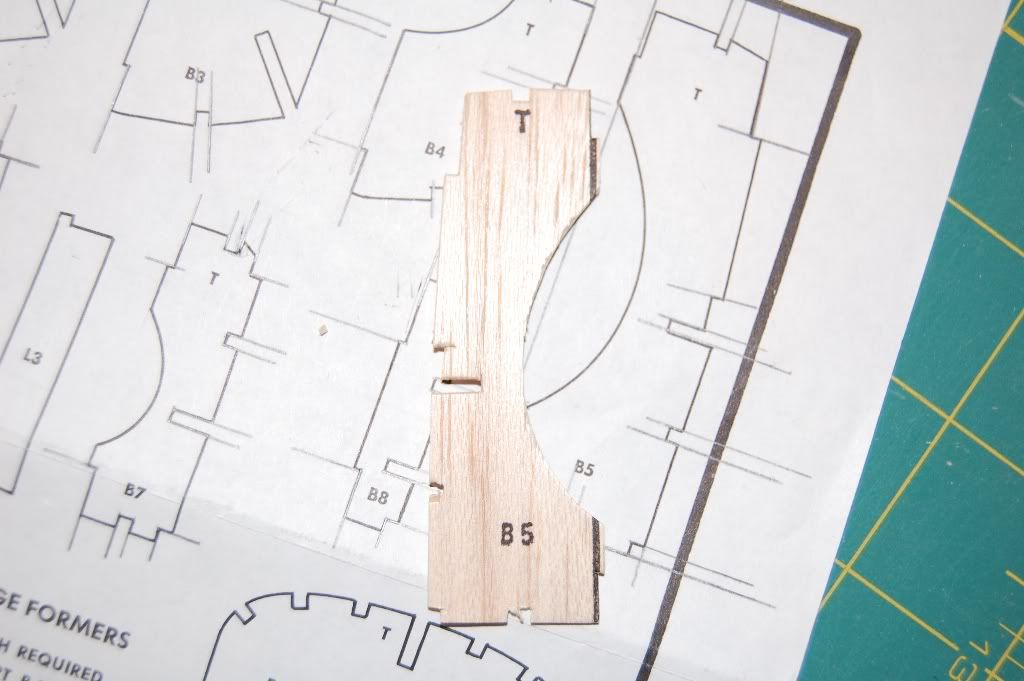
I don't have too many Guillows kits that I can build straight from the box because of the weight of the wood. I did find this older Aeronca kit that has light balsa, but it is also has die crunched pretty bad. I decided to build it anyway thinking I might be able to get this to fly. I normally use Elmers glue but since the wood is crushed and porous, I am using Testors wood cement. I compared the wood from the new kit vs the old and you can see the difference. The newer kit has wood that is almost twice as heavy. The newer kit would never fly if I used the kit wood. Any way I started punching out the parts and matching them up to the plans. As you can see the notches are way too big for 1/16 stringers so I will have to fill with balsa later. I also sand off the print so it does not show through the kit tissue. So far all the balsa structures weigh in at 20.2 grams, that is pretty good for no weight reduction. I will cover with kit tissue, use a Guillows 6 inch prop and the guillows button and shaft. When all done I am going to fly her and see how well she does. If she is too heavy I will build another using lighter wood. I can tell you that cutting out my own parts is much easier than fixing the die crushed parts.
Old kit vs new kit wood
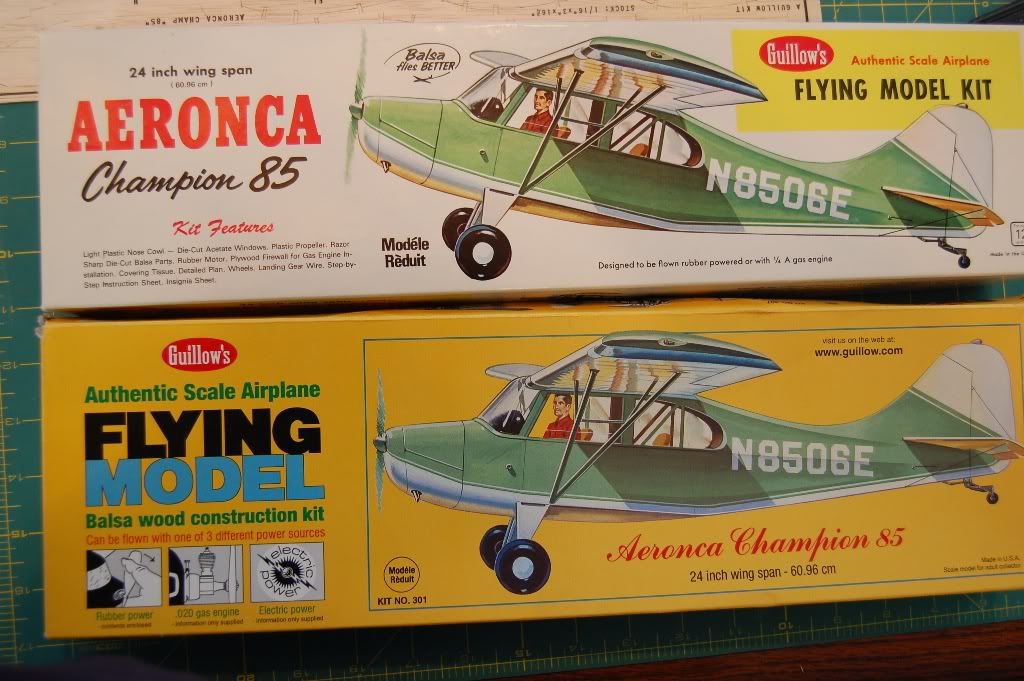
Weight of the kit I am building from
The newer version has heavy wood
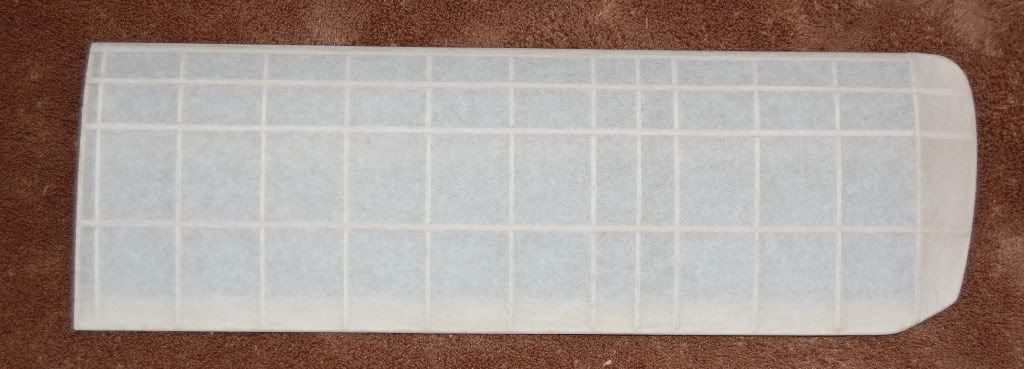
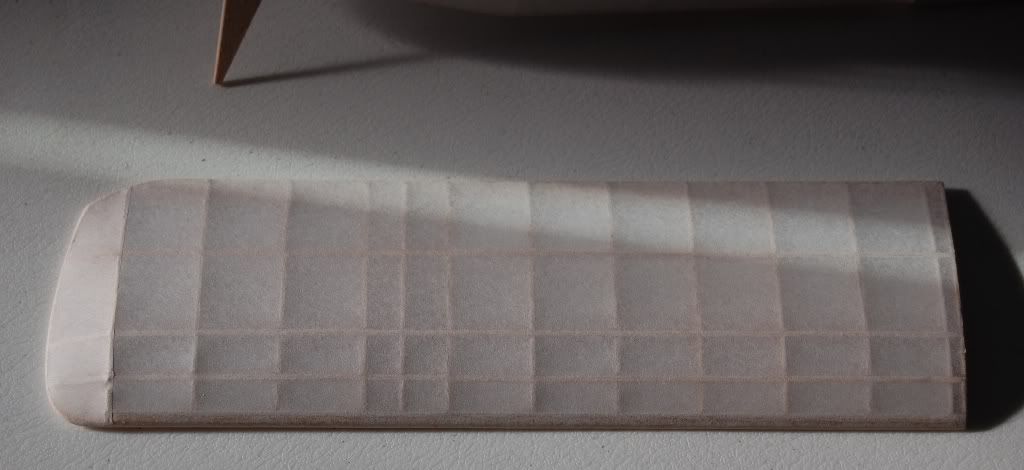
Matching up the parts
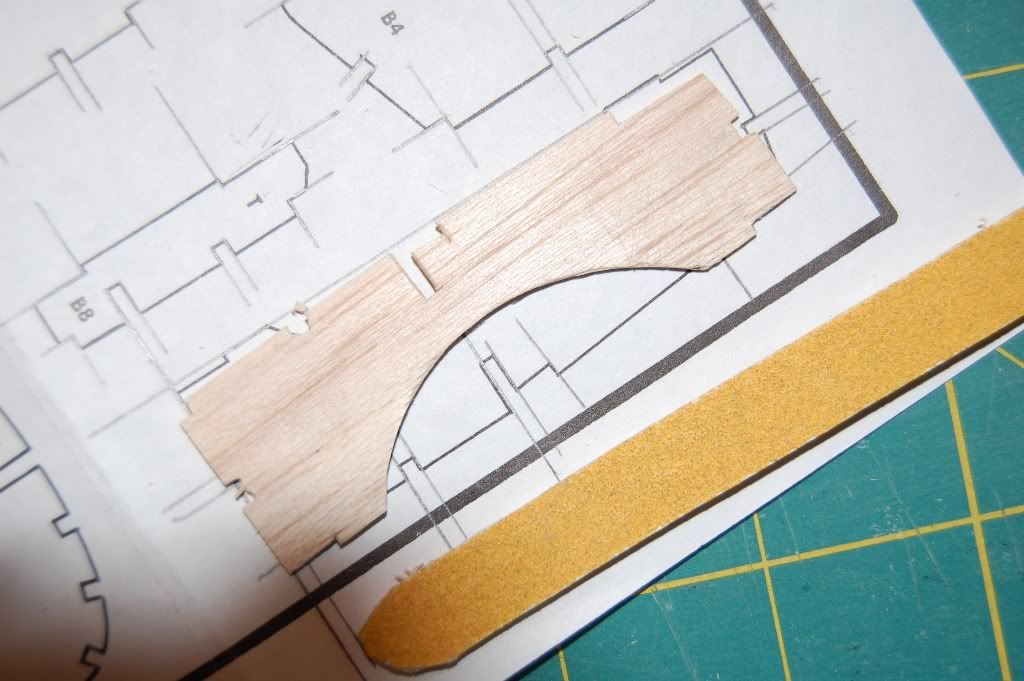
Sanding the parts
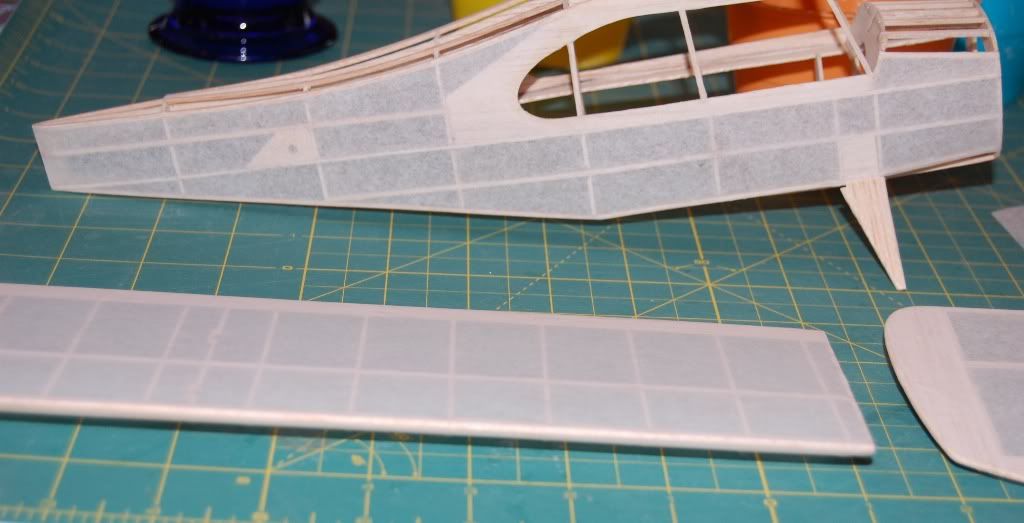
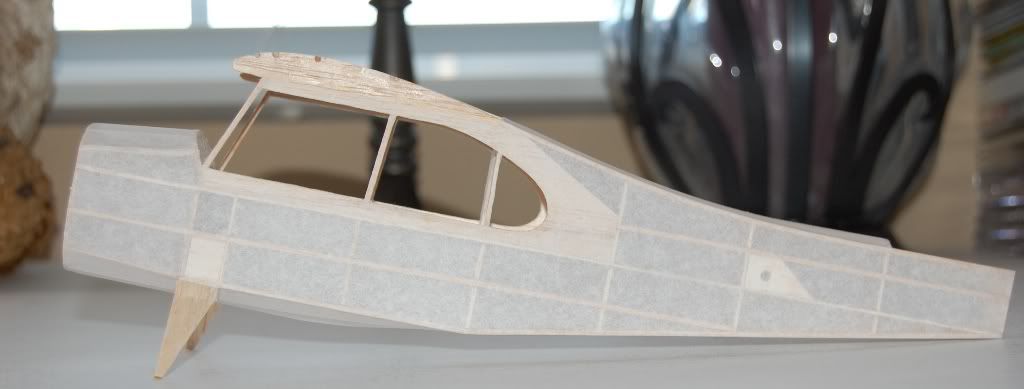
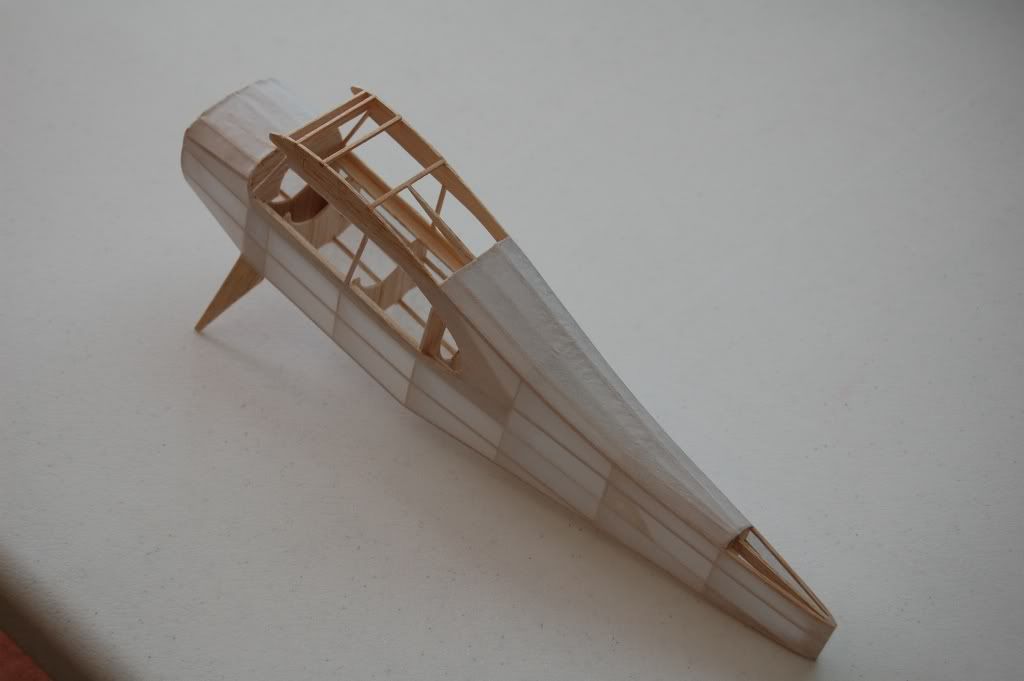
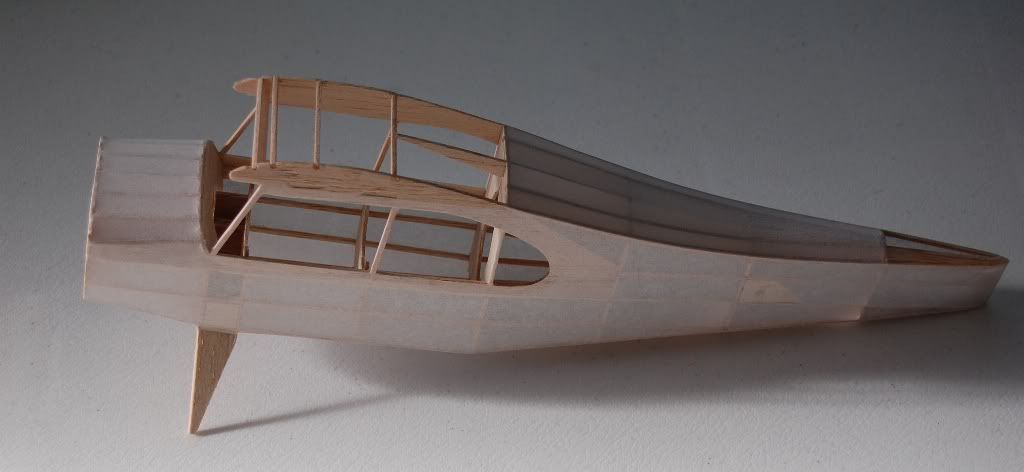
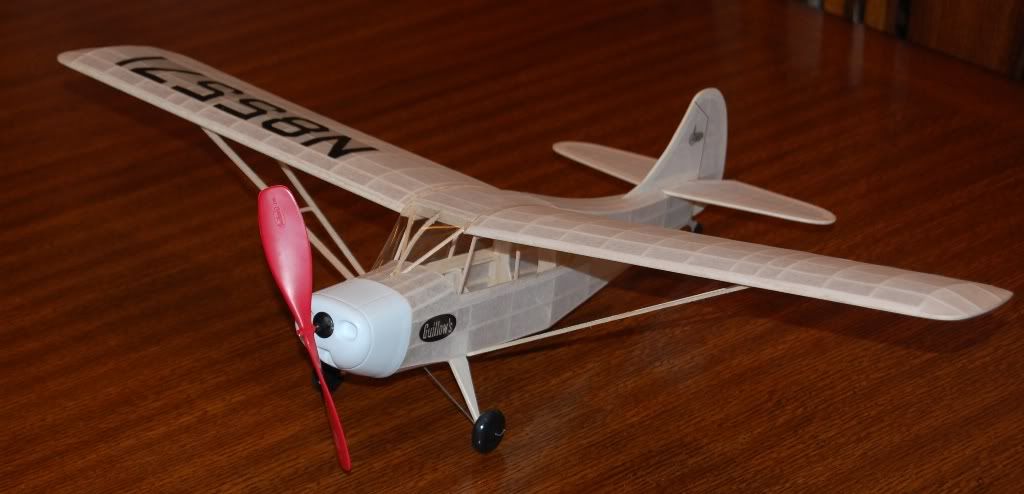
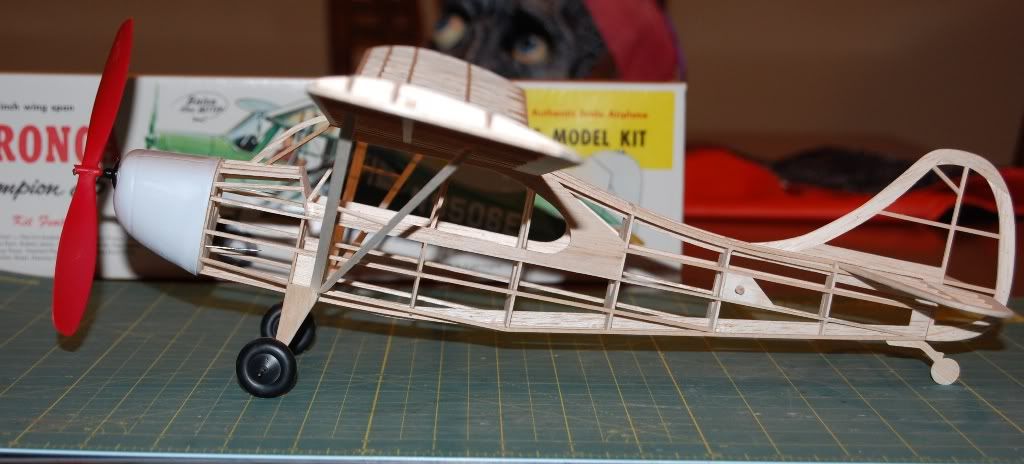
First side built

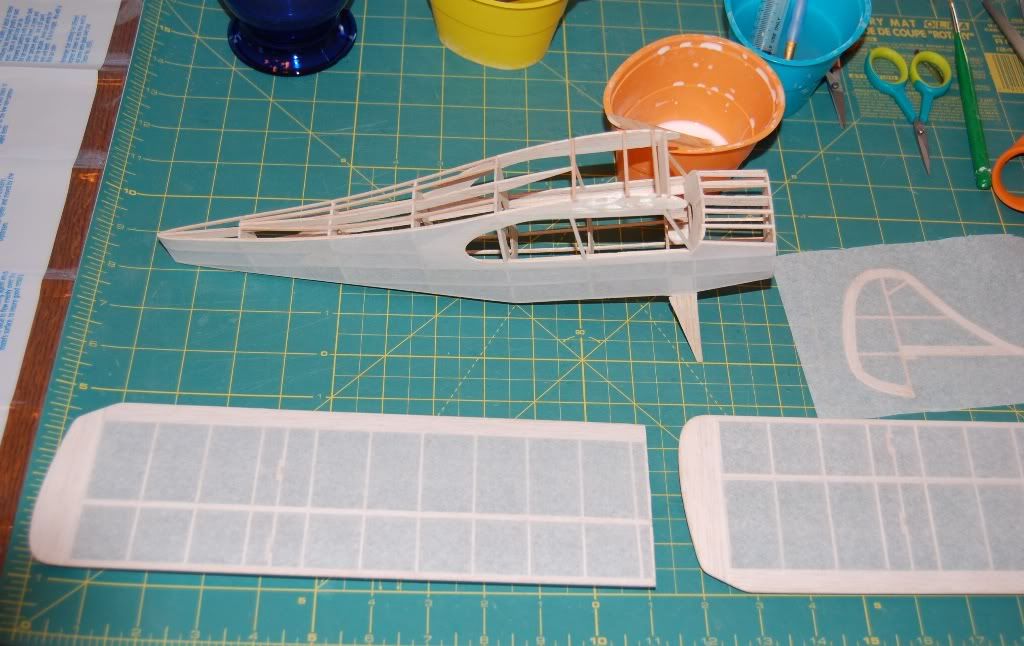
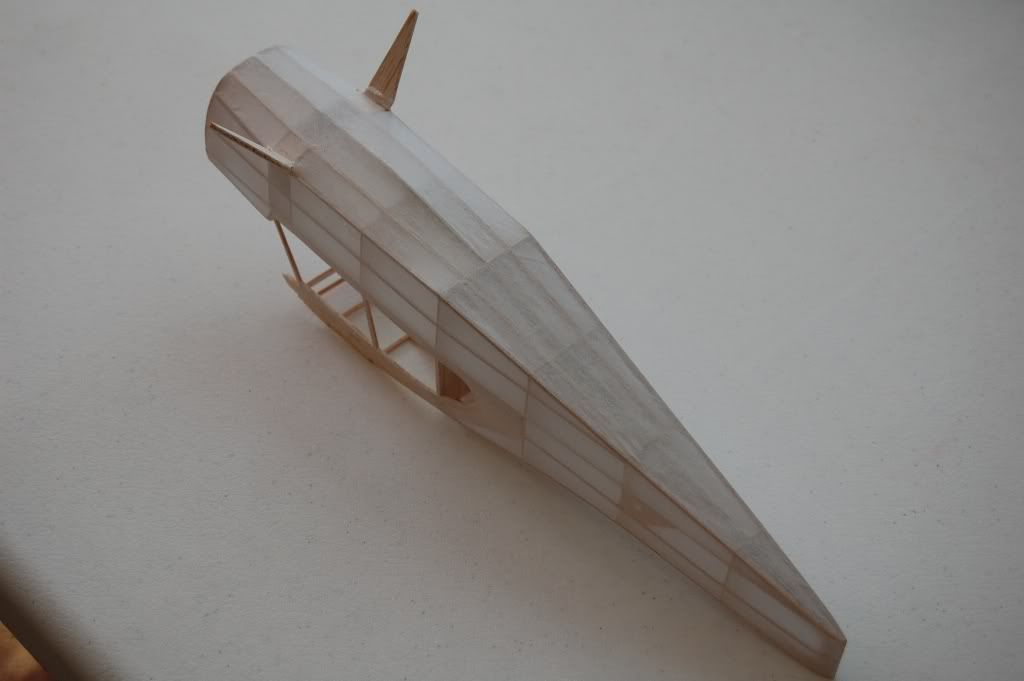
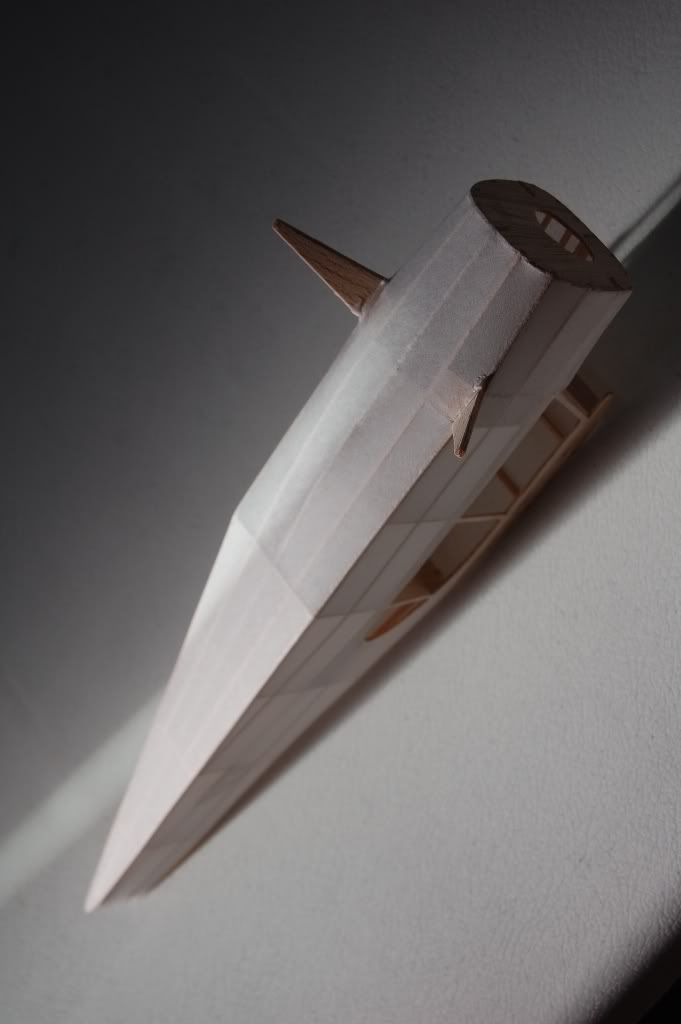
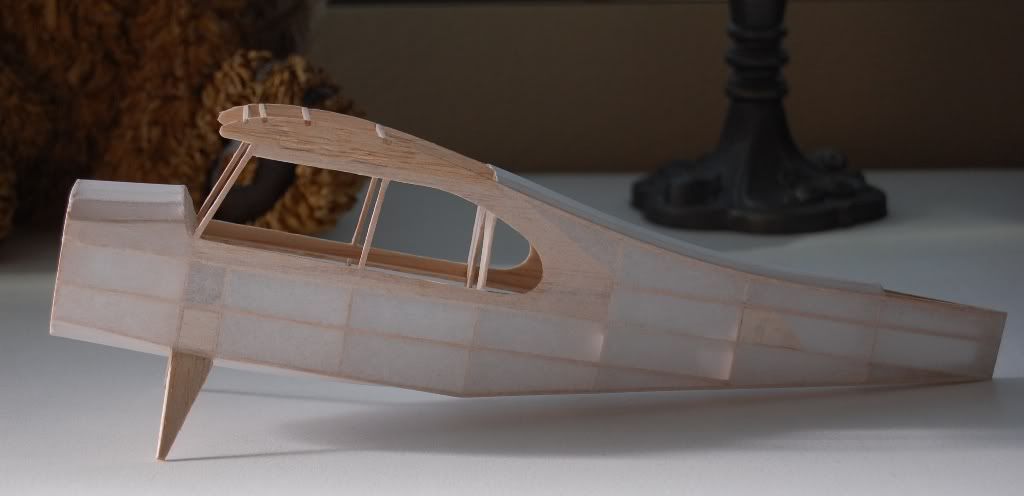
Using the Rocky top jig for the second side