Again, I have to say that Your wood work is great !! There is alot of wood in that model.
I will study on that nose block. That does seem better than the way I'v been doing it. I think you said you do something like that to all of them. ?
Thanks for posting all those great pics.
thymekiller
Series 300 Piper Cub build
67 posts
• Page 4 of 5 • 1, 2, 3, 4, 5
![]() by thymekiller » Tue Apr 07, 2009 7:21 am
by thymekiller » Tue Apr 07, 2009 7:21 am
"...the road goes on forever, and the party never ends..."
- thymekiller
- Posts: 331
- Joined: Fri Sep 12, 2008 7:50 pm
- Location: Springfield, MO.
![]() by scigs30 » Tue Apr 07, 2009 10:00 am
by scigs30 » Tue Apr 07, 2009 10:00 am
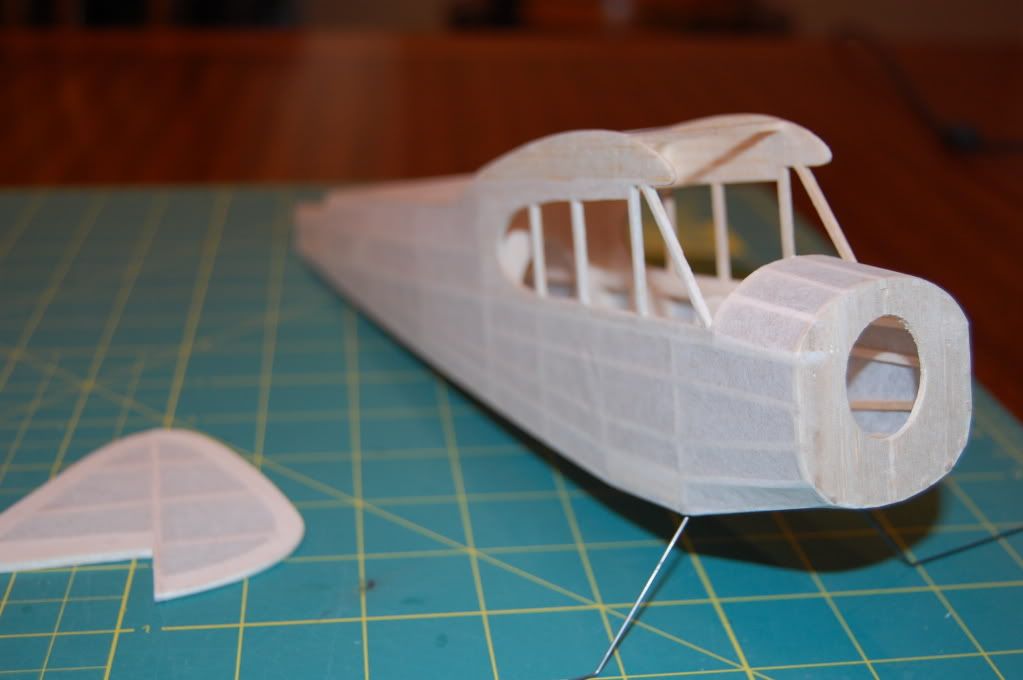
I do use some form of nose block in all my Guillows builds. This makes it easy to add weight and thrust. There is a lot of wood, even with quality wood this kit comes in a little heavy. It should still be a nice flier, but she won't win any contest. I cannot imagine how heavy this Cub would have been if I used the kit wood.
- scigs30
- Posts: 844
- Joined: Mon Nov 06, 2006 11:31 am
![]() by scigs30 » Tue Apr 07, 2009 10:54 pm
by scigs30 » Tue Apr 07, 2009 10:54 pm
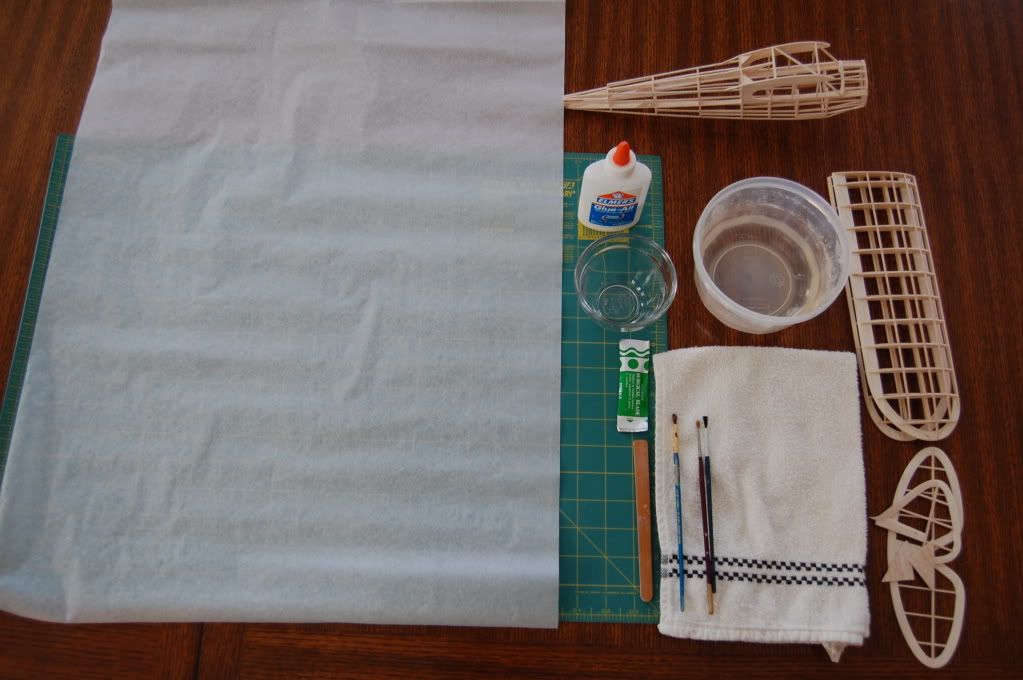
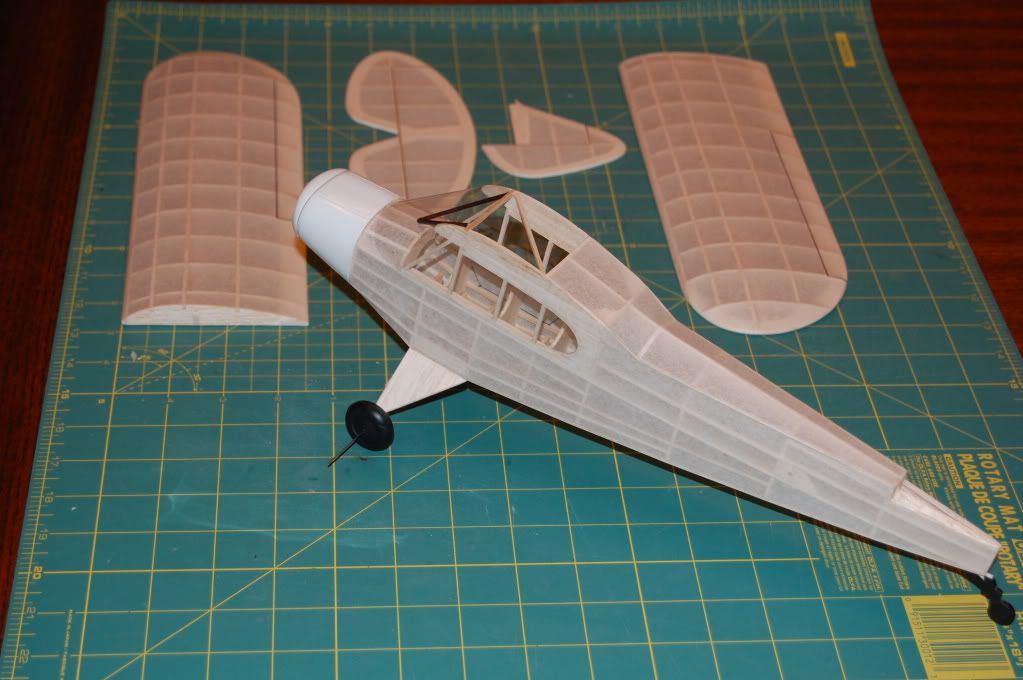
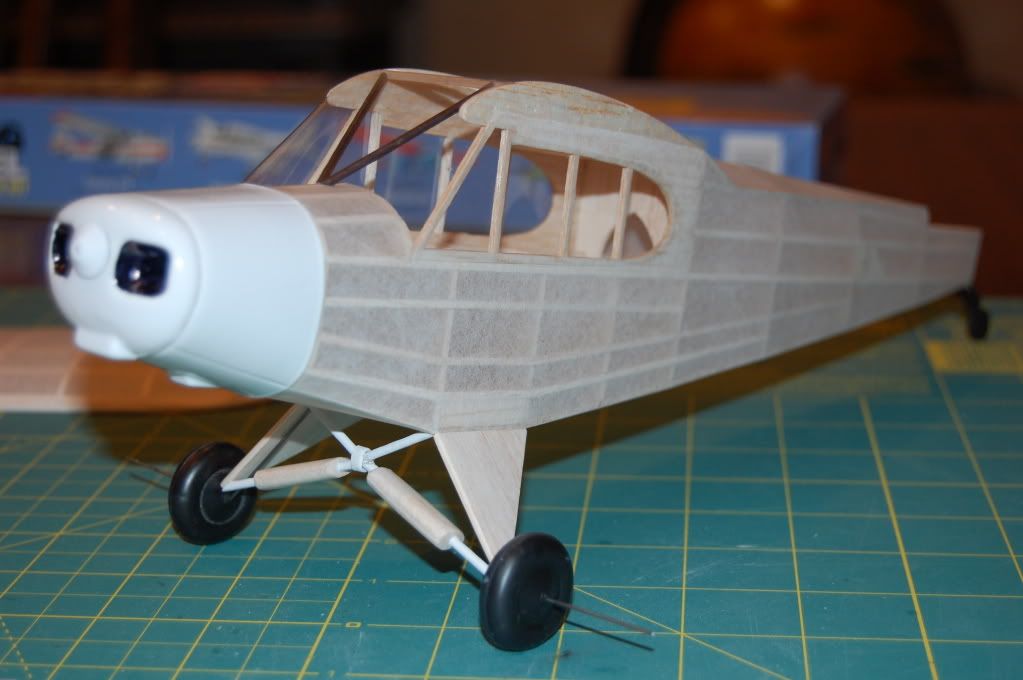
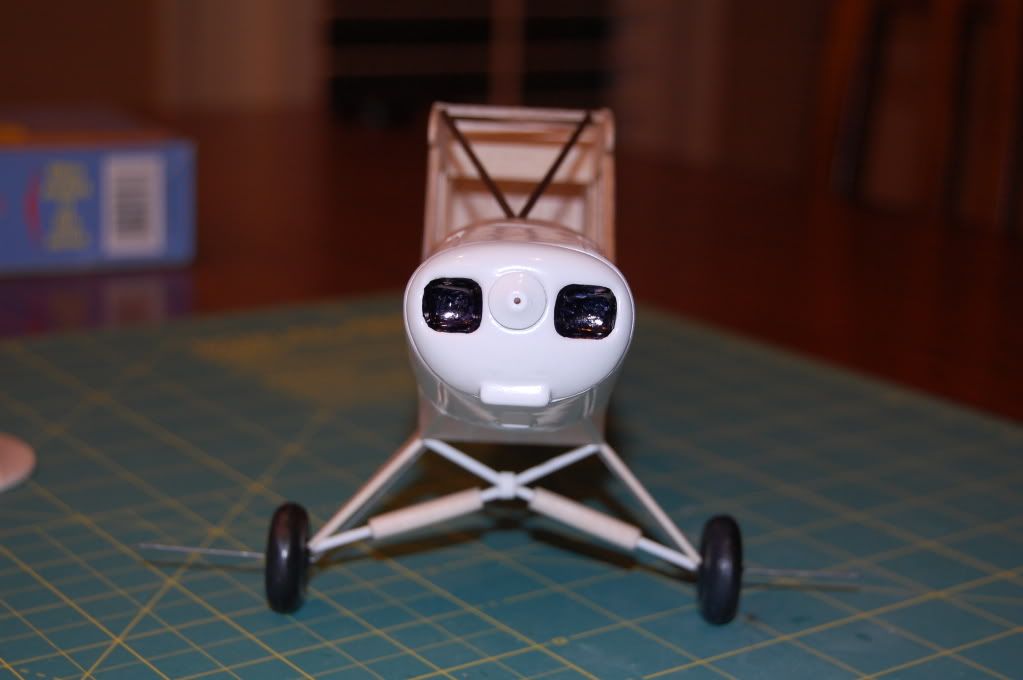
I started covering today and should be able to finish next week on my next day off. I am using white domestic tissue with red trim. I will only paint the cowl since I don't want to add much weight. The basic tools I am using are: Multiple scalpel blades, file, 50/50 Elmers/water mixture, clean water and towel.
- scigs30
- Posts: 844
- Joined: Mon Nov 06, 2006 11:31 am
![]() by cliffm » Wed Apr 08, 2009 11:28 am
by cliffm » Wed Apr 08, 2009 11:28 am
I am just going to respond to the subject of dehidral on your cub. The airplane in full scale has no dehidral,but, the aeronca with it's davis wing does and I'm somewhat taken back that you say there were no specs. in the plans for it. Or, did I mis-construe my reading? Oh, yes I do admire your craftmanship it's has that master's touch. I just started the fuselage on a 2K series catalina. I had to dope some of the bulkhead pieces before cutting as it was breaking in such small bits it was getting impossible to match back up. It does seem that the kit is quite old the latest date on it is 91. Guillow,s has been trading with china for quite some time if this is when it was manufactured as the kit says made in U.S.A. and the box is made in china. I have an old 7AC book around some wher itshould say someting about the dehidral. Later and good building!
- cliffm
- Posts: 370
- Joined: Fri Feb 27, 2009 11:08 am
- Location: fairdale N D
![]() by scigs30 » Wed Apr 08, 2009 3:53 pm
by scigs30 » Wed Apr 08, 2009 3:53 pm
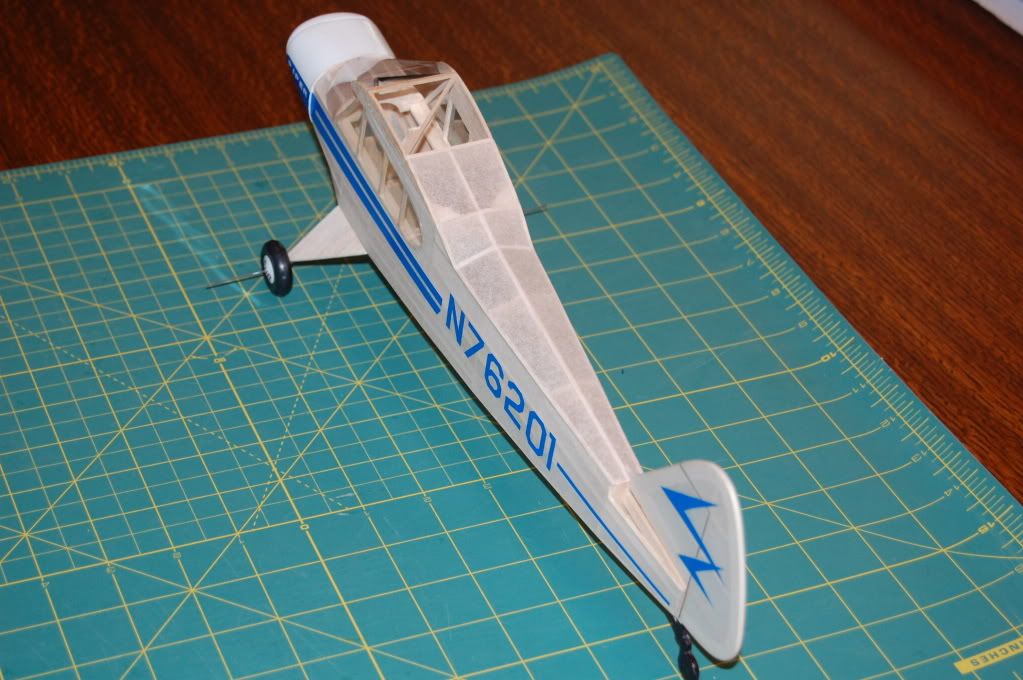
The Aeronca has dihedral built into it because of the slant with the cabin parts. There is no slant any where on the Piper Cub plan. The cabin formers are straight vertical and so are the root ribs. With this combination there is no dihedral. The only mention of dihedral is when building the struts, but nowhere does it mention how to add the dihedral. If you find it on the plans please let me know.
- scigs30
- Posts: 844
- Joined: Mon Nov 06, 2006 11:31 am
![]() by cliffm » Thu Apr 09, 2009 9:34 am
by cliffm » Thu Apr 09, 2009 9:34 am
I just ran across an old 7ac champion service manual while looking for my income tax documents. this shows a +2 degree dihedral and a plus 1 degree of incidence. stabilizer incidence of approx. -5 and a fin offset of 3/8" left. Now, the 64$ question is this refering to angle of attack or the longitudinal, horizontal, axis. Anybody clarify for more than one of us boneheads? I, am at the understanding that the incidence means the wingtip would be 1 degree forward of the root on the horizontal plane. Someone know for positive? Igotta go do taxes. Later
- cliffm
- Posts: 370
- Joined: Fri Feb 27, 2009 11:08 am
- Location: fairdale N D
![]() by scigs30 » Fri Apr 10, 2009 7:08 am
by scigs30 » Fri Apr 10, 2009 7:08 am
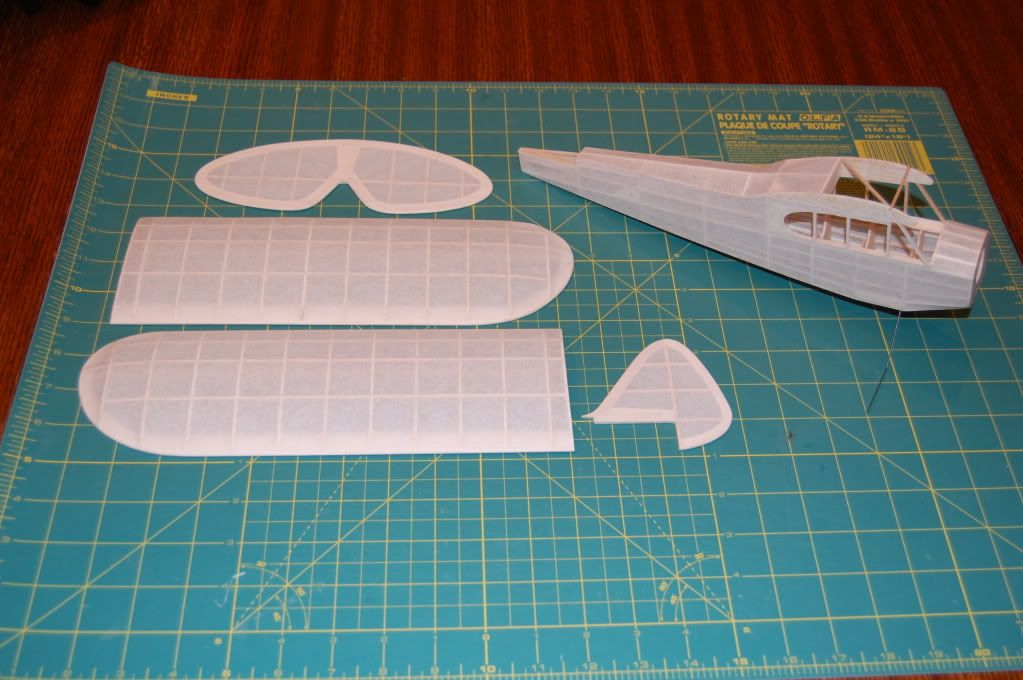
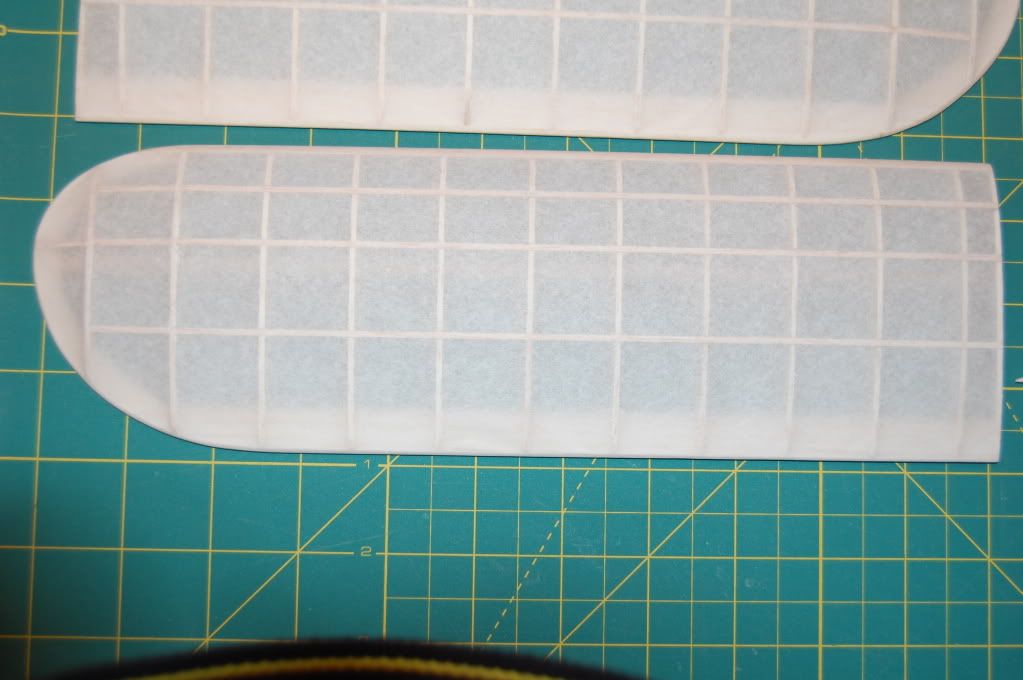
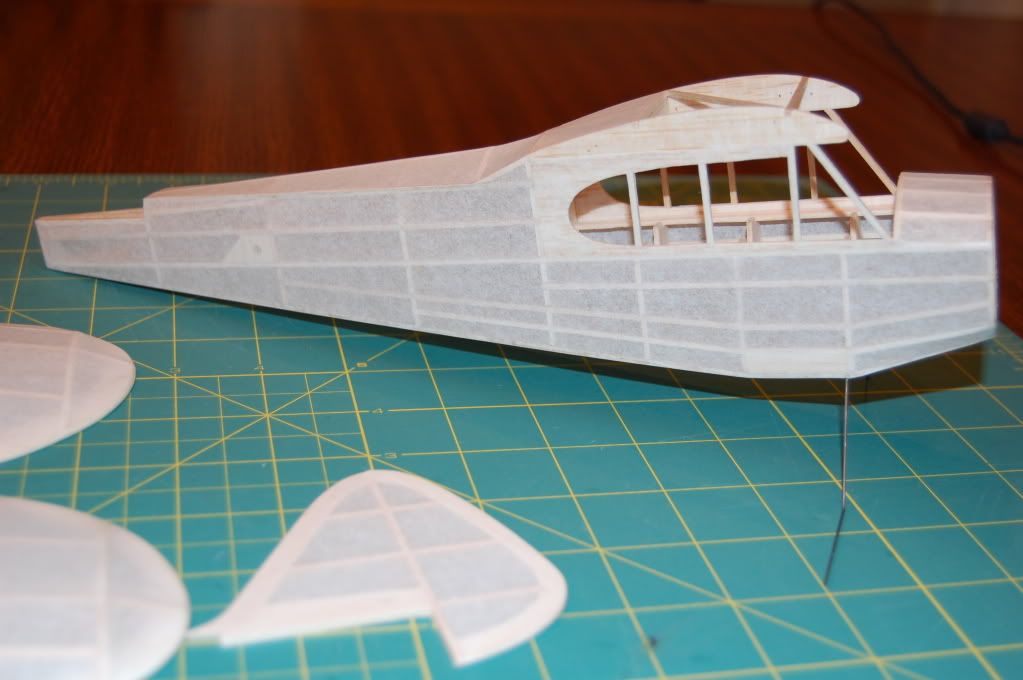
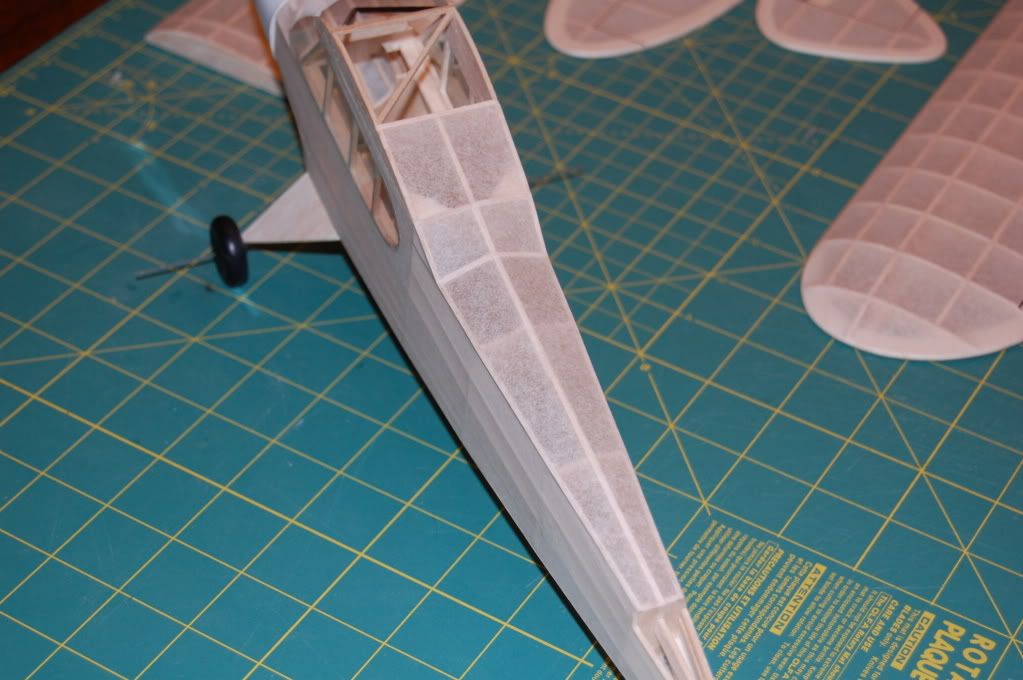
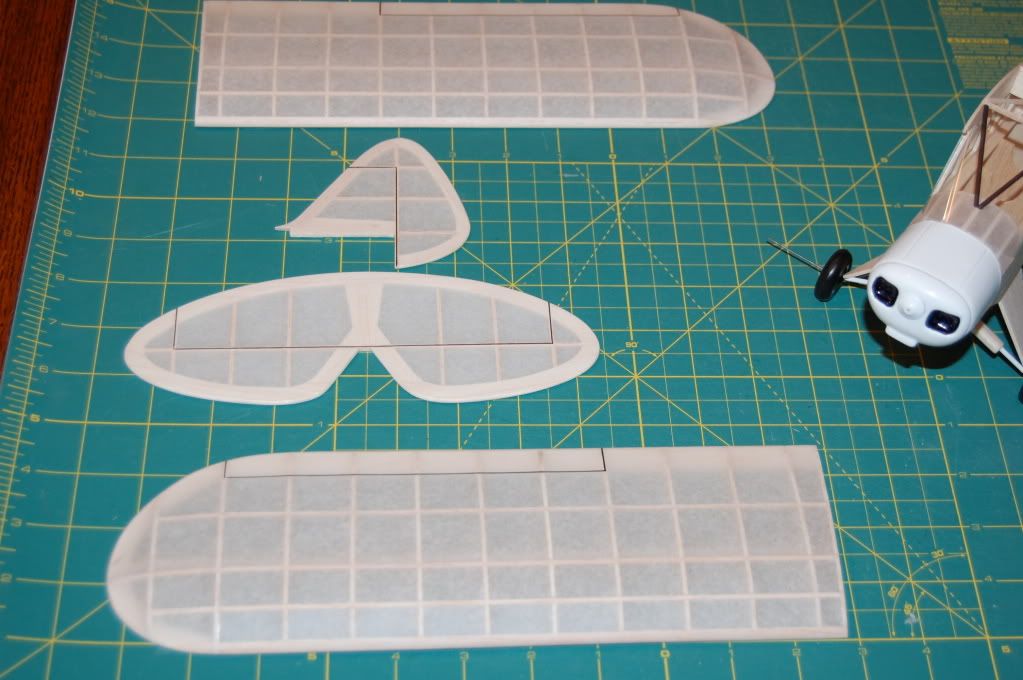
The covering is complete, but shrinking will have to wait a day or so since I am off to work. I used domestic tissue so I applied it a little tighter than I would Esaki tissue. On Saturday I will shrink the tissue with water and apply to coats of dope. I think I am going with red trim on this model. Here are some pictures of the covered parts. Since I use Elmers and water to attach the tissue, I like to wait 24 hours before shrinking.
- scigs30
- Posts: 844
- Joined: Mon Nov 06, 2006 11:31 am
![]() by thymekiller » Fri Apr 10, 2009 9:16 am
by thymekiller » Fri Apr 10, 2009 9:16 am
Great link. Thanks for posting it.
"wait 24 hrs before shrinking it" I learned that lesson the hard way....
thymekiller
"wait 24 hrs before shrinking it" I learned that lesson the hard way....
thymekiller
"...the road goes on forever, and the party never ends..."
- thymekiller
- Posts: 331
- Joined: Fri Sep 12, 2008 7:50 pm
- Location: Springfield, MO.
![]() by John G. Jedinak » Fri Apr 10, 2009 10:37 am
by John G. Jedinak » Fri Apr 10, 2009 10:37 am
Fast tip when using Emlers to attach tissue.........use a hair dryer on low setting for quick dry of glue. Hair dryer also good for fast drying of wet tissue. Been doing this for a LONG time...works great. Luck JGJ
- John G. Jedinak
- Posts: 160
- Joined: Mon Dec 19, 2005 6:50 pm
- Location: Fort Wayne, Indiana
![]() by scigs30 » Tue Apr 14, 2009 1:01 am
by scigs30 » Tue Apr 14, 2009 1:01 am
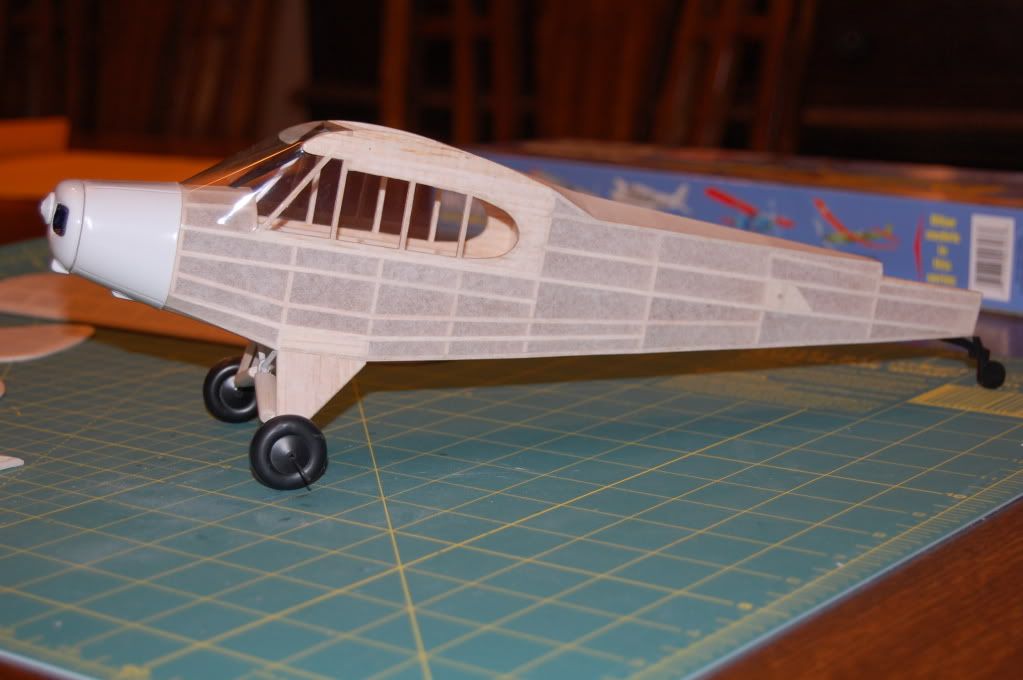
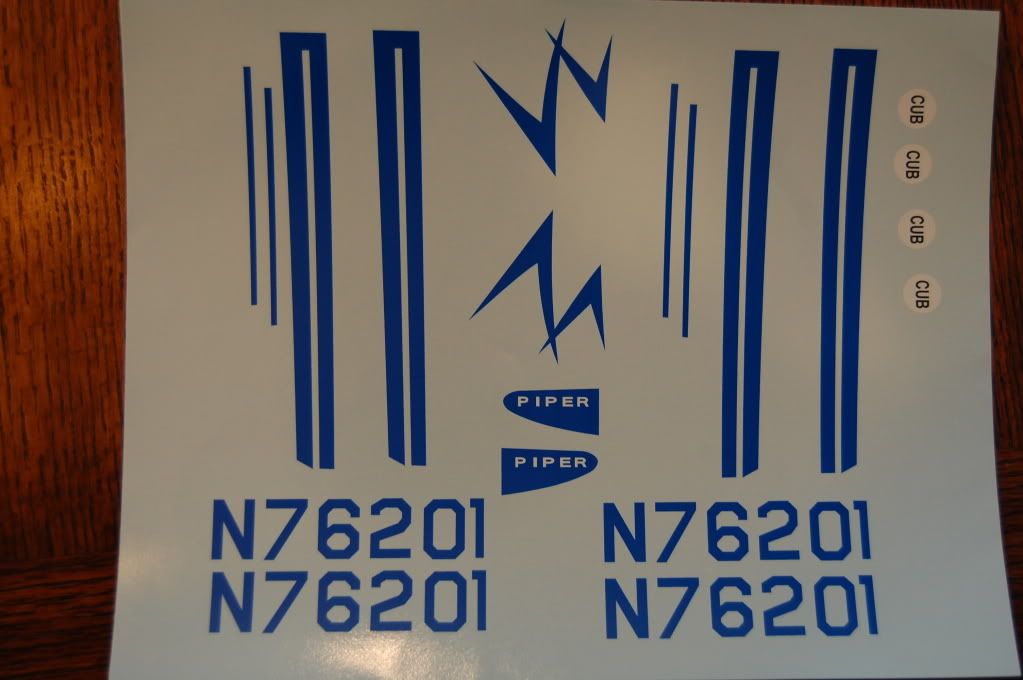
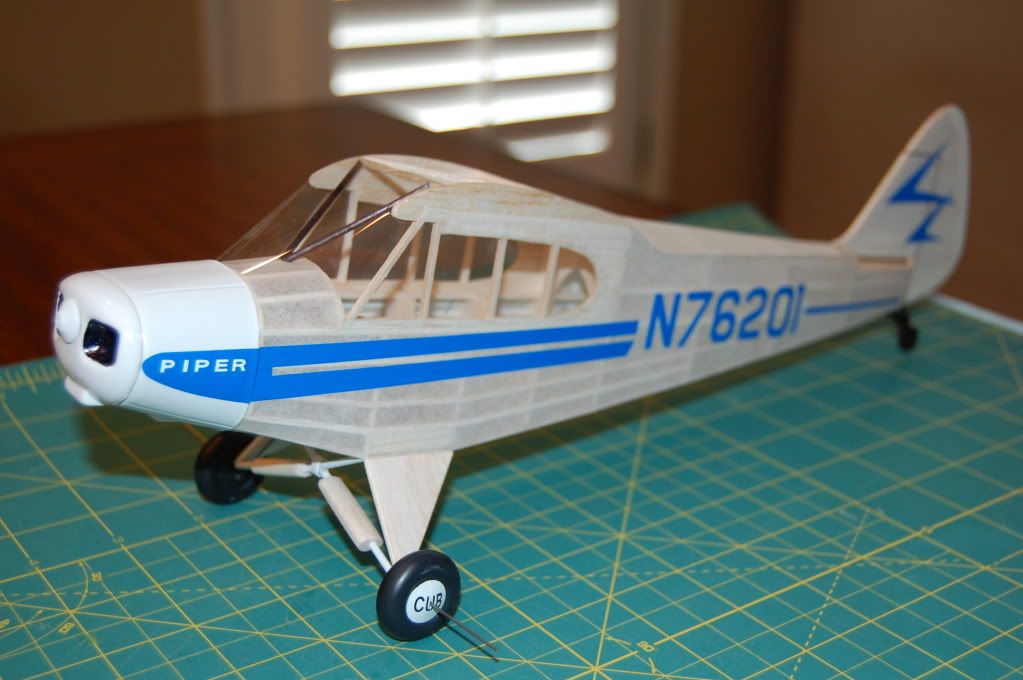
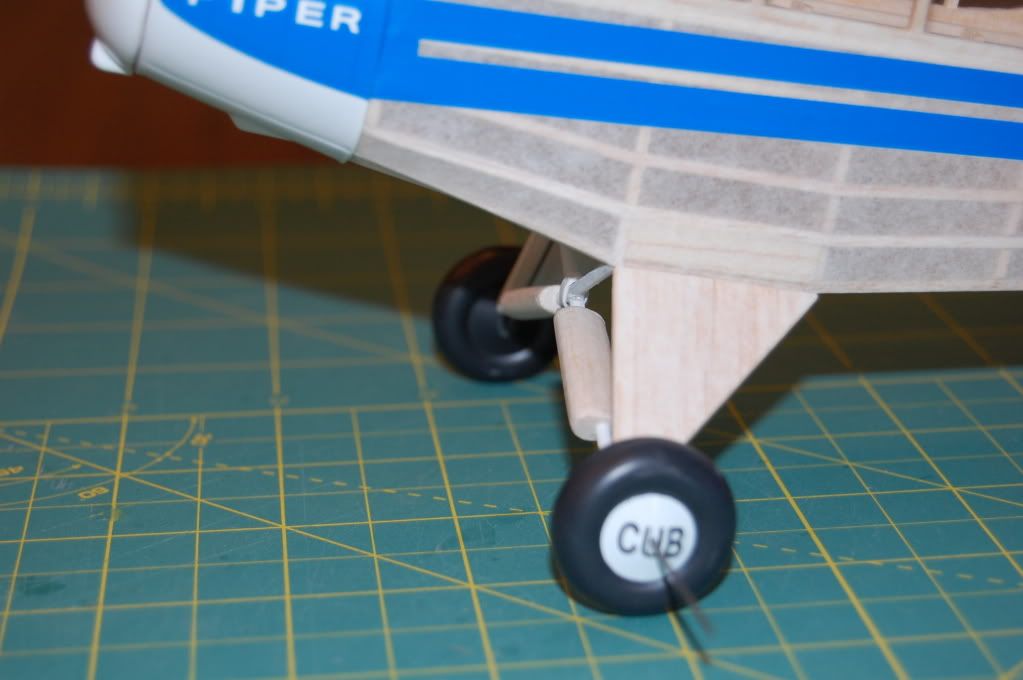
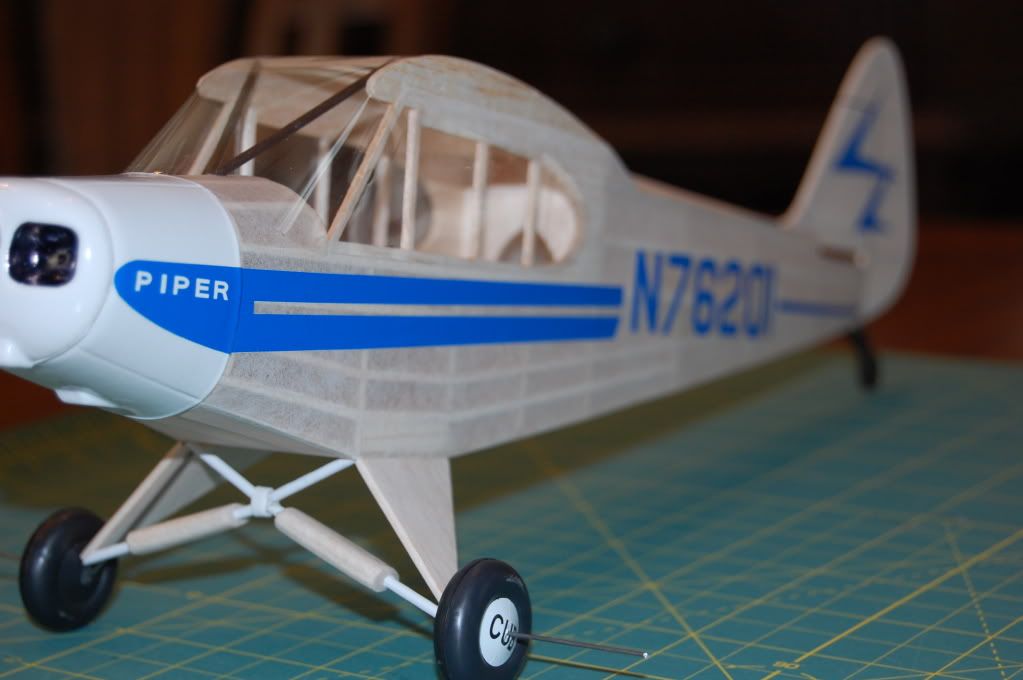
I am almost done, not bad for a few hours a week. I shrank the tissue with water and brushed 2 coats of dope. I am still a dope user, I tried the Krylon Clear on another model and was not too happy with it. Besides I love the smell of dope and Elmer's. The only paint I used was a little white on the cowl, Landing gear braces, and the two black cabin parts. So far the weight with everything is 24 grams. The only thing left is to put her together and add some decals. I will be using my decals that I made. Will try to finish tomorrow.
The plane is not crooked, I had a couple glasses of wine.
The plane is not crooked, I had a couple glasses of wine.
- scigs30
- Posts: 844
- Joined: Mon Nov 06, 2006 11:31 am
![]() by thymekiller » Tue Apr 14, 2009 7:15 pm
by thymekiller » Tue Apr 14, 2009 7:15 pm
BRAVO !!! Very nice ! I like the detail on the landing gear. The decals are great too. Thanks for sharing that with us. Nice clean build.
thymekiller
thymekiller
"...the road goes on forever, and the party never ends..."
- thymekiller
- Posts: 331
- Joined: Fri Sep 12, 2008 7:50 pm
- Location: Springfield, MO.
67 posts
• Page 4 of 5 • 1, 2, 3, 4, 5
Return to General Building Questions
Who is online
Users browsing this forum: No registered users and 47 guests