dbcisco wrote:The weather just turned for the worst here yesterday.
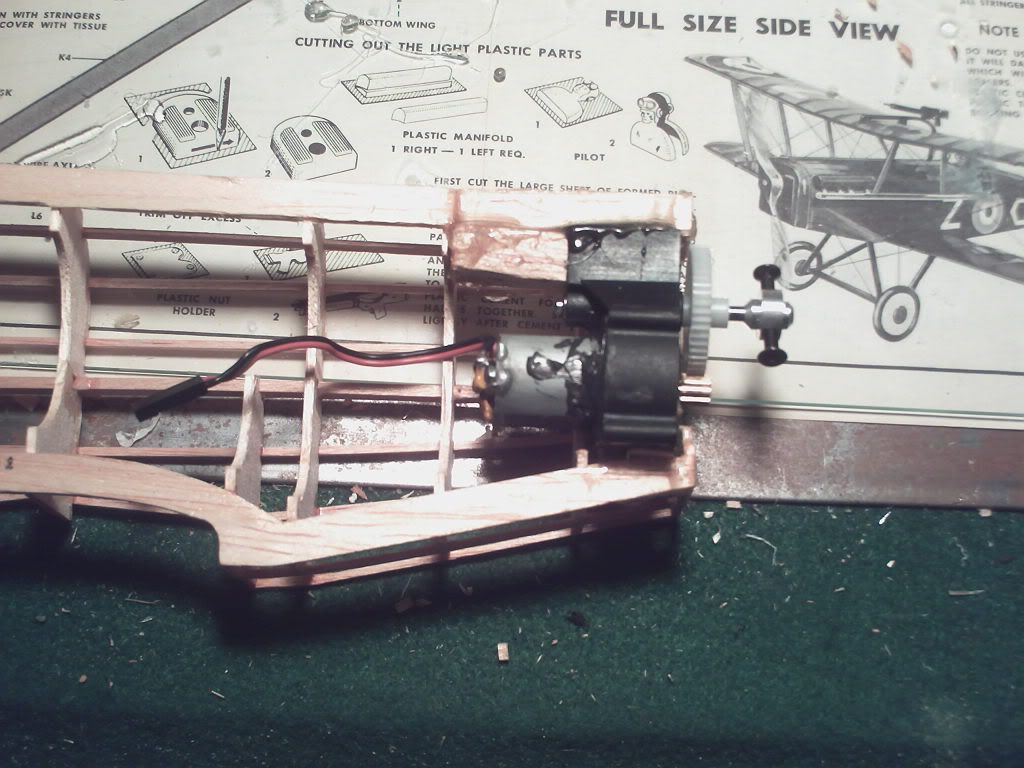
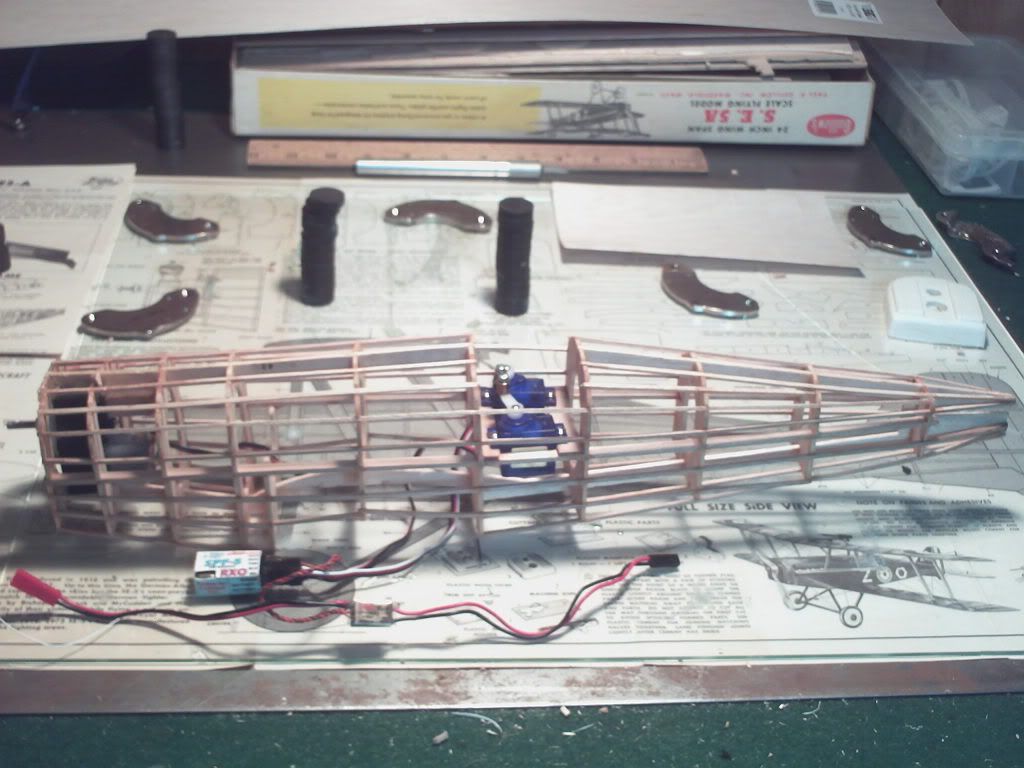
Your planes are beautiful. Maybe someday I could manage to get my covering to be wrinkle free at least. Mine are ugly and over-engineered. I do nice electronics though.

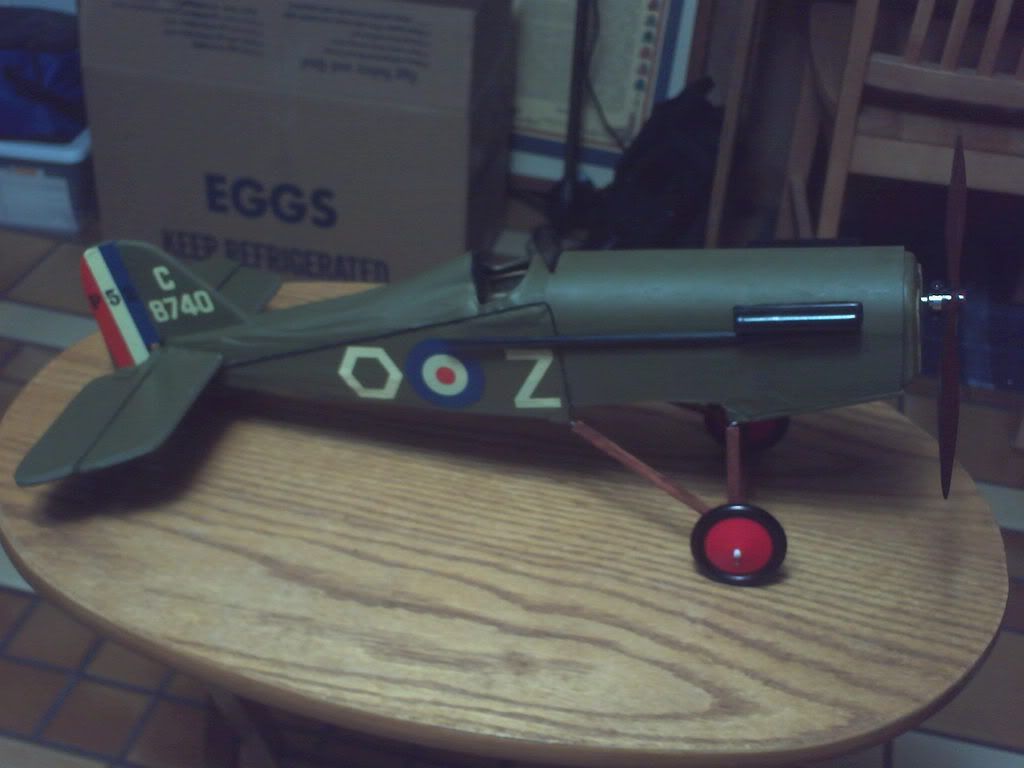
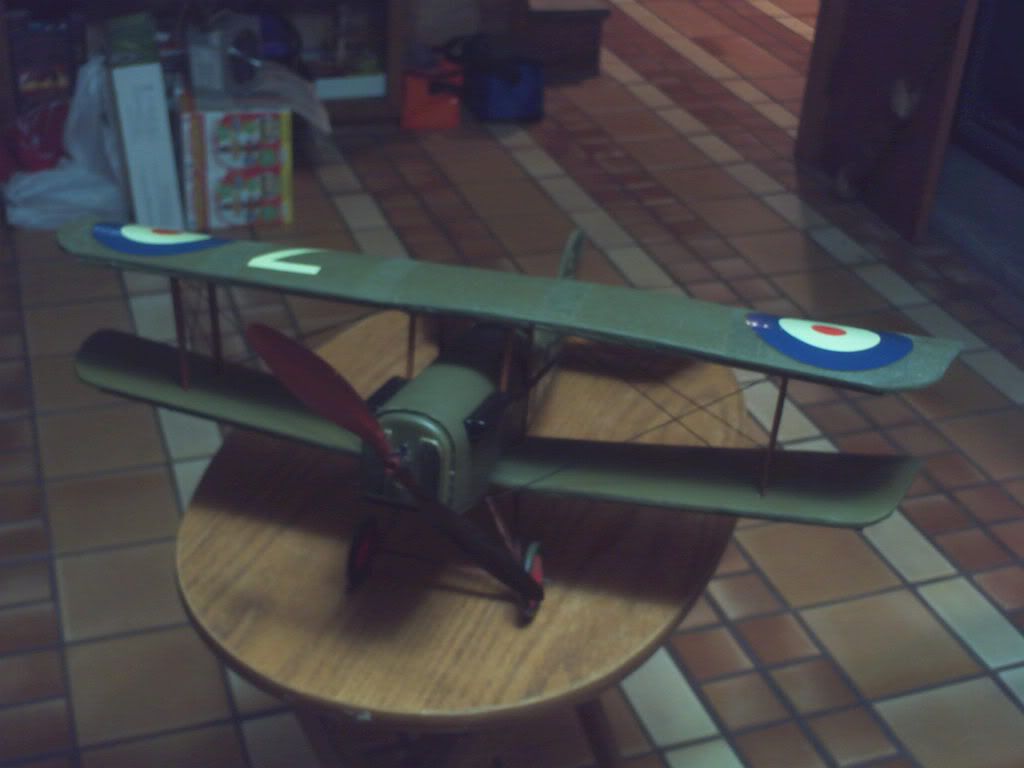
The only good thing about my covering is that the fuselages look like the real ones'. Think I'll do faux stitching on the SE5 fuselage. I can't do all the scale things but I do what I can with what I've got (and skill isn't one of them).
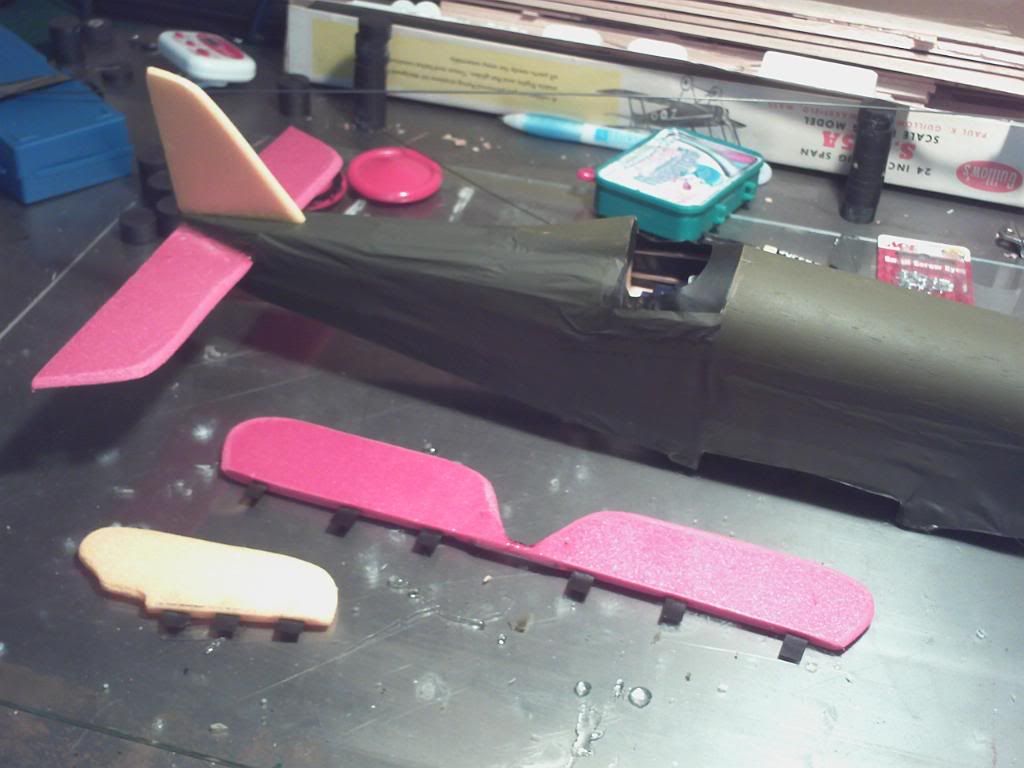
Interestingly, the Sopwith Camel kit came with a molded "stitching" detail, which I used. The SE5A doesn't have one. You could use pins on the workboard, pinned over a piece of covering on top of a piece of wax paper. The pins are used as guides to route the zig-zag stitching pattern. After routing the string, soak the string down to the covering with thin CA. Finally, cut out a small strip of the covering with the stitching on it, and glue to the plane. The strip of covering behind the stitching will look like overlapped fabric on the real plane.
On the covering, its what make these model planes look so real. The full size planes were not perfect and had wrinkles, dings, etc. It is interesting how a plastic model can have far more detail, and no imperfections, but still not look nearly as realistic as a Guillows build, since the plastic model is "too perfect". They do not have character, like our balsa builds.
Forgot that you live not too far away, and have the same weather. I'll have to look on the map and see where your town is at.
Thanks for the pic posting info. Here I'll try one:

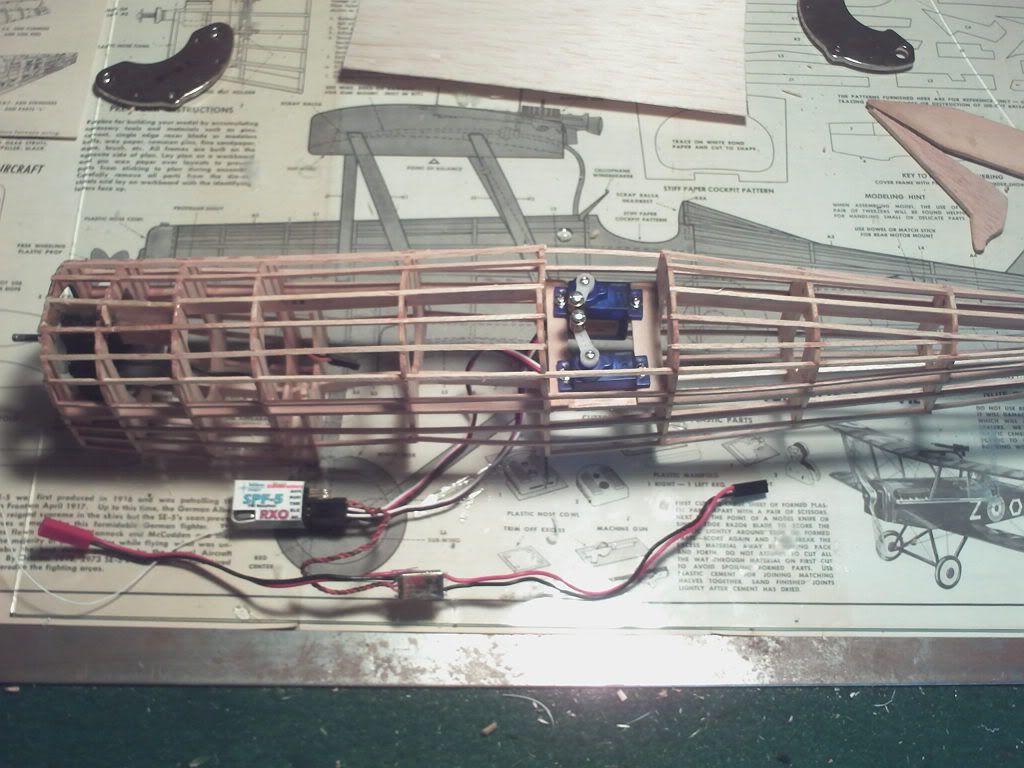
 [/img]