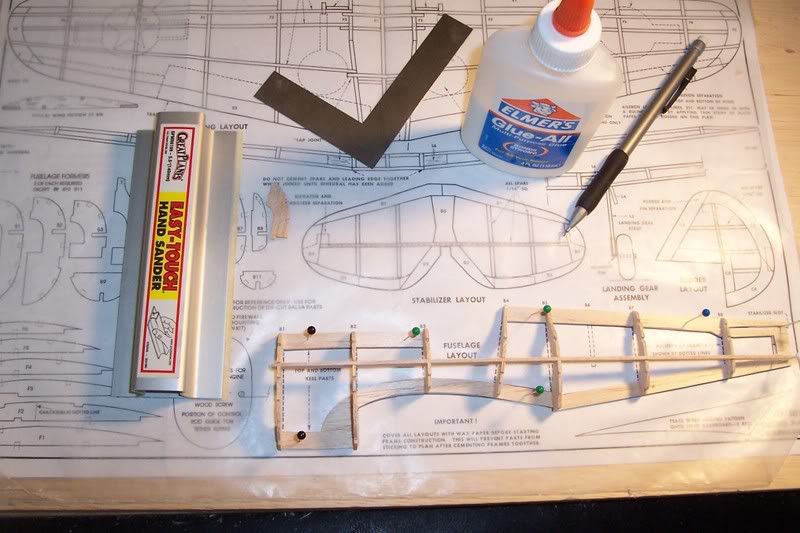
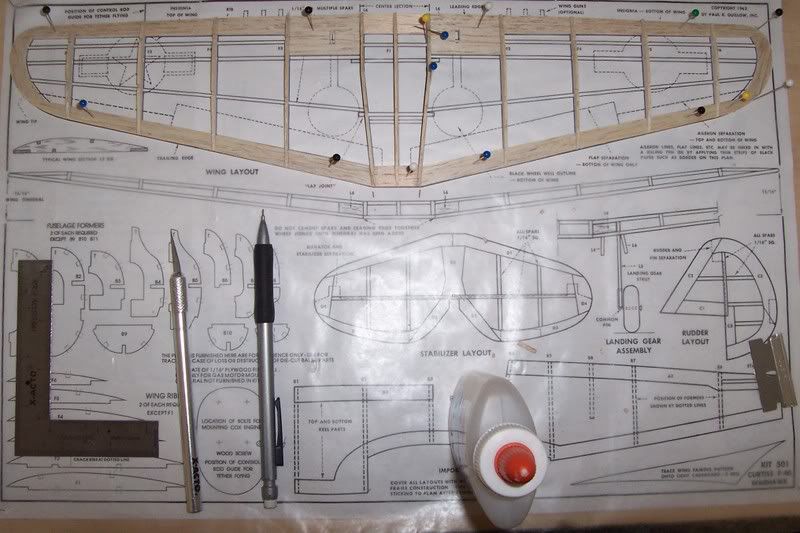
P40 build with pictures

Ask other modelers for a little help / knowledge ?

P40 build with pictures

Postby scigs30 » Sat Jun 30, 2007 4:32 pm
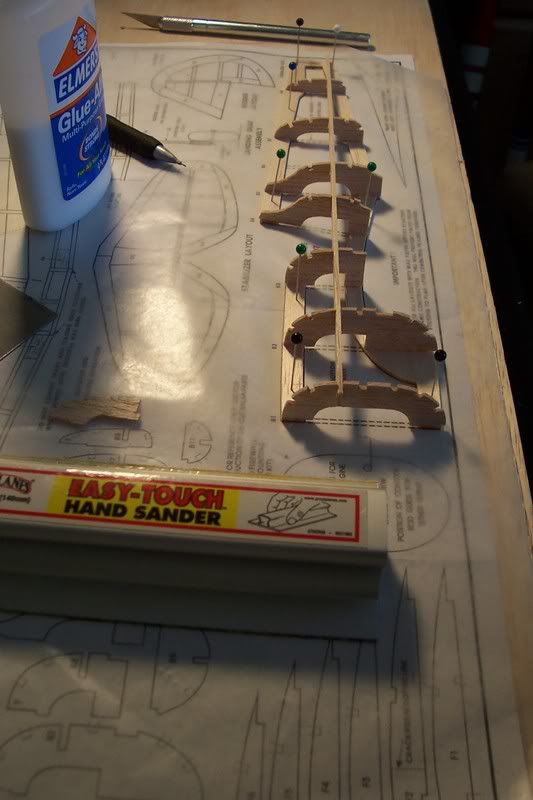
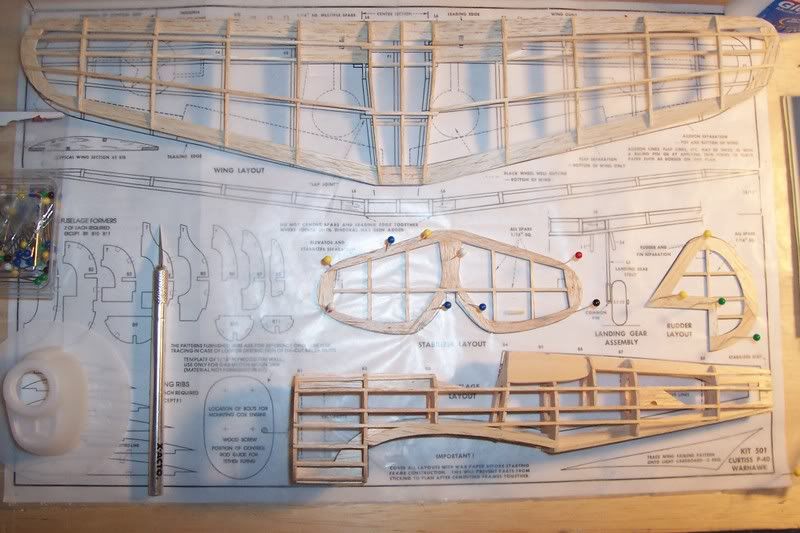
Here are some pictures of my Guillows P40 build. This is a newer kit so the wood and die cut was really nice. Guillows kits are good for practicing basic building skills. Always try to make the kit fuselage straight and make the stringers uniform and straight. If you try to force stringers in and they are crooked, then the fuselage will be crooked. I use regular elmers all purpose glue so I have time to straighten parts out before they dry. I am trying to post img. but have a difficult time. Sorry
Image
Image
Image
Image
Image
Image
scigs30
 
Posts: 844
Joined: Mon Nov 06, 2006 11:31 am

Postby jamesgood72 » Sun Jul 01, 2007 5:01 pm

Nice build pictures. Coming along well too.

-James.
jamesgood72
 
Posts: 51
Joined: Mon Apr 03, 2006 9:50 pm
Location: Miami, FL. USA.

Postby John G. Jedinak » Mon Jul 02, 2007 11:22 am

Nicely done!!!!!!!!
John G. Jedinak
 
Posts: 160
Joined: Mon Dec 19, 2005 6:50 pm
Location: Fort Wayne, Indiana

Postby scigs30 » Tue Jul 03, 2007 11:32 pm

Here is some pictures before covering. All sanded except fuselage, still needs the formers scalloped.

Image
Image
Image
Image
scigs30
 
Posts: 844
Joined: Mon Nov 06, 2006 11:31 am

Postby scigs30 » Tue Jul 03, 2007 11:42 pm
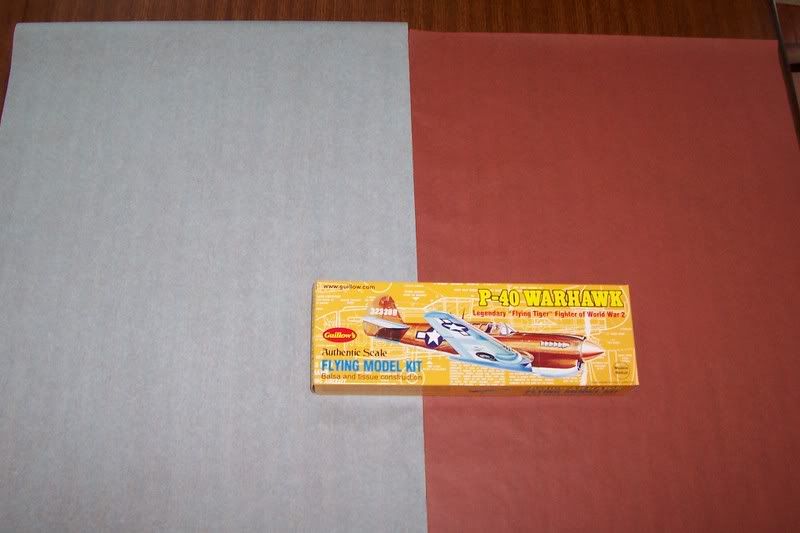
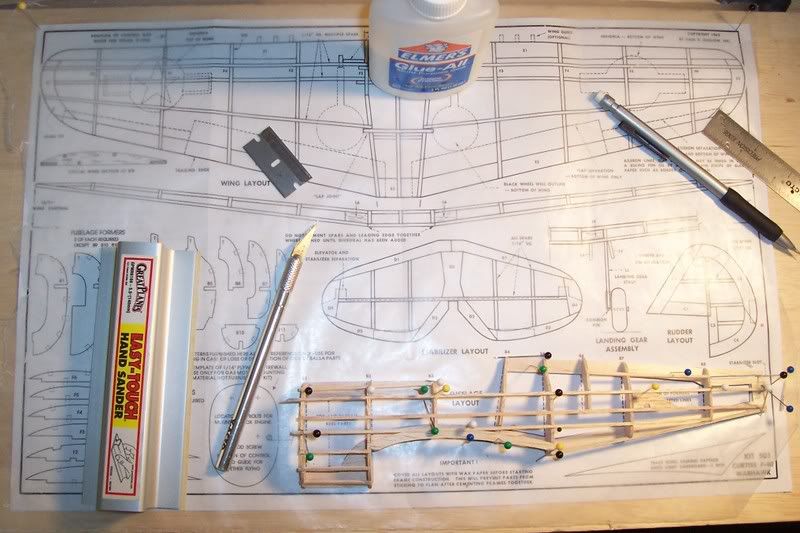
Here she is partially covered. I am using domestic tissue with 50/50 Elmers and water. Then spray 2 coats of Aerogloss dope. I normally use Japanese tissue but there is limits with choice of colors. I don't like painting or chalking so Domestic tissue will have to do. I am using brown and light blue. I will be busy the next couple of weeks so it may be awhile before I get to finish the plane.
Image
Image
Image
Image
Image
Image
scigs30
 
Posts: 844
Joined: Mon Nov 06, 2006 11:31 am

Postby scigs30 » Tue Jan 01, 2008 1:41 am
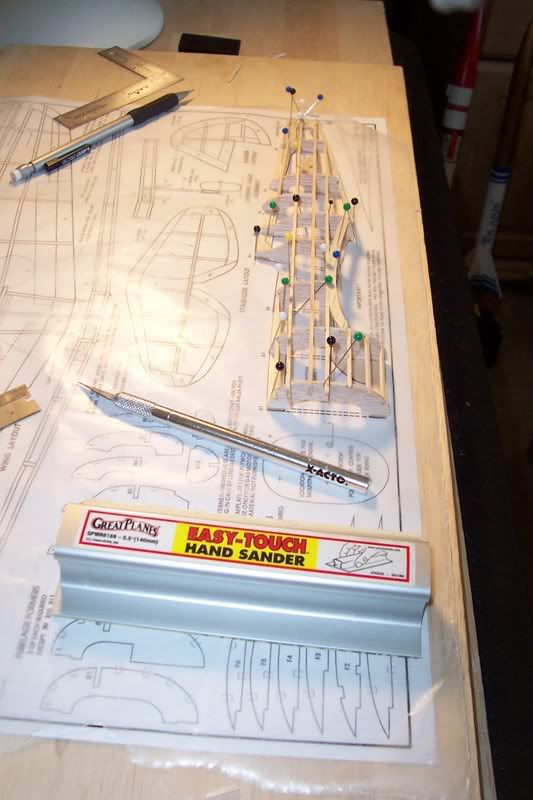
I know it has been awhile but I finally finished my Guillows P40. I started covering it 6 months ago and finished it tonight. It was a tough to trim for flight, but after a few flights it trimmed out ok. I had to add weight and down thrust in the nose. The Guillows decals would not stick so I made my own with my Alps printer. I painted the nose and as you can tell it does not match, but I wanted to finish this plane. During the last flight the stab suffered a small puncture from a nearby weed. I replaced the wheels with Peck wheels. I did not use the Guillows prop, I used a longer Peck prop.
Image
Image
Image
Image
Image
Image
scigs30
 
Posts: 844
Joined: Mon Nov 06, 2006 11:31 am

Postby Xanadu » Tue Jan 01, 2008 11:28 am

Looks great!
Xanadu
 
Posts: 497
Joined: Wed Sep 27, 2006 9:48 pm
Location: Anola, MB, Canada

Postby kittyfritters » Tue Jan 01, 2008 1:37 pm
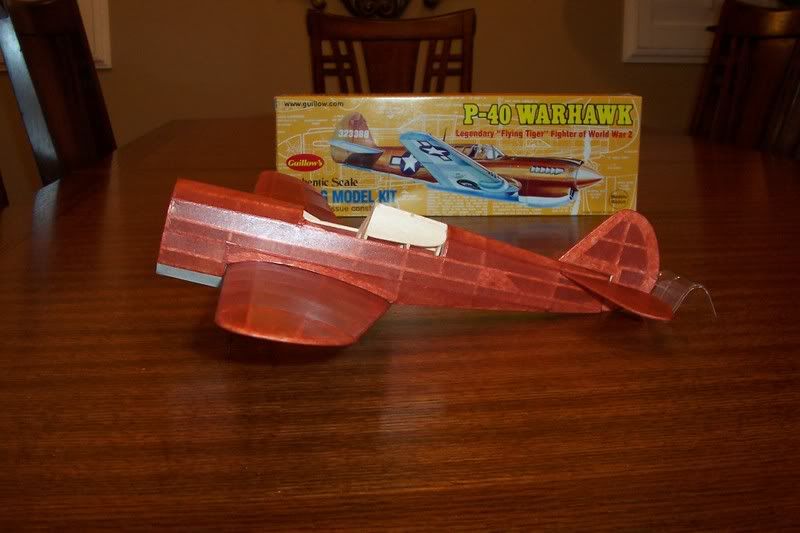
Great Job! Do you have a photo that better shows what you did to the front of the plastic cowl so you could get reliable thrust line adjustments. I think that many people here would find it helpful.

Howard
kittyfritters
 
Posts: 697
Joined: Tue Jan 03, 2006 6:58 pm
Location: California

Postby scigs30 » Tue Jan 01, 2008 4:47 pm

It would be hard to show in a picture since the area is so small. What I did was I built a small box inside the cowling. I then built a nose plug for the box. This is one area where I think Guillows is lacking when it comes to these models. There is no way you can fly a Guillows kit with the cowl and nose button design. You cannot add wt and you are limited on down thrust. I don't think it would be hard or cost Guillows a lot of money to add a piece of paper with directions on building a workable nose block. Guillows could even throw in a couple pieces of scrap balsa. I am currently building the Spitfire so I will take pictures of how I build my nose blocks. I now have completed the P-40, Wildcat, Rufe, and almost done with the Spitfire and Bf-109
scigs30
 
Posts: 844
Joined: Mon Nov 06, 2006 11:31 am

Postby SteveM » Tue Jan 01, 2008 6:34 pm

It would be nice to see details on a proper adjustable nose block. I know I have seen pictures before, but a series of pictures with descriptions with be a great help.
SteveM
 
Posts: 498
Joined: Wed Oct 24, 2007 1:06 pm
Location: Beaverton, OR

Postby nevetsw18 » Tue Jan 01, 2008 7:58 pm

so, so awesome
where do you get the tissue paper :lol: :lol:
Building a B-25 & a Hurricane
-Steven
nevetsw18@yahoo.com
nevetsw18
 
Posts: 21
Joined: Tue Dec 25, 2007 4:15 pm
Location: Oregon

Postby scigs30 » Tue Jan 01, 2008 8:39 pm

For Domestic I either buy from Easy Built Models or Peck Polymers. They have every color imaginable. I know a lot of people do not like Domestic tissue because it is harder to use and is heavier than Esaki. But we are building a Guillows kit so lightness is not a factor. Esaki is great tissue but colors are far few between unless you like to paint. I do enough painting with plastic models and Rockets so I don't want to paint my stick and tissue planes. Domestic is a little tougher to use than Esaki but if you can master Domestic you will have no problem with Esaki. When I first learned to build I was only allowed to use Domestic tissue because it was cheaper than Esaki. Once I was better at building my Uncle introduced me to Esaki and wow what a difference. I used to paint tissue but weights adds up quick so Domestic was a better option.
scigs30
 
Posts: 844
Joined: Mon Nov 06, 2006 11:31 am

Postby George30 » Mon Sep 27, 2010 10:30 pm

hi..
thats great thanks for sharing the picture to us..
keep up the good work God Bless..
George30
 
Posts: 1
Joined: Tue Sep 14, 2010 1:36 am

domestic tissue

Postby flyright » Tue Sep 28, 2010 6:49 am

You did a great job with the domestic tissue...flawless.
flyright
 
Posts: 19
Joined: Tue Aug 17, 2010 8:24 am
Location: Florida

Postby ADW 123 » Tue Sep 28, 2010 10:31 am

i built the same one, but i used tissue the color of the nose cone, and white on the bottom
ADW 123
 
Posts: 1158
Joined: Mon Feb 22, 2010 5:22 pm
Location: Cincinnati, Ohio

Next

Return to General Building Questions

Who is online

Users browsing this forum: No registered users and 37 guests